A40i, A60i
Manual 0-5466
SERVICE
5T-1
SECTION 5 TORCH:
SERVICE
5T.01 General Maintenance
NOTE!
Refer to Previous “Section 5: System” for
common and fault indicator descriptions.
Cleaning Torch
Even if precautions are taken to use only clean air
with a torch, eventually the inside of the torch be-
comes coated with residue. This buildup can affect
the pilot arc initiation and the overall cut quality of
the torch.
WARNING
Disconnect primary power to the system
before disassembling the torch or torch
leads.
DO NOT touch any internal torch parts
while the AC indicator light of the Power
Supply is ON.
The inside of the torch should be cleaned with elec-
trical contact cleaner using a cotton swab or soft wet
rag. In severe cases, the torch can be removed from
the leads and cleaned more thoroughly by pouring
electrical contact cleaner into the torch and blowing
it through with compressed air.
!
CAUTION
Dry the torch thoroughly before reinstalling.
O-Ring Lubrication
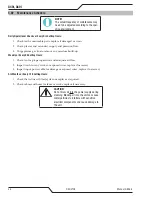
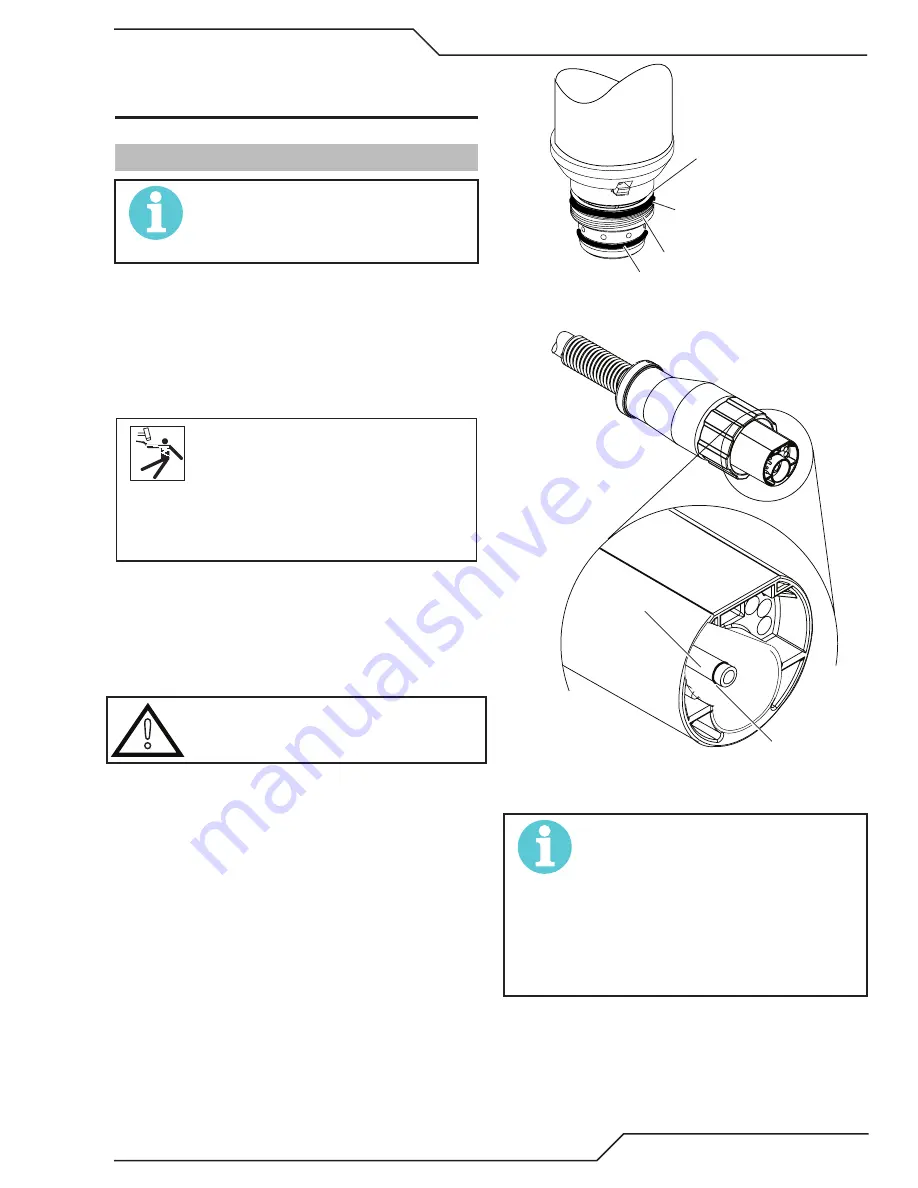
An O-Ring on the Torch Head and ATC Male Con-
nector requires lubrication on a scheduled basis.
This will allow the O-Rings to remain pliable and
provide a proper seal. The O-Rings will dry out,
becoming hard and cracked if the lubricant is not
used on a regular basis. This can lead to potential
performance problems.
It is recommended to apply a very light film of O-
Ring lubricant (Catalog # 8-4025) to the O-Rings on
a weekly basis.
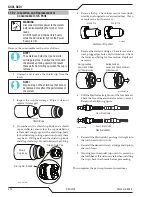
Upper Groove
with Vent Holes
Must Remain Open
Threads
Upper O-Ring
in Correct Groove
Lower O-Ring
Art # A-03725
Torch Head O-Ring
ATC Male Connector
Art #A-03791_AB
Gas Fitting
O-Ring
#8-0525
ATC O-Ring
NOTE!
DO NOT use other lubricants or grease,
they may not be designed to operate
within high temperatures or may contain
“unknown elements” that may react with
the atmosphere. This reaction can leave
contaminants inside the torch. Either of
these conditions can lead to inconsistent
performance or poor parts life.
Summary of Contents for A40i
Page 6: ...This Page Intentionally Blank...
Page 8: ...This Page Intentionally Blank...
Page 12: ...TABLE OF CONTENTS This Page Intentionally Blank...
Page 16: ...A40i A60i WARRANTY INFORMATION Manual 0 5466 W 2 This Page Intentionally Blank...
Page 24: ...A40i A60i INTRODUCTION Manual 0 5466 2T 4 This Page Intentionally Blank...
Page 32: ...A40i A60i INSTALLATION Manual 0 5466 3 8 This Page Intentionally Blank...
Page 34: ...A40i A60i INSTALLATION Manual 0 5466 3T 2 This Page Intentionally Blank...
Page 80: ...A40i A60i OPERATION Manual 0 5466 4T 36 This Page Intentionally Blank...
Page 95: ...A40i A60i Manual 0 5466 PARTS LIST 6 3 This Page Intentionally Blank...
Page 99: ...A40i A60i Manual 0 5466 PARTS LIST 6 7 A 07994_AB 1 4 2 3 5 6 7 8 9 10 12 11 10 13...
Page 110: ...A40i A60i APPENDIX Manual 0 5466 A 10 APPENDIX 8 SYSTEM SCHEMATIC 400V 3PHASE CE Art A 13478...
Page 111: ...A40i A60i Manual 0 5466 APPENDIX A 11 Art A 13478...
Page 112: ...A40i A60i APPENDIX Manual 0 5466 A 12 APPENDIX 9 SYSTEM SCHEMATIC 208 480V 3PHASE Art A 13479...
Page 113: ...A40i A60i Manual 0 5466 APPENDIX A 13 Art A 13479...
Page 115: ...This Page Intentionally Blank...

