


Page 13 of 17
____________________________________________________________________________________________
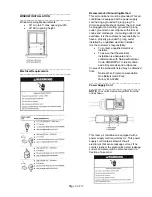
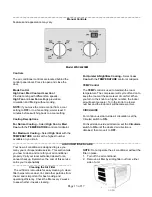
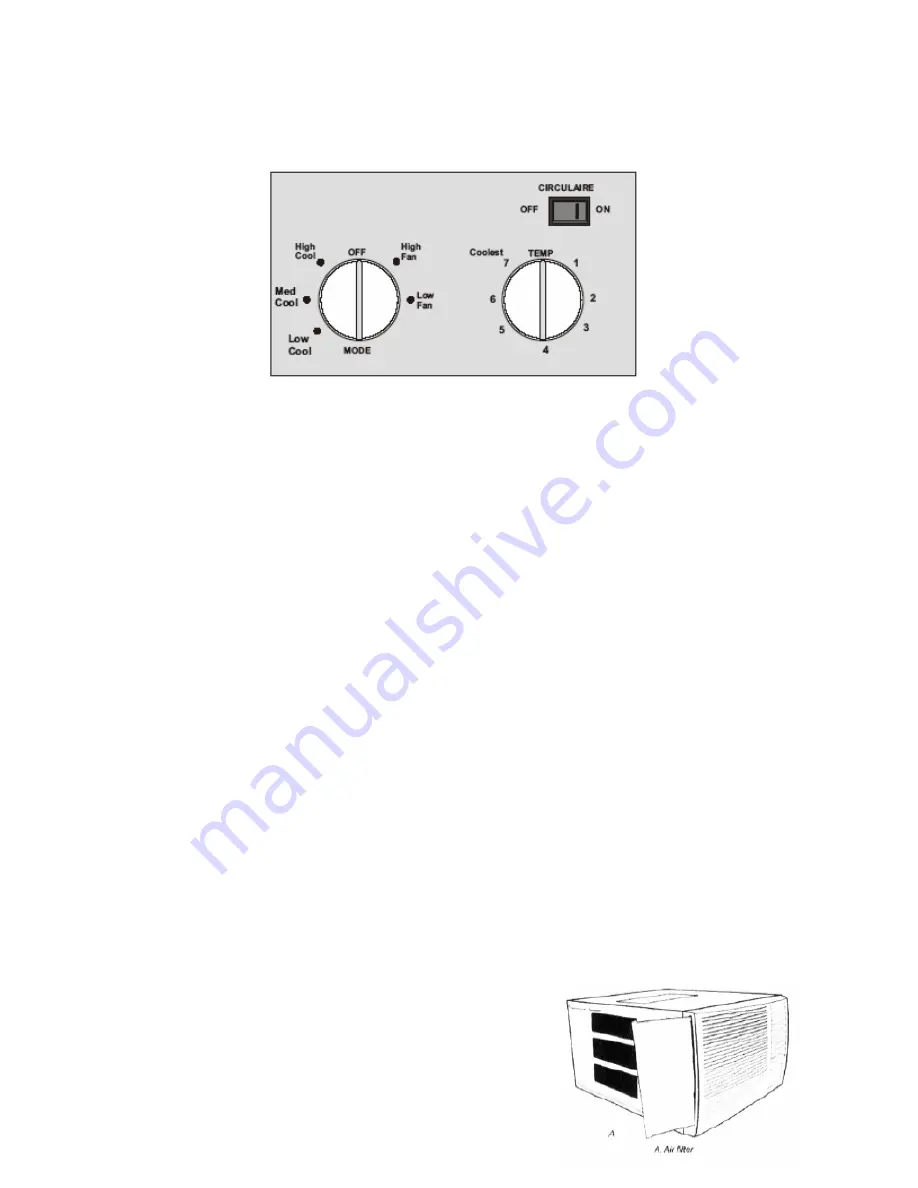
Manual Controls
Features and appearance may vary.
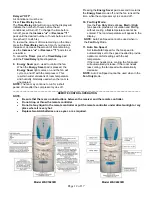
Model WAC24230M
Controls
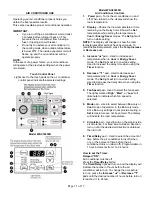
The air conditioner controls are located behind the
control panel doors. Press to open and close the
door.
Mode Control
High Cool, Med Cool and Low Cool
Provide cooling with different fan speeds.
High Fan
and
Low Fan
settings provide air
circulation and filtering without cooling.
NOTE:
if you move the mode control from a cool
setting to
OFF
or to a fan setting, wait at least 3
minutes before switching back to a cool setting.
Cooling Descriptions
For Normal Cooling –
Select
High Cool
or
Med
Cool
with the
TEMPERATURE
control at midpoint.
For Maximum Cooling –
Select
High Cool
with the
TEMPERATURE
control at the highest number
available on you knob.
For Quieter & Nighttime Cooling –
Select
Low
Cool
with the
TEMPERATURE
control at midpoint.
TEMP Control
The
TEMP
control is used to maintain the room
temperature. The compressor will cycle off and on to
keep the room at the same level of comfort. When
you turn to the knob to a higher number, the indoor
air will become cooler. Turn the knob to a lower
number and the indoor air will become warmer.
CIRCULAIRE
For continuous side-to-side air circulation, set the
Circulair switch to
ON.
For fixed side-to-side air direction, set the
Circulaire
switch to
ON
until the desired air direction is
obtained, then move it to
OFF.
____________________________________________________________________________________________
AIR CONDITIONER CARE
Your new air conditioner is designed to give you
many years of dependable service. This section tells
you how to clean and care for your air conditioner
properly. Call your local authorized dealer for an
annual checkup. Remember, the cost of this service
call is your responsibility.
__________________________________________
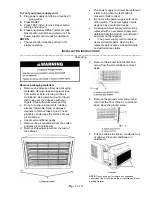
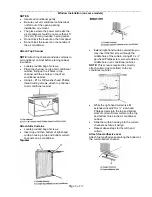
Cleaning the Air Filter
The air filter is removable for easy cleaning. A clean
filter helps remove dust, lint, and other particles from
the air and is important for best cooling and
operating efficiency. Check the filter every 2 weeks
to see whether it needs cleaning.
NOTE:
Do not operate the air conditioner without the
filter in place.
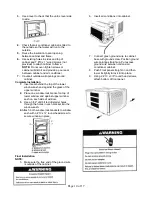
1. Turn off the air conditioner.
2. Remove air filter by sliding filter out from either
side of unit.


