
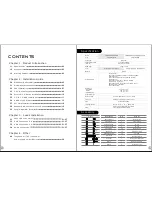
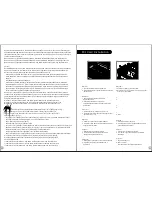
Chapter 1. Product Introduction
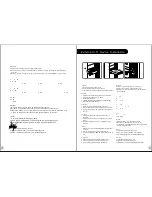
Chapter 2. Installation Guide
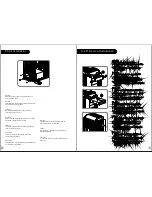
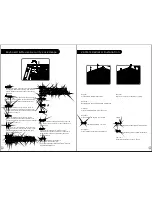
Chapter 3. Leads Installation
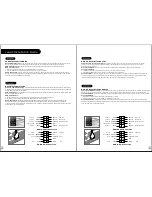
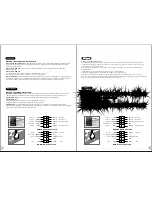
Case LED Connection
USB Connection 2.0
USB Connection 3.0
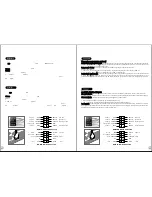
Audio Connection
2.0
2.1
2.2
2.3
2.4
2.5
2.6
2.7
2.8
2.9
1.1
1.2
1.3
3.1
3.2
3.3
3.4
02
02
03
05
06
07
08
10
11
13
18
19
20
21-27
21-27
21-27
21-27
Contents
1
2
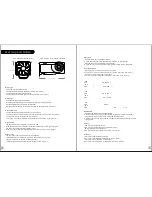
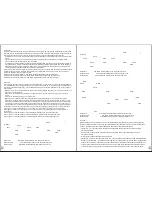
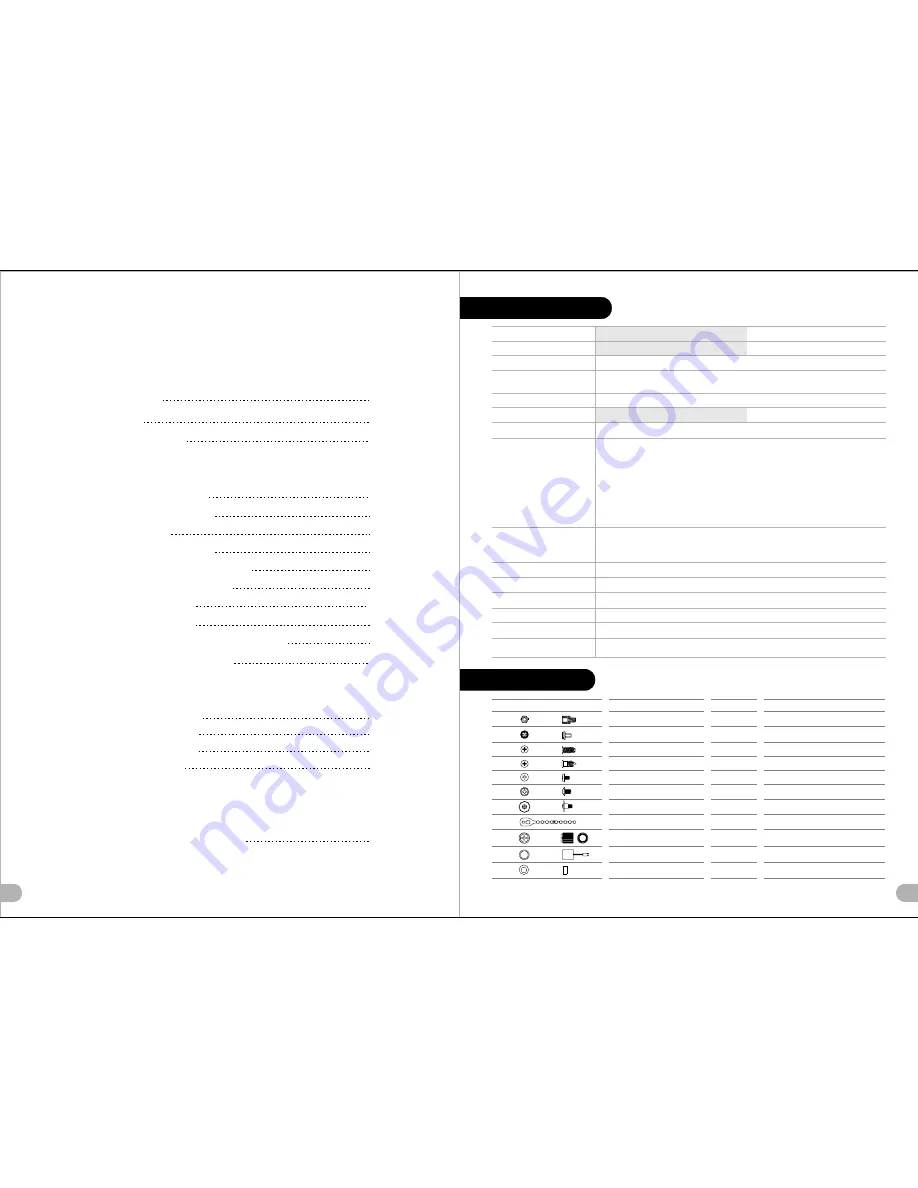
Specification
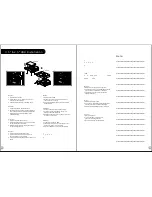
Figure
Parts Name
Q'ty
Used for
Accessory
Specification
Accessory
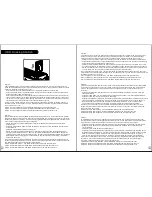
Warning and Notice
Chapter 4. Other
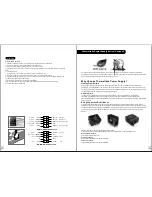
Toughpower / TR2 / Litepower
power supply series (Optional)
4.0
28
P / N
VO800M1W2N
Case Type
Mid Tower
Chassis Dimension
(H*W*D)
510 x 252 x 550 mm
(20 x 9.9 x 21.6 inch)
Net Weight
7.8 kg / 17.2 lb
Color
Exterior & Interior : Black
Material
SECC
Cooling System
Drive Bays
- Accessible
- HDD Docking
Expansion Slots
7
Motherboards
9.6 x 9.6 (Micro ATX), 12 x 9.6 (ATX)
I/O Ports
PSU
Standard PS2 PSU
LCS Upgradable
Front (intake) :
200 x 200 x 20 mm Blue LED fan x 1 (600rpm, 13dBA)
Rear (exhaust) :
120 x 120 x 25 mm Turbo fan (1000rpm,16dBA)
Top (exhaust) :
200 x 200 x 30 mm fan x 1 (600rpm, 13dBA)
Side (intake) : (optional)
200 x 200 x 30 mm fan or 140 x 140 x 25 mm fan x 1
Bottom (Intake) : (optional)
120 x 120 x 25 mm
USB 3.0 x 2, USB 2.0 x 2, HD Audio x 1
Supports 1/2
3 /8 1 /4
water tube
4 x 5.25", 1 x 3.5"
5 x 3.5" or 2.5"
1 x 3.5" or 2.5"
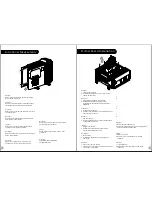
Side Panel Disassembly
Motherboard Installation
PSU Installation
5.25" Device Installation
External 3.5
Device
Installation
3.5 & 2.5 HDD Installation
PCI Card Installation
Keyboard & Mouse Security Lock Usage
6#32 Screw
Case Fan Screw
6#32 Screw
M3 Screw
6#32 HDD Screw
4
4
14
28
16
Power Supply
For Fan
Motherboard
ODD & 2.5" HDD
3.5" HDD
VO800M6W2N
Exterior & Interior : Black & White
- Hidden
CPU cooler height limitation: 175mm
VGA length limitation: 315mm
Other
Model
ARMOR REVO GENE
ARMOR REVO GENE Snow Edition
Movable tie
Nut setter
Buzzer
Cable Managment
Motherboard Installation
Motherboard Alarm
5
1
1
For Water Cooling
4
Washer
6#32 Stand-off
1
Motherboard
240mm Radiator Installation
Case Fan Screw
4
For Fan
HDD Docking Station
V O 80 0 0 S e rie s
A RMOR REVO GEN E
12/0 7/ 24
A
騎
馬
釘
32
80
X
X
X
X
X
2
(g/m )
MARKETING
CHECK
DESIGN
PRODUCT GM
2
(g/m )
)
Peipei
125
mm
176
mm


