SETTING AND RESETTING THE TIMER
(See fold out locator on last page)
Notes on Timer Operation:
This power supply is equipped with a multi-
function timer. In the passive mode the timer accrues elapsed time whenever the
D.C. On light is illuminated. The elapsed time resets to zero whenever the D.C. Off
light is illuminated or the mains power is switched off. To function as a count–down
timer, a time interval must be set using the up/down arrow keys. Each arrow key
adjusts the timer in a single direction. For convenience, the time increments switch
from minutes to hours after continuously depressing either key for several seconds.
Once set, the timer will count down whenever the D.C. On light is illuminated. The
Timer On light will illuminate whenever the count–down mode is activated. Upon
reaching zero time remaining, the power supply will sound an alarm and switch off
the output. After timer goes to zero it will reset itself to the original time. To disable
the count–down mode of operation the time interval must be reset to zero.
Setting:
1.
Switch on the power supply using the Power On/Off switch (22). Once on, the
Green D.C. Output Off light (21) and the Yellow Actual Display light (17) will be
illuminated. The Volts display (3), Milliamps display (5), and Watts display (7) will
all indicate zero.
2.
Gently depress the center of the Arrow Up key (13). When pressed there will be
a tactile sensation and the time shown on the Time display (10) will begin to
increase. Continue depressing the Arrow Up key until the Time display indicates
the desired time interval.
Note:
For convenience, the incremental changes in time switch to hours after
continuously depressing either Arrow key for several seconds.
3.
Confirm that all operating limits are correct, the power supply is properly connect-
ed to the electrophoretic chamber and gently depress the D.C. Output On key
(24). Once on, the Red D.C. Output On light (23) and the Yellow Timer On light
(11) will be illuminated and the timer will begin counting down.
Resetting:
1.
Switch on the power supply using the Power On/Off switch (22). Once on, the
Green D.C. Output Off light (21) and the Yellow Actual Display light (17) will be
illuminated. The Volts display (3), Milliamps display (5), and Watts display (7) will
all indicate zero.
2.
Gently depress the center of the Arrow Down key (12). When pressed there will
be a tactile sensation and the time shown on the Time display (10) will begin to
decrease. Continue depressing the Arrow Down key until the Time display indi-
cates zero time remaining.
3.
Confirm that all operating limits are correct, the power supply is properly connect-
ed to the electrophoretic chamber and gently depress the D.C. Output On key
(24). Once on, the Red D.C. Output On light (23) will be illuminated and the
timer will begin accruing elapsed time.
10
Watts
3.
Gently press the Set Display
key (19). The actual switch
itself is located in the gray
area located immediately
below the word “Set ” in the
Set Display key. When
pressed there will be a tactile
sensation, the power supply
will beep and the Yellow Set
Display (18) light will be illumi-
nated. Each key on this
power supply has a similar
switch location and sensory
cue upon activation.
4.
Using the Volts adjustment
knob (1), select the operating
voltage limit by turning the
knob until the desired value
appears on the Volts display
(3). Rotating the knob slowly
in the clockwise direction will
increase the displayed value
in one–volt increments. Rotat-
ing the knob slowly in the coun-
terclockwise (anticlockwise)
direction will reduce the dis-
played value in the same man-
ner. Rotating the same knob (1)
rapidly in either direction will
cause the displayed value to
change in ten–volt increments.
5.
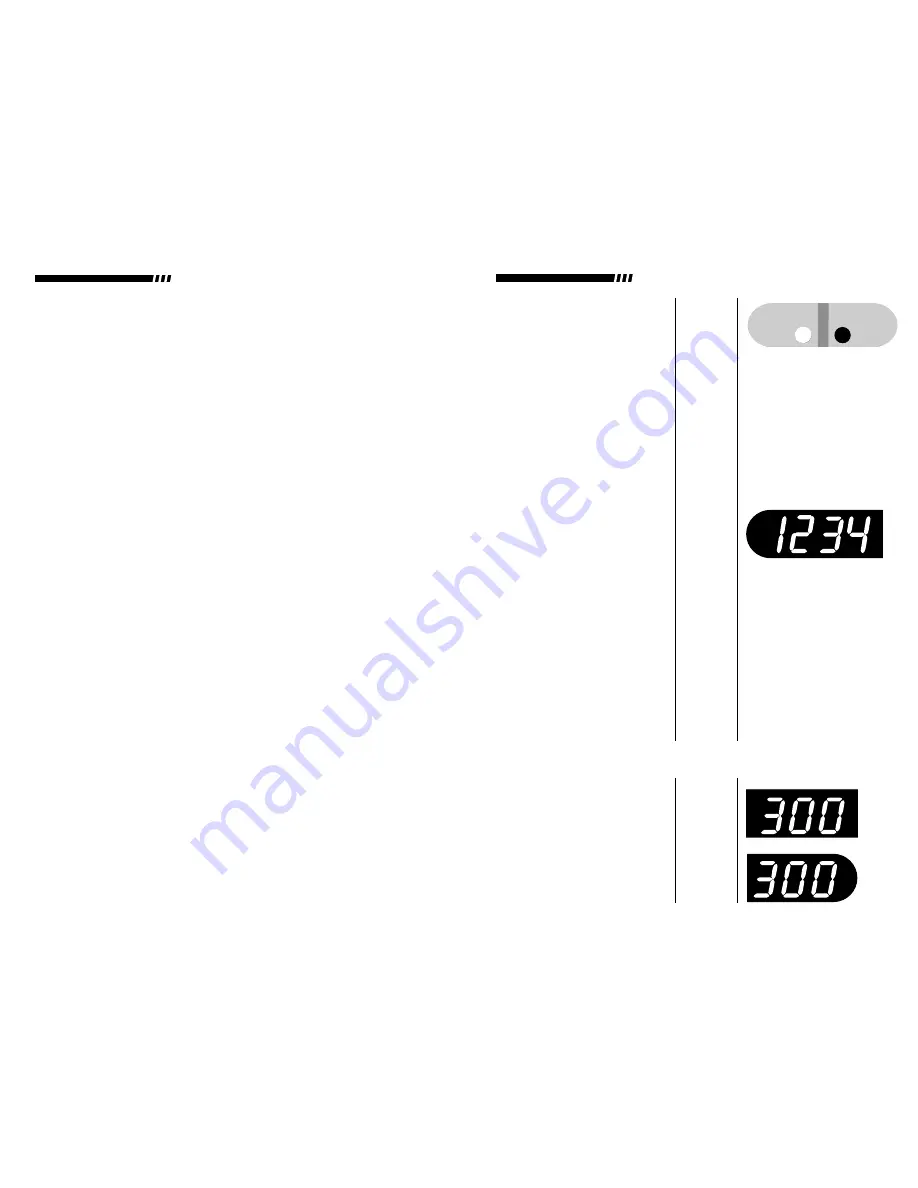
Using the Milliamps and Watts
adjustment knobs (6, 9), select
the maximum operating limits of
300 milliamps and 300 watts
respectively.
19, 18
1, 3
6, 9
Volts
NOTE:
Each adjustment knob has a RAPID ADJUSTMENT MODE which is
activated whenever the knob is rotated rapidly.
7
▲
!
Set
Actual
Display
Milliamps
THERMO EC HIGH VOLTAGE POWER SUPPLIES
THERMO EC HIGH VOLTAGE POWER SUPPLIES


