background image

All installations and services must be performed by qualified service personnel.


16

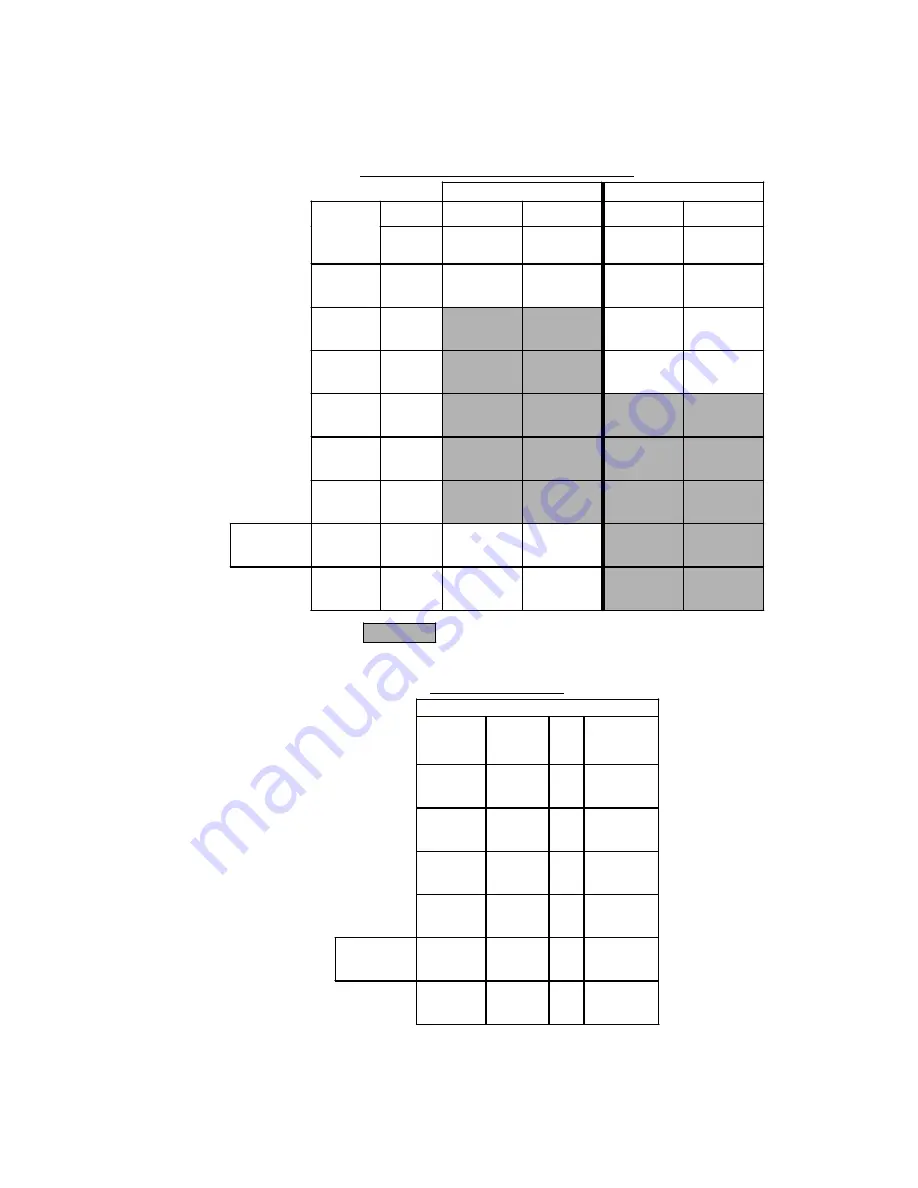
HEATING AIR FLOW / TEMPERATURE RISE 

LOW CAPACITY 

HIGH CAPACITY 

BTUH 

LOW FIRE 

60,000 

HI FIRE 

72,000 

LOW FIRE 

72,000 

HI FIRE 

90,000 

FAN 
CONTROL 
SW 1 
SWITCH 
SETTINGS 

HEATING 
CFM 

APPROX. 

CFM/RISE 

(ºF) 

APPROX. 

CFM/RISE 

(ºF) 

APPROX. 

CFM/RISE 

(ºF) 

APPROX. 

CFM/RISE 

(ºF) 

3 – OFF 
2 – OFF 
1 – OFF 

755 

604 / 91º 

755 / 87º 

604 / 109º 

755 / 109º 

3 – OFF 
2 – OFF 
1 – ON 

826 

661 / 83º


826 / 80º


661 / 100º 

826 / 100º 

3 – OFF 
2 – ON 
1 – OFF 

898 

718 / 70º


898 / 74º


718 / 92º 

898 / 92º 

3 – OFF 
2 – ON 
1 – ON 

983 

786 / 64º


983 / 67º


786 / 84º 

983 / 84º 

3 – ON 
2 – OFF 
1 – OFF 

1068 

854 / 59º


1068 / 62º


854 / 77º 

1068 / 77º 

3 – ON 
2 – OFF 
1 – ON 

1168 

934 / 54º


1168 / 57º


934 / 71º 

1168 / 71º 

Factory SW1 
Switch 
Settings


3 – ON 
2 – ON 
1 – OFF 

1282 

1025 / 50º


1282 / 52º 

1025 / 64º 

1282 / 64º 

3 – ON 
2 – ON 
1 – ON 

1424 

1139 / 48º


1424 / 46º


1139 / 58º 

1424 / 58º 


= Recommended heating speed setting 


Cooling Speed set-ups 

Air Flow 

Fan Control 
SW 1 Switch 
Settings 

Clg. Tonage  Cool 

Continous 

6-OFF       
5-OFF        
4-OFF 

799 

500 

6-OFF        
5-OFF        
4-ON 

2.5 

1017 

508 

6-OFF         
5-ON        
4-OFF 

1210 

605 

6-OFF         
5-ON        
4-ON 

3.5 

1404 

702 

Factory SW1 
Switch Settings 

6-ON         
5-OFF        
4-OFF 

1622 

799 

6-ON 
5-ON 
4-OFF 

2010 

993 


OD6F/RX072DV5 

Heating Speed Set-ups  


Cooling Speed Set-ups


Summary of Contents for OD6F/RA072DV5

Page 1: ...SOLINE OR OTHER FLAMMABLE VAPORS AND LIQUIDS IN THE VICINITY OF THIS OR ANY OTHER APPLIANCE INSTALLATION AND SERVICE MUST BE PERFORMED BY A QUALIFIED INSTALLER SERVICE AGENCY OR THE GAS SUPPLIER REFER...

Page 2: ......

Page 3: ...BEGINNING PAGE I BLOWER CONTROLLER INFORMATION 2 A TERMINAL DEFINITIONS FIELD WIRING 2 B WIRING SWITCHES 3 C INPUTS 6 D OUTPUTS 6 E OPERATING MODES 7 F CFM TABLES 9 II ECM TROUBLESHOOTING 19 A DIAGNOS...

Page 4: ......

Page 5: ...Thermostat call for heat R 24 VAC to thermostat G Thermostat call for fan Y Thermostat call for cool DEHUM Humidistat call for dehumidification TXV systems ONLY Thermostat Humidistat connections for...

Page 6: ...services must be performed by qualified service personnel 3 B WIRING SWITCHES TURN OFF THE ELECTRICAL POWER to the furnace before attempting to disconnect blower wiring OH6 OH8 OD6 OL6 Single Stage F...

Page 7: ...All installations and services must be performed by qualified service personnel 4 OH6 OD6 OL6 2 STAGE Figure 2 Blower Wiring...

Page 8: ...All installations and services must be performed by qualified service personnel 5 Figure 3 Board Layout with Switches...

Page 9: ...R This input has an indicator LED that will light when the control receives a call for cooling Refer to the Cool Mode section for the control operation Thermostat call for dehumidification DEHUM 24 V...

Page 10: ...received or limit switch opens Fan Mode A call for fan G is received from the thermostat If no other mode is calling for blower operation the control will choose a Low speed value from the position o...

Page 11: ...ard zero Table 1 ON and OFF Blower Delay Time Switch Settings Motor Blower Speed Three blower speed outputs are provided A G call for fan will provide the Low speed only A W heat call will provide the...

Page 12: ...their respective air flow rates for the ECM blower motor To change air flow rates from that of the shipped settings use the respective SW1 dipswitch on the furnace s integrated control board see Figu...

Page 13: ...1 Switch Settings Clg Tonage Cool Continuous 0 2 0 5 6 OFF 5 OFF 4 OFF 2 799 500 1 2 109 2 1 186 6 OFF 5 OFF 4 ON 2 5 1017 508 1 8 160 2 5 230 6 OFF 5 ON 4 OFF 3 1210 605 2 4 220 3 3 308 6 OFF 5 ON 4...

Page 14: ...3 OFF 2 ON 1 OFF 883 706 79 883 75 706 94 883 94 3 OFF 2 ON 1 ON 968 744 72 968 69 774 86 968 86 3 ON 2 OFF 1 OFF 1054 843 66 1054 63 843 79 1054 79 3 ON 2 OFF 1 ON 1153 922 60 1153 58 922 72 1153 72...

Page 15: ...e F0 02 05 3 OFF 2 OFF 1 OFF 1202 78o 1 6 146 2 5 233 3 OFF 2 OFF 1 ON 1315 71o 84o 1 9 174 2 7 252 3 OFF 2 ON 1 OFF 1429 65o 77o 2 3 206 3 2 294 3 OFF 2 ON 1 ON 1565 60o 70o 78o 2 6 242 3 6 337 Facto...

Page 16: ...00 500 557 1 0 89 1 8 161 6 OFF 5 OFF 4 ON 2 5 1018 509 703 1 4 121 2 1 192 6 OFF 5 ON 4 OFF 3 1212 606 848 1 8 159 2 6 231 6 OFF 5 ON 4 ON 3 5 1406 703 994 2 3 203 3 1 290 Factory SW1 Switch Settings...

Page 17: ...l SW 1 Switch Settings Heating CFM Aprox Rise F 0 Aprox Rise F 0 Aprox Rise F 0 0 2 0 5 3 OFF 2 OFF 1 OFF 755 73 1 3 114 1 9 173 3 OFF 2 OFF 1 ON 826 66 80 1 4 121 2 1 191 3 OFF 2 ON 1 OFF 898 61 74 1...

Page 18: ...Air Flow Static Pressure Amps Watts Fan Control SW 1 Switch Settings Clg Tonage Cool Continous 0 2 0 5 6 OFF 5 OFF 4 OFF 2 799 500 1 3 115 2 0 185 6 OFF 5 OFF 4 ON 2 5 1017 508 1 8 168 2 5 234 6 OFF 5...

Page 19: ...898 92 3 OFF 2 ON 1 ON 983 786 64 983 67 786 84 983 84 3 ON 2 OFF 1 OFF 1068 854 59 1068 62 854 77 1068 77 3 ON 2 OFF 1 ON 1168 934 54 1168 57 934 71 1168 71 Factory SW1 Switch Settings 3 ON 2 ON 1 O...

Page 20: ...1 Switch Settings Heating CFM Aprox Rise F 0 Aprox Rise F 0 Aprox Rise F 0 0 2 0 5 3 OFF 2 OFF 1 OFF 755 73 o 1 1 93 1 7 154 3 OFF 2 OFF 1 ON 826 66 o 80 o 1 2 105 1 9 168 3 OFF 2 ON 1 OFF 898 61 o 74...

Page 21: ...essure in W C Fan Control SW 1 Sw itch Setting Clg Tonnage Cool Continuous 0 2 0 5 6 OFF 5 OFF 4 OFF 2 799 500 1 2 100 1 9 162 6 OFF 5 OFF 4 ON 2 5 1017 508 1 8 155 2 5 223 6 OFF 5 ON 4 OFF 3 1210 605...

Page 22: ...are driven by the Y W G and DEHUM inputs and are located directly below those inputs They will light to indicate the presence of these signals The red Board Status LED has two functions 1 It will lig...

Page 23: ...nt check Motor oscillates up down while being tested off of blower It is normal for motor to oscillate with no load on shaft Motor starts but runs erratically Varies up and down or intermittent Check...

Page 24: ...Install drip loops Locate connectors above 7 and 4 o clock positions Use authorized motor and control model s for replacement Replace one motor or control model with another unless an authorized repla...

Page 25: ...All installations and services must be performed by qualified service personnel 22 T stat in bad location Figure 4 ECM pin connectors...

Page 26: ...RNESS TO MOTOR IF CONNECTIONS ARE GOOD AND MOTOR STILL DOES NOT RUN REPLACE MOTOR THIS GUIDE SHOULD BE USED IN THE CASE OF A STOPPED OR MANFUNCTIONED ECM BLOWER MOTOR THE FOLLOWING SHOULD HELP ESTABLI...

Page 27: ...THE INSTRUCTIONS IN THE BOXES CHECK 24V SUPPLY TO INTEGRATED CONTROL IS THERE 24V ACROSS R B C ON THE INTEGRATED CONTROL REPLACE INTEGRATED CONTROL CHECK CONNECTIONS AND WIRES AT INTEGRATED CONTROL IF...

Page 28: ...Status LED Off 1 HEAT mode On 2 BLOWER HEAT 3 Status LED Flashes 1 COOL mode On 2 Blower On Delay Started 3 Condenser On 4 Status LED On continuous 1 FAN mode On 2 BLOWER LOW 3 Status LED On continuo...

Page 29: ...Fire Connect 2 Stage T stat to both W1 and W2 Single Stage T stat W2 Connect single stage T stat to W2 only BLOWER Speeds HEAT The Heating Blower speed selected by positions 1 2 3 of SW1 CFM tables on...

Reviews: