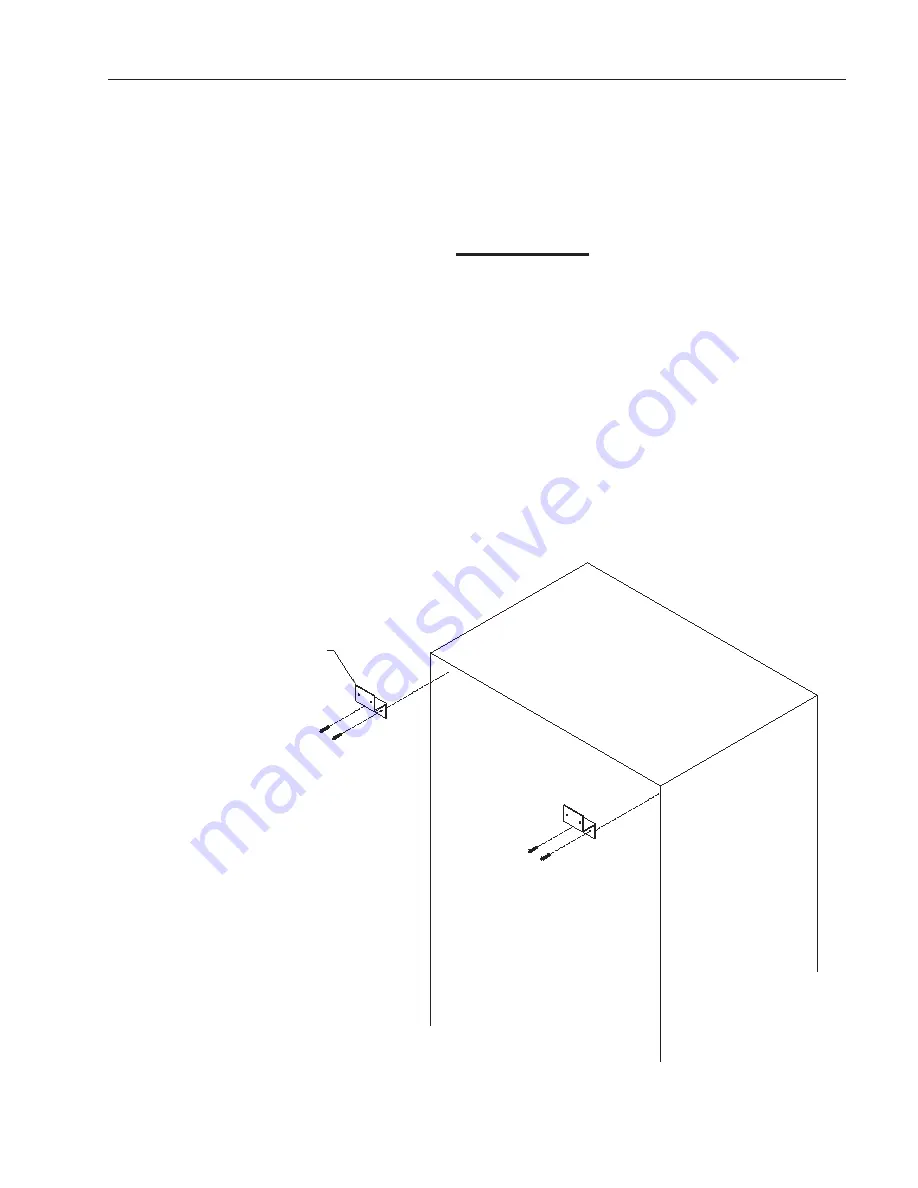
Wall Mounting
In order to allow the user to improve the stability of the
incubator, two wall mounting brackets are included. These
brackets allow the incubator to be attached to a wall.
1. Attach brackets to the upper corners on the
back of the unit. Use the screws included with
the unit and the pre-drilled holes located near
the top corners. Do not drill additional holes
which could result in damage to the unit.
2. Move the unit into position and attach the brack-
ets to a structurally sound wall or other support.
The brackets will ensure that the appropriate 3
inches of clearance from the wall is maintained.
7
I
NSTALLATION
Mount brackets flush
with top and sides
Back of Unit


