1100°C Box Furnace
330985H01 |
9-59
Maintenance |
Chapter 9
6. Replace the relay and reconnect the wires.
7. Reassemble the unit.
Temperature Controller Replacement
To replace the entire controller, complete the following steps (refer to Figure 7 “Solid Relay
Replacement”):
1. Remove the two sheet metal screws located on each side of the furnace near the
lower front (#1 in Figure 7). Pull the control panel forward to access the controller
(#5 in Figure 7).
2. Note the terminal connections of the wires and label them for reattachment. Remove
power input and output wires from the back of the controller. Observe polarity for the
thermocouple lead wire. Red is always negative. Refer to Figure 2 “Thermocouple”
for additional wiring information.
3. Remove the retaining clamp.
4. Pull the controller out through the front of the control panel.
5. Install the replacement instrument by reversing the above procedure.
Door Insulation Replacement
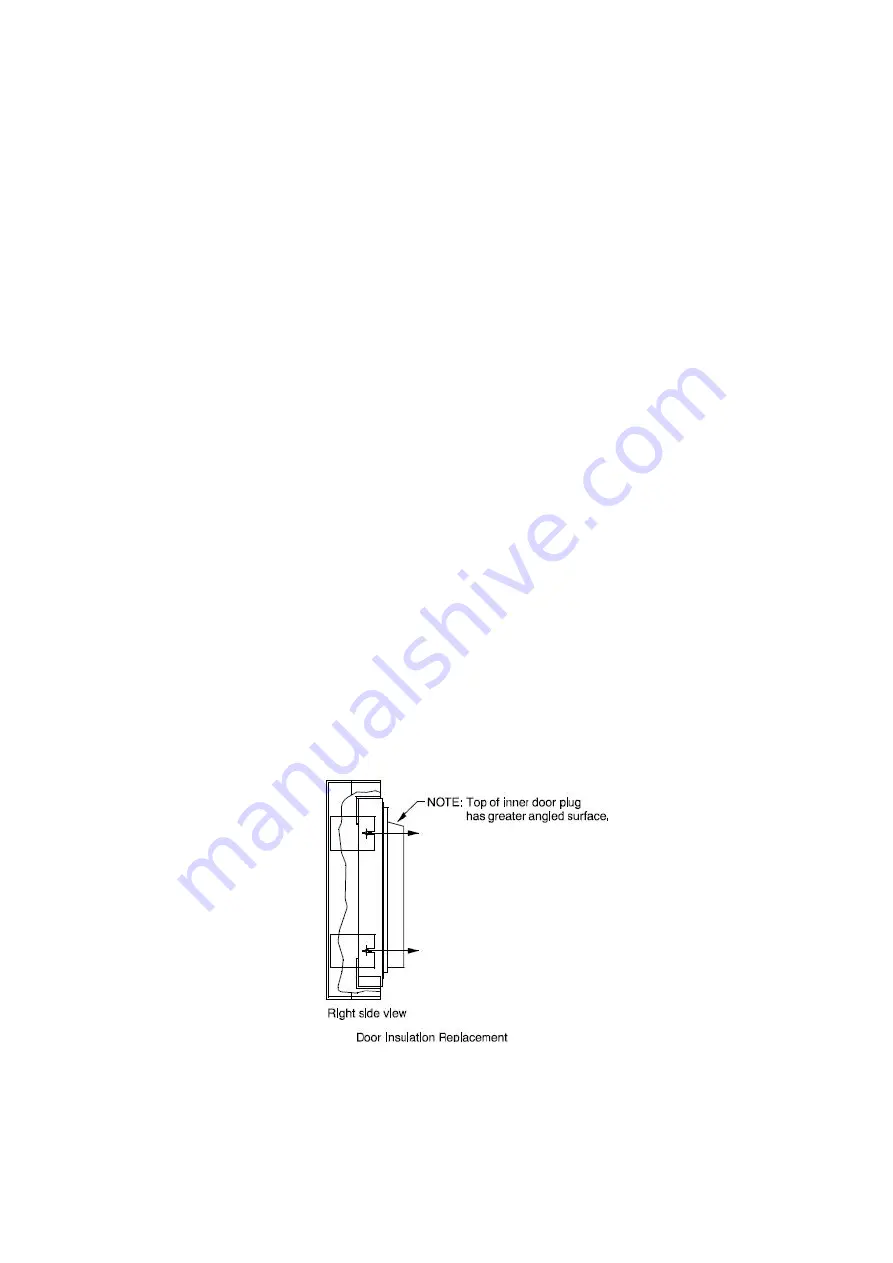
To replace the door insulation, complete the following steps (refer to Figure 8 “Door
Insulation Replacement”):
1. Open the door completely.
2. Pull out the door insulation plug and frame up and out at a 45° angle.
3. Install the new door insulation plug and frame.
Figure 8
Door Insulation Replacement
Summary of Contents for BF51728
Page 11: ...Safety Notes Chapter 1 1 10 330985H01 1100 C Box Furnace...
Page 15: ...Introduction 2 14 330985H01 1100 C Box Furnace Chapter 2...
Page 27: ...Start Up 5 26 330985H01 1100 C Box Furnace Chapter 5...
Page 63: ...Maintenance 9 62 330985H01 1100 C Box Furnace Chapter 9...
Page 69: ...Wiring Diagram 10 68 330985H01 1100 C Box Furnace Chapter 10...


