Thermo Fisher Scientific ULT Freezers
Operation | 9
Operation
Initial Start Up
To start the freezer, complete the following steps:
1. Plug the freezer into the power outlet.
2. Turn the power switch ON. You can find the switch in
back of the freezer, on the bottom right.
3. Once the freezer is turned ON, the user interface will
begin a start up procedure. Once ready for operation, the
temperature is displayed on the screen.
Operation Overview
Once you have successfully completed the initial start up
procedures, the freezer starts operating normally and the only
actions required are:
•
Setting the operating and alarm set points.
•
Activating the CO
2
or LN
2
backup system if installed. For
instructions on backup settings and activating the
system, refer to
.
Display
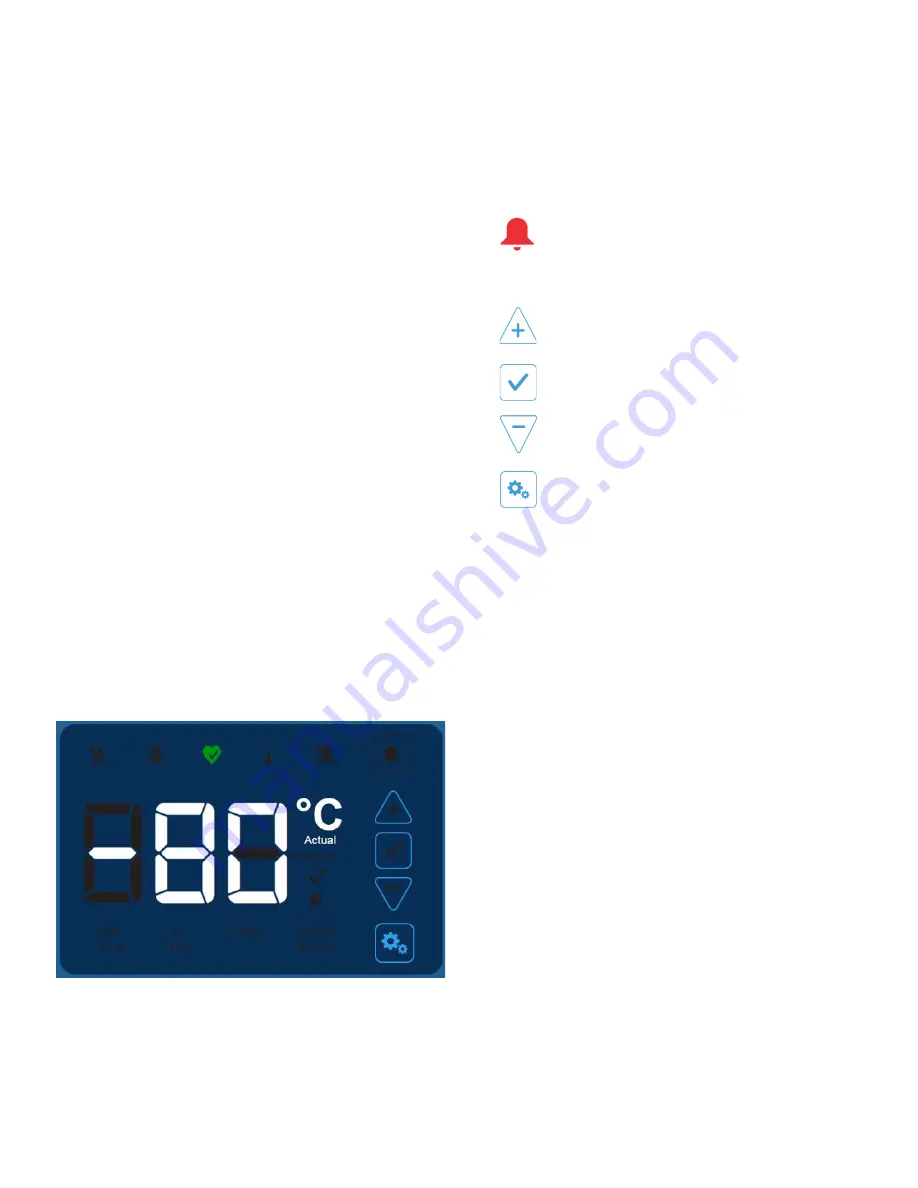
The display screen below is the default screen.
Figure 3. Display
The control panel consists of the 5 touch-point buttons
located on the right side of the display.
•
Warm Alarm value - The range of the warm alarm
temperature is –40°C to within 5°C of setpoint.
Note :
The warm alarm will be disabled for 12 hours
from a warm start condition.
•
Cold Alarm value - The range is –99°C to within 5°C
of setpoint.
Note :
A setpoint change may automatically change
the warm/cold alarm setpoints as well to maintain a
minimum 5°C separation from the control setpoint.
•
Offset value
- This is used for calibration. Range is
–10°C to +10°C. Default is 0.
Entering a positive offset value will yield a colder
cabinet temperature.
Entering a negative offset value will yield a warmer
cabinet temperature.
•
Setpoint security code
– This code is a 3-digit
numeric code. Refer to
•
Backup system type
(if backup system is installed)
– Set the type to either LN
2
or CO
2
corresponding to
the backup system that is installed.
•
Backup system setpoint
(if backup system is
installed) - This setpoint indicates the temperature at
which the backup system will begin cooling the cabi-
net. It is recommended to set the backup system
setpoint at a minimum of 10°C warmer than the con-
1.
Alarm Bell
– This icon indicates visual and
audible alarm that accompanies various alarm
states. Pressing the alarm bell while in an alarm
state will snooze the audible alarm for 10
minutes.
2.
Plus
– Increases the value of the selected setting.
3.
Check Mark
– Saves a change to the selected
value.
4.
Minus
– Decreases the value of the selected
setting.
5.
Settings
– The settings icon represents the
various settings including:


