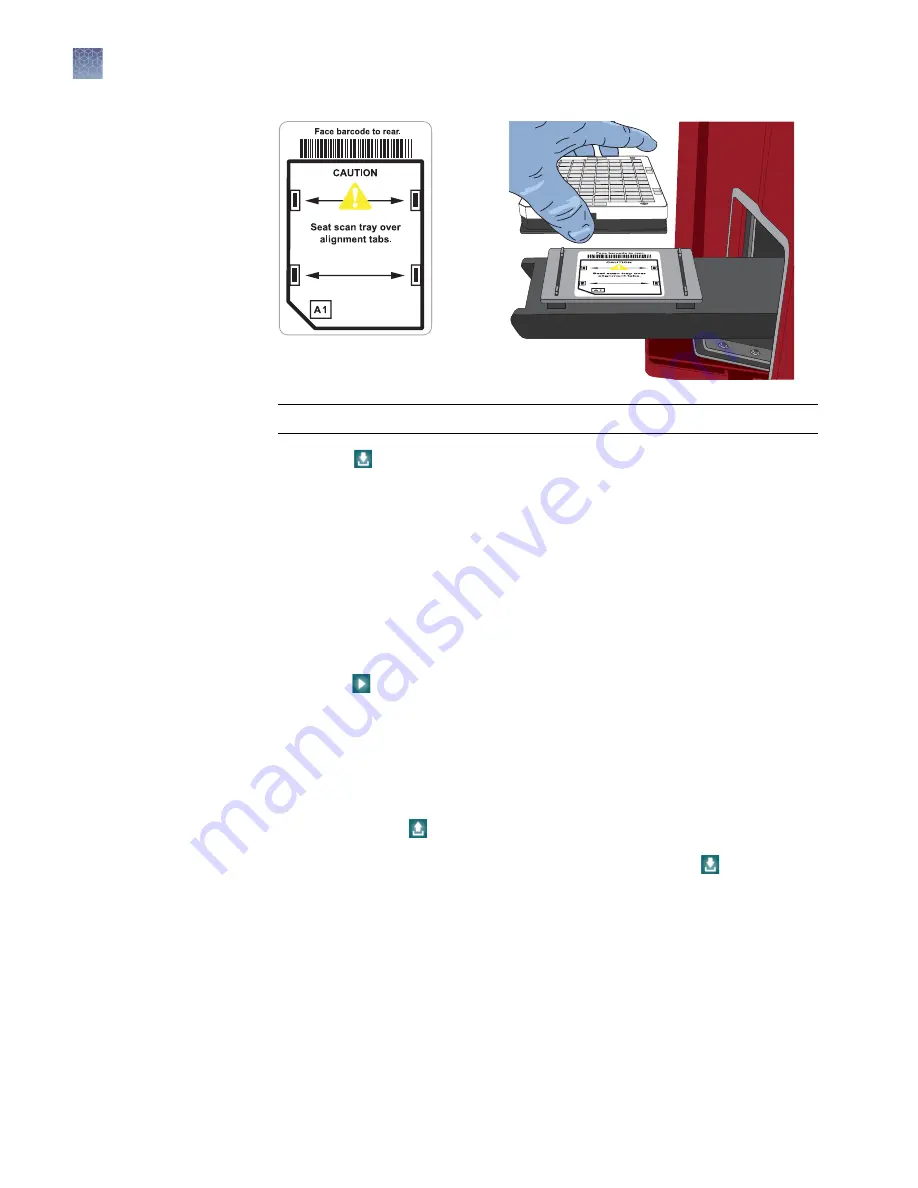
IMPORTANT!
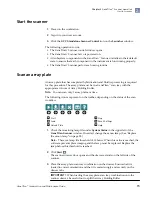
Note that barcode faces the rear of the scanner.
4.
Click Load .
The array plate-scan tray combination is retracted into the scanner, the array
plate barcode is read, and the software determines the pate format. An array
graphic is displayed with all of the arrays on the plate selected by default.
5.
(Optional) If you only want to scan a subset of arrays on the plate, select the
arrays to scan in the array graphic.
• Click and drag to select contiguous arrays in a row, column, or block.
• Control-click to select noncontiguous arrays.
Note:
If needed, click Stop to retract the drawer and stop the current process.
6.
Click Start .
7.
Click OK in the Start Processing confirmation window to continue.
Scanning proceeds. When the scan is complete, color-coded results are displayed
in the array graphic in the System Status section of the GeneTitan Scanner
window. See the GeneChip
™
Command Console
™
User Guide (Pub. No. 702569) for
more information.
8.
Click Unload Plate to open the drawer.
9.
Remove the array plate-scan tray combination, then press Load to retract the
drawer and to close the scanner door.
Shut down the scanner
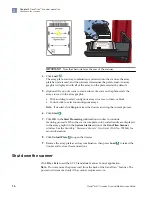
Click File
4
Exit to exit the GCC Standalone Scanner Control application.
Note:
Do not remove the power cord from the back of the GeneTitan
™
Scanner. The
power cord is removed only if the scanner requires service.
Chapter 2
GeneTitan
™
Scanner operation
Shut down the scanner
2
16
GeneTitan
™
Scanner Use and Maintenance Guide

