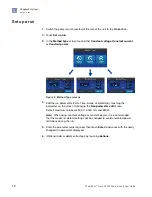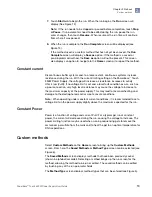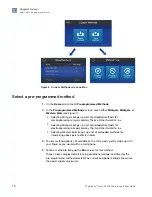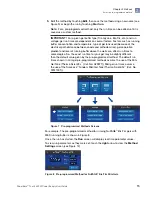
Install the power supply
1.
Check the label located on the bottom of the power supply to ensure that the
unit is compatible with locally provided voltage.
2.
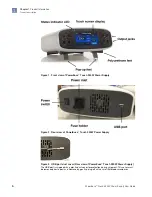
Place the power supply on a level laboratory bench and position it such that
the On/Off switch and the AC inlet at the rear of the power supply are easily
accessible. Keep the area around the power supply clear to ensure proper
ventilation of the unit.
3.
Ensure the On/Off switch located at the rear of the power supply is in the Off
position.
4.
Attach the power cord to the AC inlet of the power supply.
5.
Plug the power supply into an appropriate electrical outlet (use properly
grounded AC outlets and power cords).
6.
Connect the leads from the electrophoresis unit to the power supply by inserting
the positive lead (+) into the red output jack and the negative lead (-) into the
black output jack.
7.
Turn the AC power switch at the back of the power supply On.
Programming options
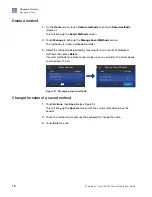
The PowerEase
™
Touch 350W Power Supply can be programmed to run single-step
and multi-step methods. Up to 100 user defined methods can be saved; up to 20
steps can be saved for each multi-step method.
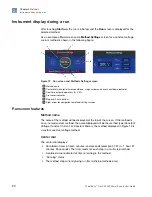
This power supply is also equipped with several pre-programmed gel electrophoresis
and transfer methods. These methods include voltage and time parameters required
to run and transfer many pre-cast gel products from Thermo Fisher Scientific.
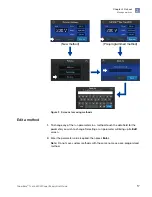
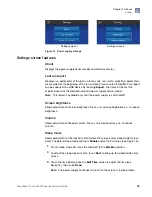
This power unit has a touch sensitive screen, so the selection of on-screen buttons
and parameters is accomplished by touching the screen at the location of the item to
be selected.
Chapter 2
Methods
Install the power supply
2
10
PowerEase
™
Touch 350W Power Supply User Guide
Summary of Contents for Invitrogen PowerEase Touch PS0350
Page 37: ......


