Thermo Scientific Revco Cryogenic Storage Freezers
Installation and Operation
7
7 Maintenance and Troubleshooting
WARNING!
Unauthorized repair of your freezer will
invalidate your warranty. Contact Technical Service at
1-800-438-4851 for additional information.
CAUTION!
Maintenance should only be performed
by trained personnel.
7.1
Condenser Maintenance
7.1.1 Cleaning the Condenser
Clean the condenser at least every six months; more often if the
laboratory area is extremely dust prone.
To clean the condenser, complete the following steps:
1. Pull the grill open.
2. Remove the filter. Check the fans. If a fan is not operating,
contact an Authorized Service Company immediately.
3. Vacuum the condenser.
4. Replace the filter and close the grill.
7.1.2 Cleaning the Condenser Filter
Clean the condenser filter every two or three months.
1. Pull the grill open.
2. Remove the filter.
3. Shake the filter to remove loose dust, rinse the filter in clean
water, shake the excess water from the filter, and replace the
filter.
4. Close the grill.
7.2
Gasket Maintenance
Periodically check the gaskets around the door or lid for
punctures or tears. Leaks are indicated by a streak of frost which
forms at the point of gasket failure. Make sure that the cabinet is
level (refer to Section 5.3 on page 2 for leveling information).
Keep the lid gasket clean and frost free by wiping gently with a
soft cloth.
7.3
Defrosting the Freezer
Defrost the freezer once or year or whenever the ice buildup
exceeds 3/8”.
To defrost, complete the following steps:
1. Remove all products and place in another cabinet.
2. Turn off the freezer.
3. Open the outer door and all inner doors.
4. Let the freezer stand with the door open for at least 24 hours.
This allows both the interior and foamed refrigerant system
to warm to room temperature.
5. Dispose of the ice and wipe out any water standing in the
bottom of the cabinet.
6. If there is freezer odor, wash the interior with a solution of
baking soda and warm water. Clean the exterior with any
common household cleaning wax.
7. Close the doors, restart the freezer and reload, following the
instructions in Section 3.1 on page 1.
7.4
Alarm Battery Maintenance
Have a technician check the condition of the alarm battery at
least once a year.
To replace the alarm battery, complete the following steps:
1. Remove the front grill. The alarm battery is located directly
behind the grill. The terminals are the “push on” type.
2. Grasp the terminal with pliers and work it gently back and
forth while pulling it off. The fittings are tight.
3. Remove the battery and put the new battery in place.
Note:
You may have to cut a strip of silicone rubber in order to
remove the battery.
4. Connect the battery terminals and replace the front grill.
7.5
Frame Heater Switch
Cryogenic chest freezers (-140º and -150º C) have a frame heater
switch which can be used to prevent or remove condensation
near the freezer compartment lid. The switch is located in back of
the unit near the top center, to the right of the junction box.
Turning the switch to the up position heats up the frame around
the lid.
Heating the frame has no effect on interior cabinet temperature.
You can turn on the switch whenever there is condensation near
the lid.
7.6
Troubleshooting Procedures
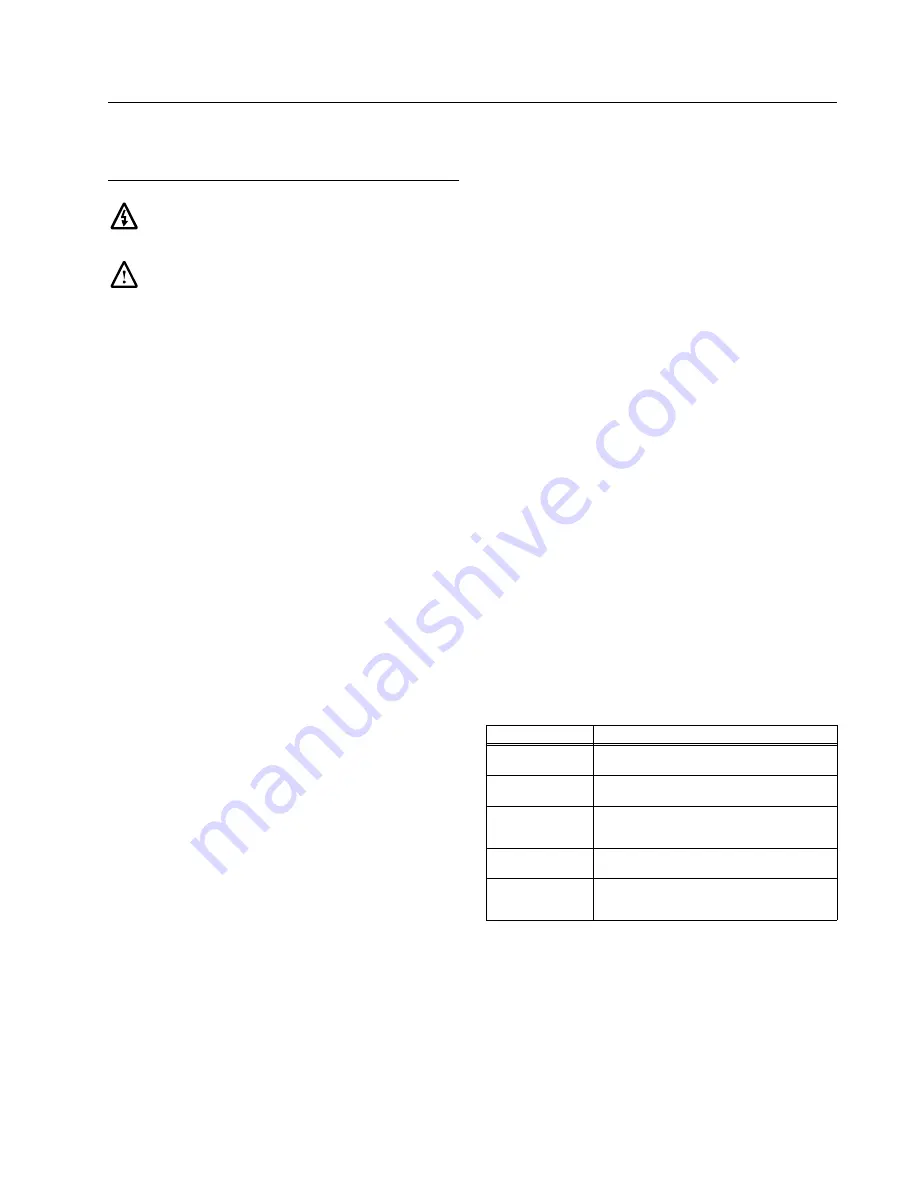
Table 2.
Troubleshooting Procedures
Problem
Solution
Check Fuse
indicator is on.
Surge protector is blown. Call an Electronics
Technician to check the equipment.
Clean Filter
indicator is on.
Condenser filter is dirty. Refer to Section 7.1.2.
Alarm Battery Low
indicator is on.
Alarm battery is low on charge. Have a
technician check the alarm battery. Refer to
Section 7.4.
Voltage Boost
indicator is on.
Low incoming line voltage to the freezer. Call an
electronics technician to check the power supply.
No display, no fans
running.
No power to the unit. Call a qualified electrical
service technician to check the service breaker
to the outlet.

