T
AKING
AN
NSOM S
CAN
4-3
Aurora-2 User’s Manual
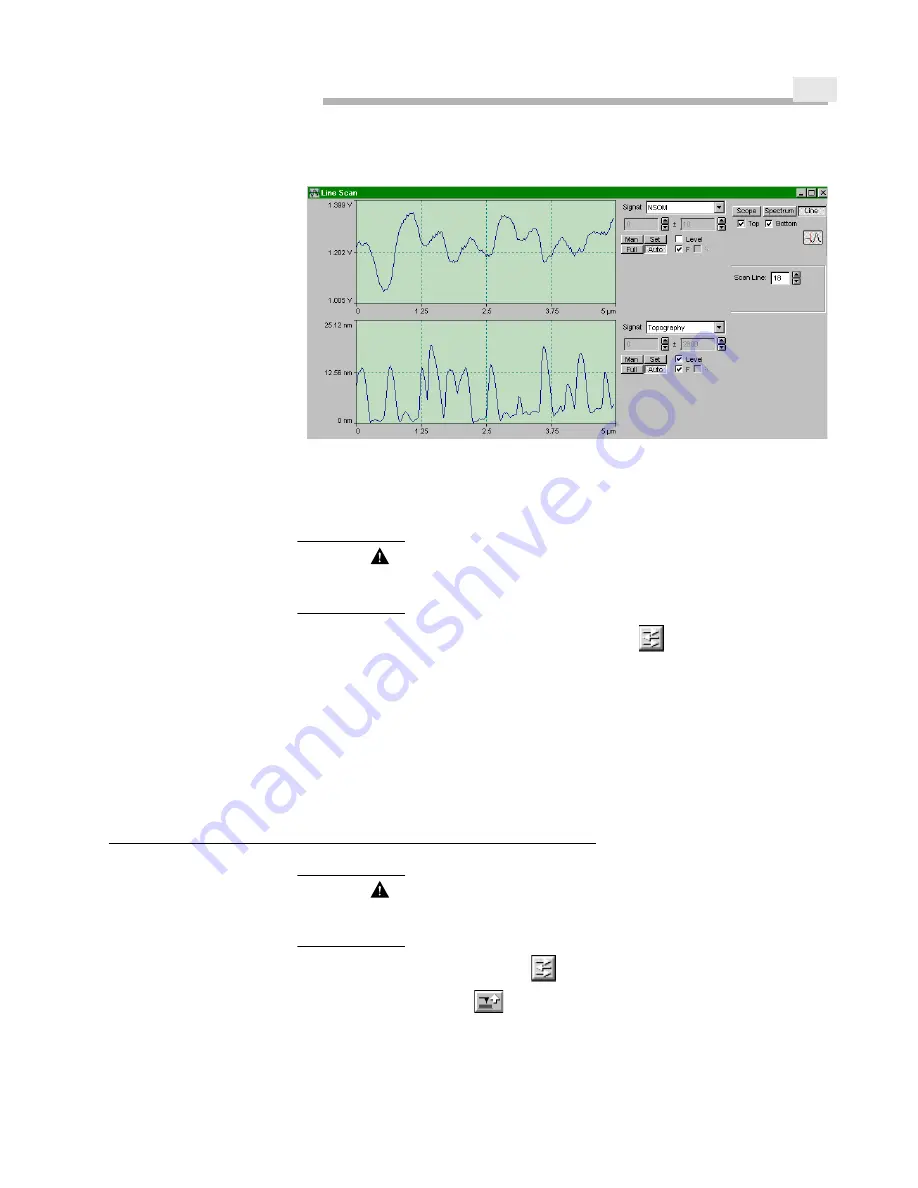
Figure 4-1
Optimized Line Scans
CAUTION
Lower the PMT voltage immediately if you notice a sudden, dramatic in-
crease of the NSOM signal (indicating a tip break). Exposure to these high light levels will
permanently damage the PMT.
Step 16
Begin a scan by clicking the Instant Scan button
on the Data Acquisition tool
bar. Adjustments to the P-I-D settings and set point can be made while the scan is
being taken. There is no need to restart the scan.
During the scan, you can keep the oscilloscope in L
INE
mode and make slight corrections
as needed to compensate for any erratic phenomena, e.g., drift, indicated by a “sawtooth”
pattern on the Topography trace (left slope much steeper than the right slope). Or, it is
possible for the tip to pick up a loose particle from the sample surface. Such events are not
unusual, and there is no need to stop the scan and start over; simply make corrections.
E
NDING
AN
NSOM S
ESSION
CAUTION
When concluding an NSOM session, wait 10-15 seconds before exposing
the PMT to light. In general, whenever the voltage is supplied to the tube, the PMT should
be in a dark environment.
Step 1
Click the Instant Scan button
to stop scanning.
Step 2
Click on the Tip Up
button on the Data Acquisition tool bar to raise the tip
away from the sample, bringing the tip out of feedback.
Step 3
Turn the PMT voltage all the way down to 0.
Summary of Contents for Aurora-2
Page 30: ...2 18 Figure 2 20 Reflection Tower Controls Swivel Tilt Focus Rotating mirror selector ...
Page 44: ...3 8 ...
Page 52: ...5 4 ...
Page 54: ......


