pg. XXI
5.6 OPERA
5.6 OPERA
5.6 OPERA
5.6 OPERA
5.6 OPERATING LEVEL SETTING
TING LEVEL SETTING
TING LEVEL SETTING
TING LEVEL SETTING
TING LEVEL SETTING
The heater / boiler must be energised and the switch at the back turned to position "1".
Your appliance is delivered with an excellent program installed that favours combustion yield; the program is called LEVEL 1.
If you are using pellets with a higher than normal incidence of residues after combustion in the brazier, alternative levels may be selected:
LEVEL 2 :
this program increases the smoke suction unit speed acceleration.
LEVEL 0 :
when using lightly-compressed pellets and/or flue outlets with very high vacuum, over 2 mm water column.
The pellet consumption value is not affected by the operating level settings.
Select the required level by acting as follows:
Press button (6) repeatedly until the word LEVEL appears on the display then after a few seconds the word LEVEL followed by the value
set on the heater / boiler (LEVEL 01 or LEVEL 02 or LEVEL 00). In order to change the operating level as key (4) is kept pressed, press
the key (3). Hold down button (4) once again and press button (3) to change the level.
To return to the boiler operating status simply press button (6) repeatedly until the operating status appears
The level selection can be made with the heater / boiler OFF or ON. If the change is made while the insert is running the
difference in the flame will be apparent. It is mandatory to pay particular care when selecting the most appropriate
operating cycle for your installation. After the selection of the operating cycle a thorough cleaning of the brazier is
mandatory.
5.7
5.7
5.7
5.7
5.7 W
W
W
W
W A
A
A
A
ATER PRESSURE IN
TER PRESSURE IN
TER PRESSURE IN
TER PRESSURE IN
TER PRESSURE IN THE GENERA
THE GENERA
THE GENERA
THE GENERA
THE GENERAT
T
T
T
TO R
O R
O R
O R
O R
The water pressure in the generator can be viewed on the display, see paragraph 5.10.
5.8
5.8
5.8
5.8
5.8 A
A
A
A
ACTION
CTION
CTION
CTION
CTION TEMPERA
TEMPERA
TEMPERA
TEMPERA
TEMPERATURE SETTING "SENSOR 1 "
TURE SETTING "SENSOR 1 "
TURE SETTING "SENSOR 1 "
TURE SETTING "SENSOR 1 "
TURE SETTING "SENSOR 1 " THERMOCELL
THERMOCELL
THERMOCELL
THERMOCELL
THERMOCELL AND "SENSOR 2"
AND "SENSOR 2"
AND "SENSOR 2"
AND "SENSOR 2"
AND "SENSOR 2"
THERMOCELL"
THERMOCELL"
THERMOCELL"
THERMOCELL"
THERMOCELL" AS INDICA
AS INDICA
AS INDICA
AS INDICA
AS INDICATED IN
TED IN
TED IN
TED IN
TED IN THE HYDRA
THE HYDRA
THE HYDRA
THE HYDRA
THE HYDRAULIC DRA
ULIC DRA
ULIC DRA
ULIC DRA
ULIC DRAWING par
WING par
WING par
WING par
WING par a.
a.
a.
a.
a. 4.7.
4.7.
4.7.
4.7.
4.7.
The heater / boiler must be energised and the switch at the back turned to position "1".
Press the button (6) repeatedly until the word THERMOCONTROL appears on the display (7). After a few seconds the inscription
THERMOCONTROL ON or THERMOCONTROL OFF will appear. Press button (4) and/or (3) to activate or deactivate the
THERMOCONTROL function (ON or OFF). Press the button (2) to confirm. If the selection is THERMOCONTROL OFF, when you confirm by
pressing button (2), the operating status of the heater / boiler will appear next on the display.
If the selection is THERMOCONTROL ON, when you confirm by pressing button (2), the following indications will appear on the display:
5.5 LANGU
5.5 LANGU
5.5 LANGU
5.5 LANGU
5.5 LANGUA
A
A
A
AGE SELECTION
GE SELECTION
GE SELECTION
GE SELECTION
GE SELECTION
The heater / boiler must be energised and the switch at the
back turned to position "1". Press the button (6) repeatedly
until the word ITALIAN appears on the display (7).
To change the display language proceed as follows . Press
button (4) repeatedly and the words ENGLISH.......
DEUTSCH..... FRANÇAIS..... ESPAÑOL.... ITALIANO.....appear
on the display. Select the desired language and press the
button (2): at this point the heater / boiler operating status will
appear on the display.
The operating alarms will be displayed in the selected language.
4
1
5
3
7
2
6
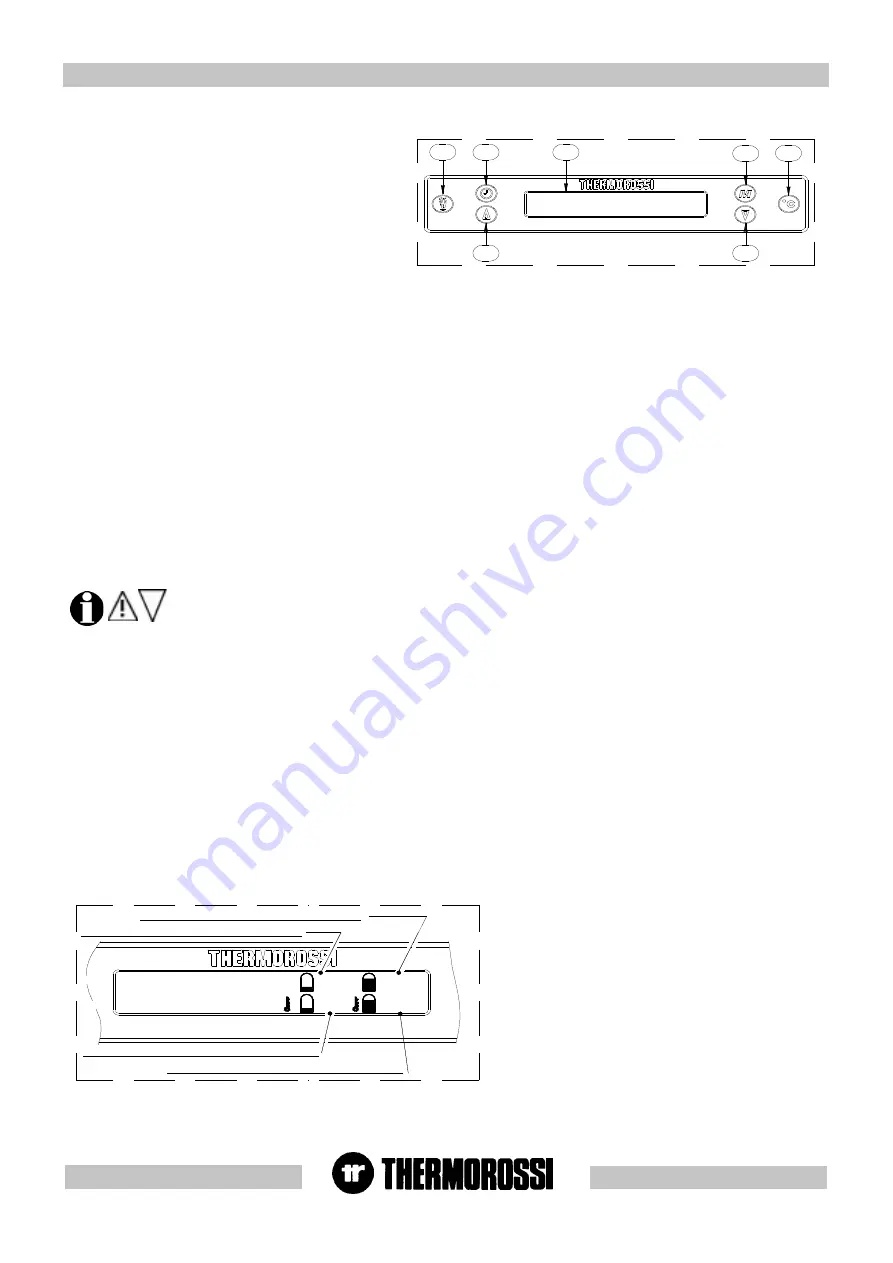
T H E R M O C O N T R O L
O N
0 0
0 0
4 5
T e m p e ra tu ra rile v a ta d a lla S o n d a S 1 n e l T h e rm o c e ll
T e m p e ra tu ra rile va ta d a lla S o n d a S 2 n e l T h e rm o ce ll
T e m p e ra tu ra im p o sta ta p e r la S o n d a S 1 d e l T h e rm o c e ll
T e m p e ra tu ra im p o sta ta p e r la S o n d a S 2 d e l T h e rm o c e ll
6 5
K E Y
Temperature detected by sensors
S1 / S2 in the Thermocell
Temperature set for sensors S1 /
S2 of the Thermocell
The figures relating to the Sensor S1 setting begin to blink.
Press button (4) and/or (3) to set the action temperature
for Sensor S1.
Press button (2) to confirm. Next the figures relating to the
setting of Sensor S2 begin to blink. Press button (4) and/or
(3) to set the action temperature for Sensor S2. Press
button (2) to confirm. At this point the heater / boiler
operating status will appear on the display.
LEGENDA
Temperatura rilevata dalla sonda S1
/ S2 nel Thermocell
Temperatura impostata per la sonda
S1 / S2 del Thermocell


