17
5.
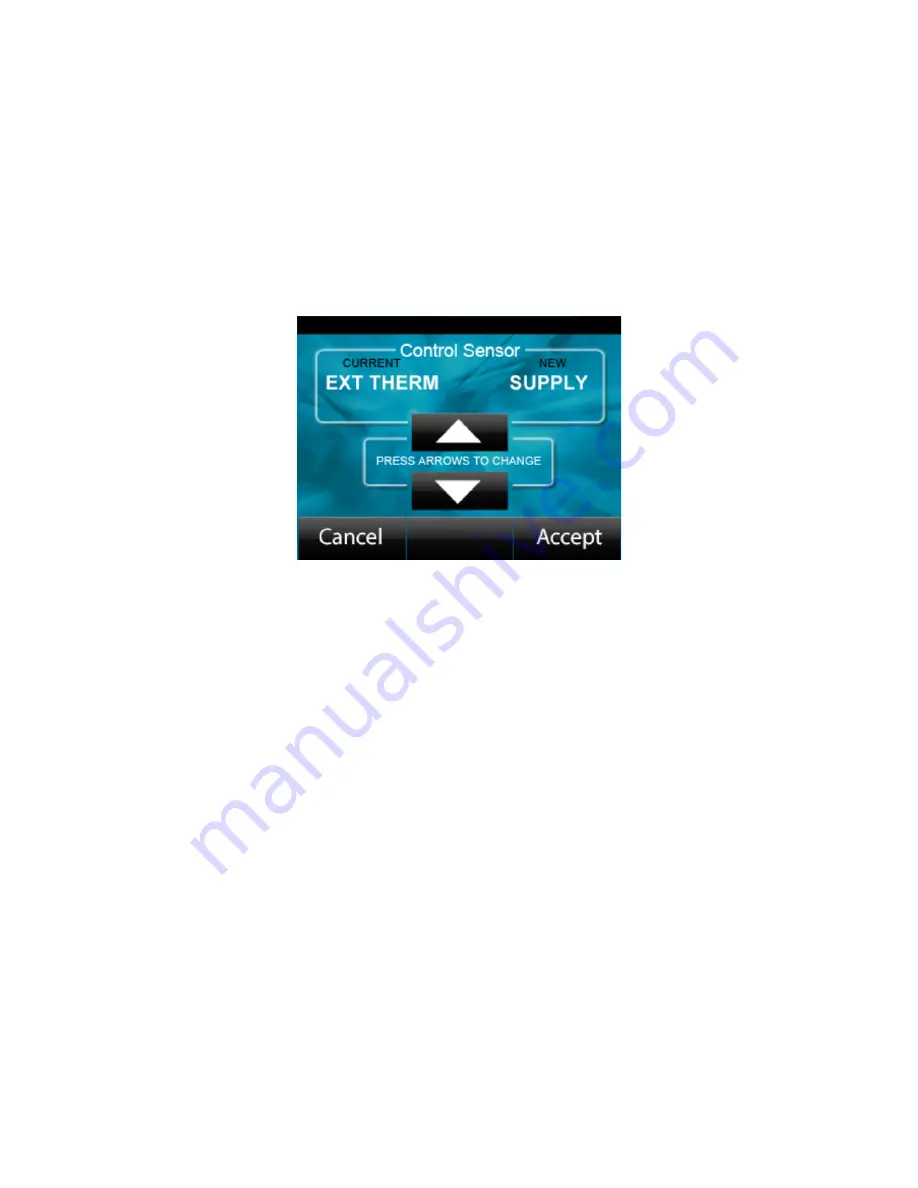
This will navigate to the Set Control Sensor screen. The screen will show the current and the
other available sensors.
6.
Press the UP or DOWN arrow to change the control sensor to a new setting. The new sensor
setting will be shown on the right under “New”.
7.
Once the correct control sensor is selected, press the “Accept” button to confirm changes to
the sensor selection.
8.
If the “Cancel” button is pressed, the new changes are canceled and the previous control
sensor selection will stay active.
9.
Pressing the “Accept” or “Cancel” button will return you to the STANDBY Mode screen
Figure 6-‐2: Control Sensor Selection Screen
Note:
1.
At present only the supply sensor option is available. The remote sensor operation is a
planned future update to the product.
How to Set the COM Port
6.3
1.
T257P Systems are equipped with alternate communications port that can be selected for
remote monitoring and communication. USB Port is the default selection.
2.
Apply power to the chiller.
3.
From the STANDBY mode, screen press the Next button.
4.
On the following screen, press the Set COM Port button.
5.
This will navigate to the Set COM Port screen. The screen will show the current and the other
available ports.
6.
Press the UP or DOWN arrow to change the port to a new setting. The new sensor setting will
be shown on the right under “New”.
7.
Once the correct com port is selected, press the “Accept” button to confirm changes to the
port selection.
Summary of Contents for T257P
Page 1: ...T257P Precision Chiller User Manual...
Page 8: ...8 Device Illustration 3 2...
Page 27: ...27 T257P System Performance 10 2 Note...
Page 33: ...33...


