Owner's Manual for Thern TSSBW Series Spur Gear Hand Winches
page 13
A10191-0309
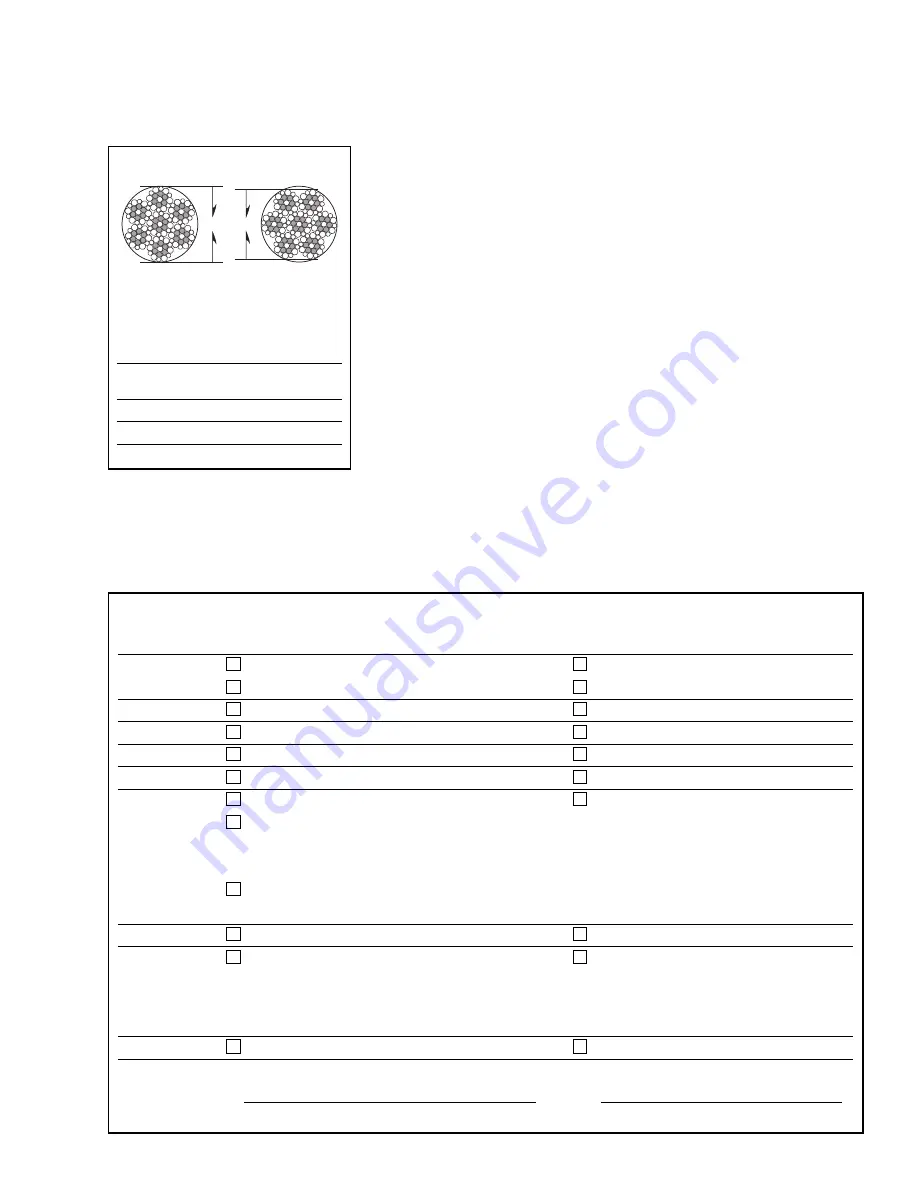
Figure 8 – Rope Diameter
di ame ter
in cor rect
correct
The wire rope assembly must be
replaced if the diameter measures
less than the minimum diameter at
any point.
wire rope
diameter
minimum diameter
1/8 in
7/64 in (.1094 in)
3/16 in
11/64 in (.1719 in)
1/4 in
15/64 in (.2344 in)
Table 1 – Inspection Checklist
damages
problems
general
fi nish weathered, fl aking, otherwise damaged
winch jerks or hesitates during operation
parts cracked, bent, rusted, worn, otherwise damaged
unusual noises, other signs of malfunction
fasteners
stripped threads, bent, worn, otherwise damaged
loose, not tightened to proper torque
gears
excessively worn, cracked, corroded, otherwise damaged
loose or improperly lubricated
brake assembly
brake corroded, cracked, worn, otherwise damaged
brake does not operate properly
drum
anchor hole worn, distorted, otherwise damaged
excessive movement or backlash
wire rope
bent, crushed, otherwise damaged
wire rope loosely or unevenly wound
broken wires, see fi gure 5
replace if more than 6 wires in one lay,
number per strand =
or 3 wires in one strand in one lay, are broken
number per lay =
diameter reduced, see fi gure 7
replace if diameter is excessively worn
diameter =
end connections
corroded, rusted, worn, otherwise damaged
not securely attached
load hook
twisted, bent, worn, otherwise damaged, see fi gure 6
hook latch fails to close when released
replace if twist is 10 degrees or more
twist =
replace if throat width is 15% larger than nominal
throat width =
replace if thickness is 10% less than nominal
thickness =
labels and plates
dirty, illegible, otherwise damaged
loosely attached or missing
comments:
authorized signature:
date
checked boxes indicate damage or problem in need of repair
g
INSTALL THE WIRE ROPE.
h
TEST WINCH PERFORMANCE by operating the winch with a load equal
to the load rating.
• Listen for unusual noises, and look for signs of damage as you op er ate the
winch.
• Make sure the wire rope winds evenly and tightly onto the drum. If it is
loose or uneven, rewind it before continuing.
• Observe the rotating drum, look for signs of loose or misaligned bear ings.
• Make sure the handle rotates freely in both directions.
Completely correct all problems before continuing. Use the trou ble shoot ing
chart to help determine the cause of certain problems. See table 2.


