


Zappa Rail | Installation Guide
15
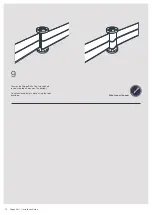
8
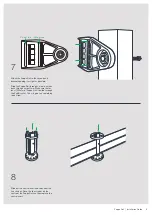
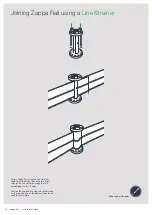
Thread the Zappa Rail in-between the rod
and core of the Insulstrainer. Tighten using
a spanner on the top of the core bolt. The
Zappa Rail will wrap around the rod and core
creating tension.
If too much Zappa rail is wrapped around
core you will not be able to create sufficient
tension. In this case you must release the
tension cut off excess Zappa rail and re-
tension.
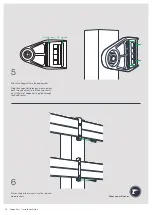
To release the tension you will need to
tighten the Insulstrainer with a spanner and
release the latch using a screwdriver.
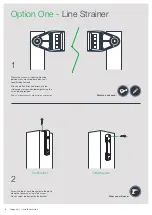
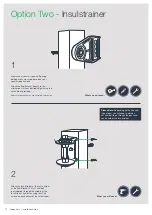
What you will need:
Please note:
Do not put your fingers near
the latch when releasing tension.
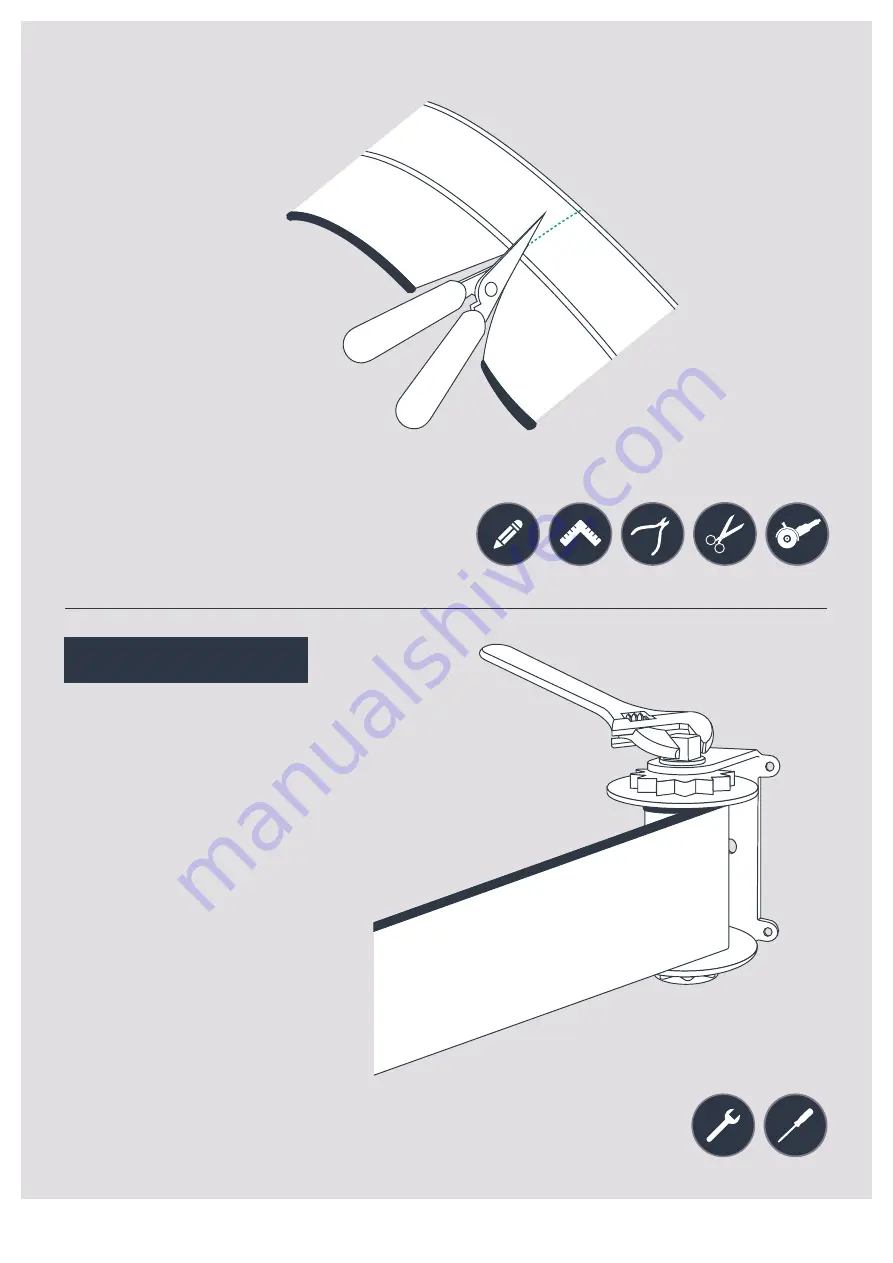
7
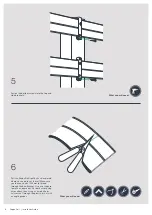
Pull the Zappa Rail tight by hand and mark
where you need to cut the rail. Make sure
you leave an extra 1000mm to thread
through the End Bracket. Use a set square
to mark a square out. Cut both wires using
wire cutters, then using a sharp knife or
scissors cut through the plastic, or cut with
an angle grinder.
What you will need:


