4-4
4. Assembly
4.
Assembly
LM Guide
z
Using the Parallelism of the Table
Secure the two LM blocks on the master LM rail to the
table (or a temporary table for measurement), and
temporarily fasten the subsidiary LM rail and the LM
block on the subsidiary LM rail to the table. Place a dial
gauge against the side surface of the LM block on the
subsidiary rail from the dial stand fixed on the table top,
then secure the bolts in proper order while maintaining
the parallelism of the subsidiary LM rail by moving the
table from the rail end. (Figure 4-11)
z
Having the Subsidiary LM Rail Follow the Master LM Rail
Place the table on the LM blocks of the correctly
mounted master LM rail and the temporarily fastened
subsidiary LM rail, and fully fasten the two LM blocks on
the master rail and one of the two LM blocks on the
subsidiary rail with bolts. Fully fasten the mounting bolts
on the subsidiary LM rail in order while temporarily
fastening the remaining LM block on the subsidiary LM
rail. (Figure 4-12)
z
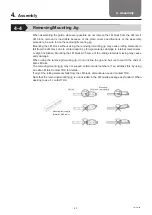
Using a Jig
Use a jig like the one shown in Figure 4-9 to maintain
the parallelism of the side reference surface of the
subsidiary rail with the side reference surface of the
master rail, sequentially moving from one end of the rail
by the mounting pitch, and at the same time, fully fasten
the mounting bolts in order. (Figure 4-13)
Figure 4-11
Figure 4-12
(a)
(b)
Figure 4-13


