1
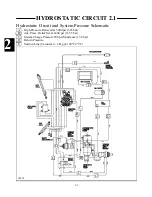
1-40
Cylinder Disassembly
Before Attempting repairs to the hydraulic cylinder, clean
the body with a suitable solvent. Ensure all openings are
plugged to prevent solvent from entering the cylinder.
1
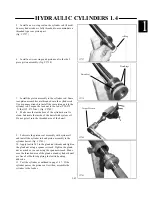
Remove the cylinder as outlined previously.
2
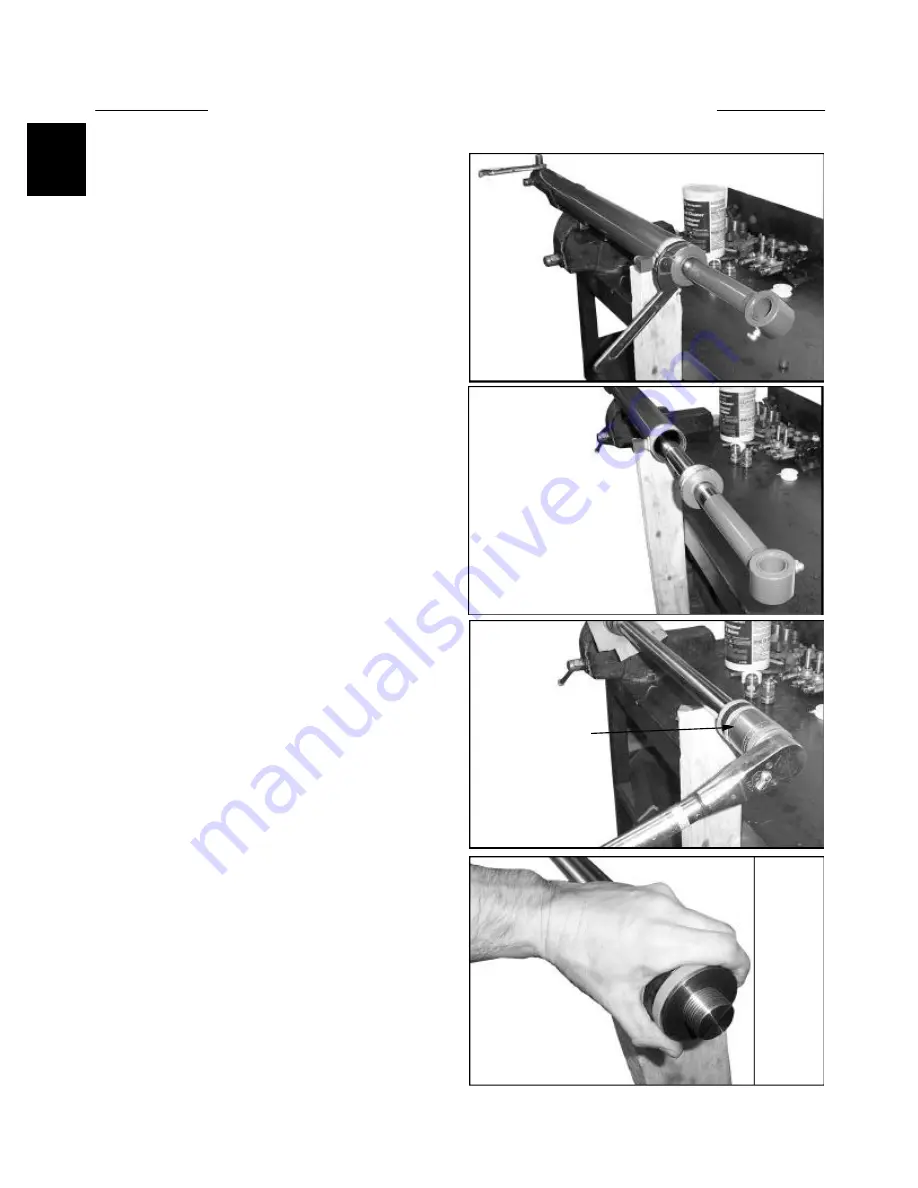
Place the base end of the cylinder in a vise or on a
pin held in the vice and support the front end of the body.
Remove the plugs from the hose ports. (fig. C3725)
3
Loosen the gland nut from the cylinder barrel using a
spanner wrench. The gland nut threads are coated with
loctite bonding agent at time of assembly. It may be
necessary to apply heat to the gland nut and cylinder
barrel threaded area, with a torch, to ease removal. (fig.
C3725)
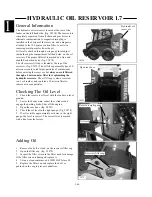
4
Remove the gland nut, rod and piston seal assembly
from the barrel. (fig. C3726)
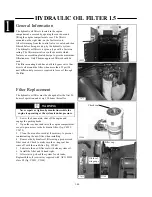
5
Place the cylinder rod bushing end in a vise or on a
pin held in a vice and remove the lock nut from the rod.
(fig. C3729)
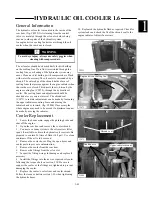
6
Remove the 2 piece piston assembly from the rod.
(fig. C3731)
7
NOTE: Some piston assemblies rear piston parts are
threaded onto the rod. You will need to use a spanner
wrench to remove this type of rear piston.
C3725
C3729
C3731
C3726
HYDRAULIC CYLINDERS 1.4
Removing lock nut


