EN
14
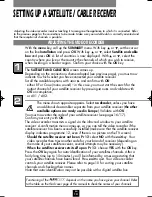
SETTING UP A SATELLITE / CABLE RECEIVER
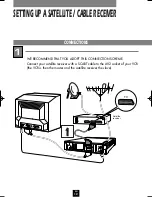
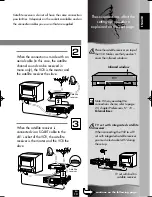
Adjusting the video recorder involves teaching it to recognise the appliance to which it is connected. Refer
to the previous page for the connections to be made. Make sure your satellite dish is correctly oriented and
that the reception of channels is possible.
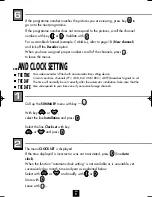
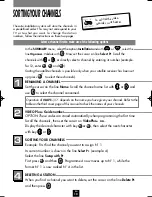
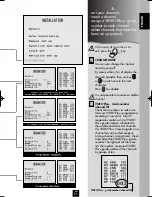
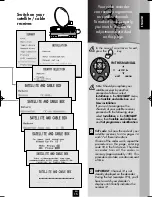
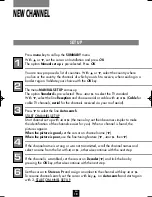
With the
menu
key, call up the
SUMMARY
menu. With key
V
or
W
, set the cursor
on the line
Installation
and press
OK
. With key
V
or
W
, select
Satellite and cable
box
and press
OK
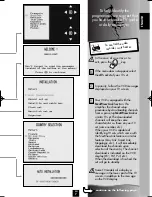
. A list of countries is now displayed. With
V
or
W
, select the
country where you live or the country the channels of which you wish to receive,
when residing in a border region. Confirm your choice with the
OK
key.
The
SATELLITE AND CABLE BOX
screen comes up.
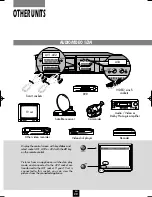
Depending on the connection scheme adopted (see previous page), you must now
indicate to which socket you have connected your satellite receiver.
Scroll the available options with
C
or
B
and confirm with
OK
:
- either RF or Coax (mono sound) – in this case, you must start the search for the
output channel of your satellite receiver by pressing
C
ou
B
and validate with
OK
on completion,
- or AV1 / AV2.
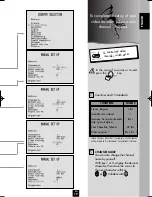
The menu shown opposite appears. Select
no decoder
, unless you have
an additional descrambler separate from your satellite receiver (
the other
available options are rarely used in Europe
). Validate with
OK
.
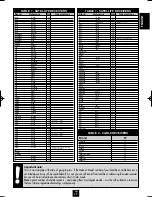
You must now enter the code of your satellite receiver (see pages 16/17).
Confirm your entry with
OK
.
The video recorder transmits a signal via the infra-red window to your satellite
receiver. A confirmation menu comes up, so you can tell the video recorder if the
satellite receiver has been successfully installed (make sure that the satellite receiver
display indicates programme 12, even if there is no picture on the TV screen).
-
Should the satellite receiver not be on Pr 12
: select
NO
with the
exit
key. Your
video recorder then tries another code for your brand of receiver (depending on
the make of your satellite receiver, several attempts may be necessary).
-
When the satellite receiver sets itself up on Pr 12
: choose
YES
with the
OK
key.
Press the
OK
key again for auto-identification of your satellites channels. After a
fairly long time (up to 15 minutes), you’ll be informed by a message stating that
your satellite channels have been stored. Press
exit
to quit. Your video recorder
controls your satellite receiver. Please refer to page 10 for sorting your satellite
channels and checking their names.
Note that auto-identification may not be possible with a digital satellite box.
1
2
ADJUSTING THE VIDEO RECORDER
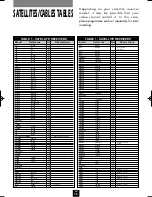
Functioning of the
depends on the name you have given your channel. Refer
to the table on the third cover page of this manual to check the names of your channels.
I-T7089PE-GB/BEI/906 20/07/99 18:14 Page 14


