EN
EN
DVD Menu System
The Display Menu
The Display menu contains the settings that affect
how a disc’s content looks on your TV and the
brightness of the display that’s on the front of the
DVD Player.
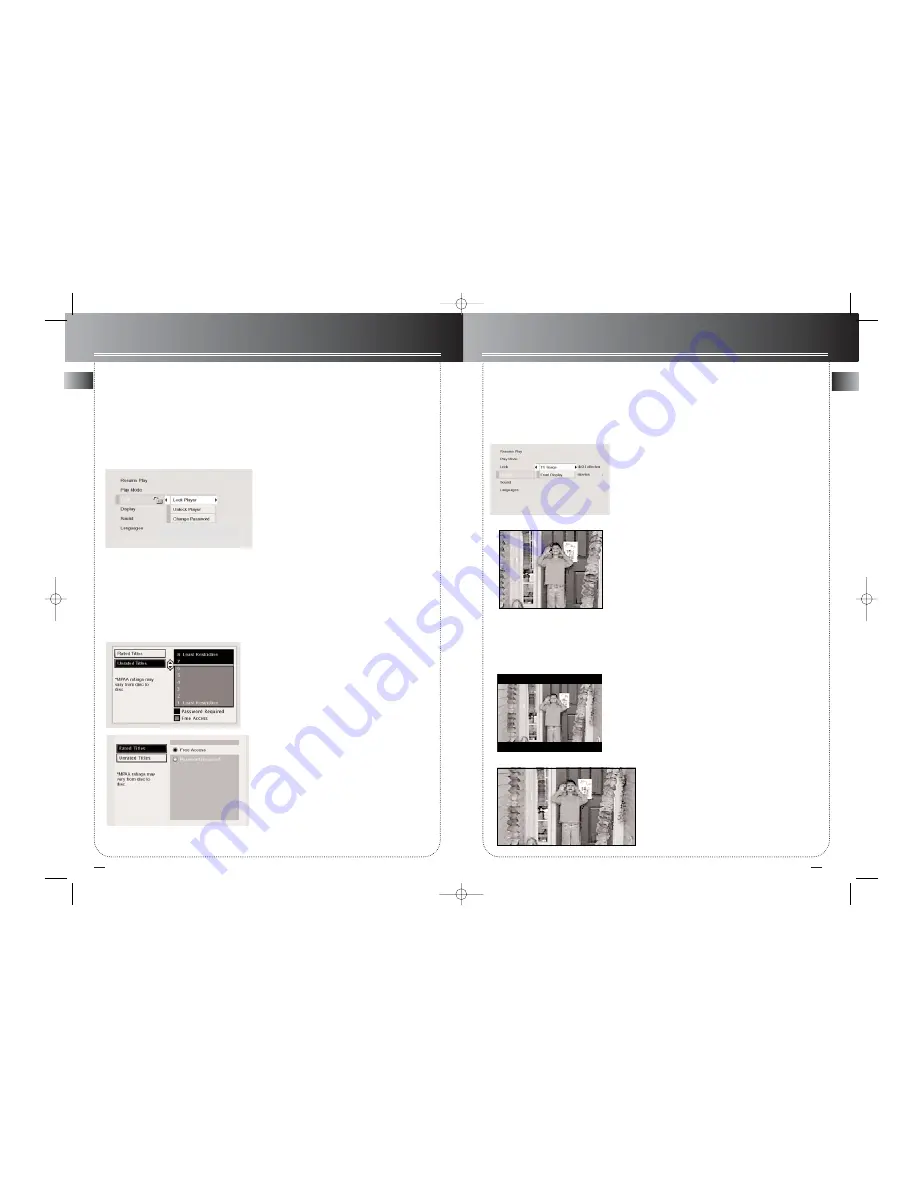
TV Image
The
TV Image
menu adjusts the way a movie appears on your TV.
Standard TVs are 4 x 3 format. Depending on the type of television
you have, you may want to adjust the screen setting (also called
the aspect ratio).
1.
With the player on (no disc playing), press MENU (the main
menu appears).
2.
Use the up/down arrow buttons to highlight Display. Press
the OK button on the remote (the Display choices appear).
3.
Since the TV Image is the first submenu, it’s already high-
lighted. Press the OK button (the TV Image options appear).
4.
Use the up/down arrow buttons to highlight your choice (the
options are explained below), and press OK to select.
4 x 3 Pan & Scan –
Choose this setting if you want the movie to
fill the entire screen of your TV. This might mean that parts of the
picture (the left and right edges) won’t be seen. Most discs pro-
duced in a widescreen format can’t be cropped in this fashion. This
means the black bars will appear at the top and the bottom of the
screen.
4 x 3 Letterbox –
Choose this setting if you want to see movies in
their original aspect ratio (height-to-width ratio). You’ll see the
entire frame of the movie, but it will take up a smaller portion of
the screen vertically. The movie might appear with black bars at
the top and bottom of the screen.
16 x 9 –
Choose this setting if your DVD Player is con-
nected to a widescreen TV. If you choose this settng and
you don’t have a widescreen TV, the images on the
screen might appear distorted due to vertical compres-
sion. If you play a disc recorded in 4 x 3 format on a
widescreen TV, the left and right side of the screen will
appear black.
DVD Menu System
Setting Rated Title and Unrated
Title
The Rating Limits feature lets you determine what
types of discs can be played in the player, and what
types of discs will require a password to override
the rating limit that you’ve set. In the U.S., the rat-
ings feature is based on the ratings set up by the
MPAA (Motion Pictures Association of America)
such as R, PG, G, etc.
The system ranks the ratings from 1 to 8 in order to
accomodate ratings systems used in other countries
(1 is considered material that is least offensive and
8 is considered the most offensive).
Note: In order for the Ratings to be enforced, the
DVD Player must be locked and the disc you’re play-
ing must contain a movie (or a title) that is rated.
To set Ratings:
1.
From the main menu, highlight Lock and press
OK (enter your password if asked).
2.
Highlight Ratings and press OK.
Rated Titles: most discs that contain movies
shown in theatres have a rating assigned to
them (R, PG-13, PG, G, etc.), but some discs con-
tain titles (or movies) that aren’t rated.
Unrated Titles: discs that contain titles that don’t
have a rating assigned to them. Sometimes,
movies you might find the most explicit are
unrated.
3.
To set the ratings for Rated Titles, press OK
(since the screen appears with Rated Titles
already highlighted). The 8-level rating list
appears.
4.
Use the up and down arrow buttons to move
the bar to the rating level you find acceptable.
Ratings that don’t require a password (free
access) appear under the bar.
Ratings that require a password appear above
the bar.
Press OK.
5.
To set ratings for Unrated titles:
Follow the previous steps, but highlight Unrated
Titles in step 3.
16
17
CS1200VD EN PART 2 5/20/03 11:17 AM Page 2


