background image

10

EN

Settings

9

EN

Settings

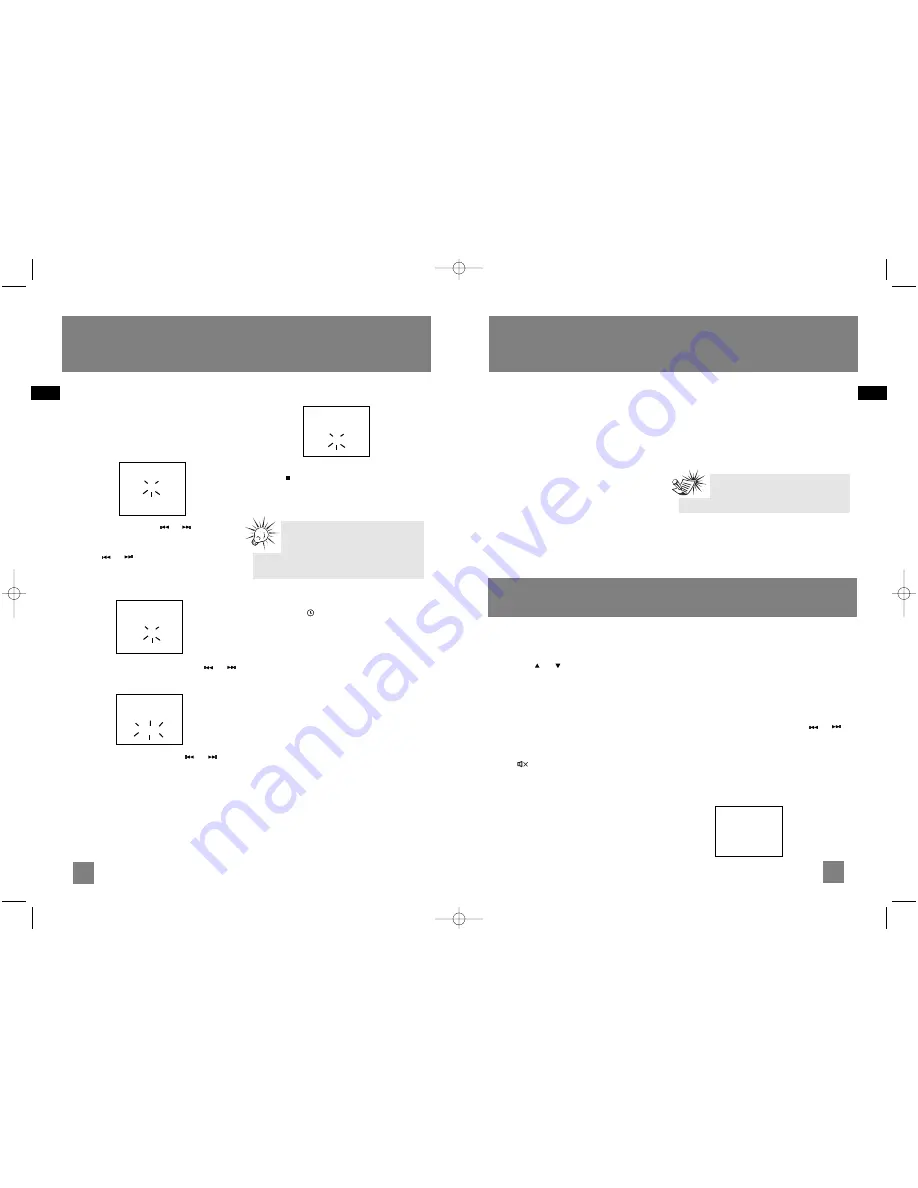
Setting the Timer

You can turn on/off the unit or record TUNER at

preset times by setting the timer.

1. Press and hold 

TIMER

on the remote control 

until Timer On and the clock hour flashes on 
the display.

2.  For setting time, press

or

to set the

hour and then press 

TIMER

to shift to minute

digits.

3. Press

or

to set the minute.

4. Press 

TIMER

to change to Timer Off setting

with clock time flashing. Repeat steps 2 & 3
for timer off time setting.

5. Press 

TIMER

to select source.  Press

or

to select TUNER / TUNER REC / DISC / USB.

If TUNER REC is selected, press

or

to

select the preset station.

6. Press 

TIMER

to set volume.  Adjust 

VOLUME

CONTROL

to select desired volume level.

7. Press

TIMER

to save settings.  

Press 

to quit setting.

The timer is automatically activated once
timer setting is saved

Activating the Timer

Press and release 

TIMER

to turn on/off the alarm.

The timer icon 

is displayed when timer is

activated.

Program Recording

Use Program Recording to preset the unit to
record your favorite radio program.

Choose TUNER REC as the source to record radio
at the preset time. Make sure the mp3 player is
connected and have enough memory space.

Timer 

On  00:00A

Timer

Source

Tuner

Timer 

On  00:00A

Off  00:00P

Timer

Volume

10

Sleep Timer

You can select the time interval in minutes before
the unit turns off automatically. 
Press 

SLEEP

to select among OFF, 120, 90, 60, 45,

30, 15 and  5 minutes. 
The SLEEP icon lights on the display when sleep
timer is activated.

View Remaining Sleep Time

When sleep is activated, press 

SLEEP

once to

view remaining sleep time.

Adjust Sleep Time

Press 

SLEEP

again when the remaining sleep time

is displayed to change sleep time.

Note:

Sleep is automatically de-activated

when the unit is turned off.

Sound Features

Volume Control

Rotate the volume control on the main unit or
press 

VOL

or       on the remote control to

adjust volume level. The volume level shows
briefly on the display.

Bass Boost

Press 

B.BOOST

to turn on/off boosting the bass

frequency. The BASS BOOST icon lights on the
display when it is activated.

Muting Audio

Press         on the remote to cut the sound
(Remote Only). MUTE flashes on the display.

Using Preset Equalizer Curves

Press 

EQ

to toggle among FLAT, ROCK, POP, JAZZ,

CLASSIC and CUSTOM.  The display shows your
selection briefly and the relative icon lights on
the display.

Creating a Custom Curve

1. Press

EQ

to select CUSTOM mode.

2.  While CUSTOM is displayed, press 

or

to cycle  among displayed bass and treble
range levels.

3.  While BAS and TRE is displayed, adjust volume 

control to set the associated gain between 
-10 - +10.

4.   Press 

EQ

to exit.

Custom

BAS     +02

TRE      00

Tips:

“TUNER REC” settings are for Program

Recording.  For more information, see

paragraph below.

CS606_EN  6/12/06  2:08 PM  Page 16

Summary of Contents for CS606

Page 1: ...a l It is important to read this instruction book prior to using your new product for the first time THOMSON 46 quai Alphonse Le Gallo 92648 Boulogne Cedex FRANCE www thomson net 5626 0970 CS606_EN 6...

Page 2: ...from the mains socket outlet completely The descriptions and characteristics given in this document are given as a general indication and not as a guarantee In order to provide the highest quality pro...

Page 3: ...d incorrectly if all batteries are not replaced at the same time if disposed of in fire or if an attempt is made to charge a battery not intended to be recharged Headset Safety Do not play your headse...

Page 4: ...3 Connecting USB device to the Main Unit 13 Selecting USB Mode 13 USB Playback Features 13 Memory Usage 13 Radio 14 Selecting Tuner Band 14 Tuning to a Station 14 Using Presets 14 Auto Preset Programm...

Page 5: ...nas are positioned properly Uncoil the FM antenna at the back of the unit making sure it is fully extended you may even want to tape it to the wall behind the unit if possible The higher the better Yo...

Page 6: ...Tuner mode selects radio band VOLUME CONTROL adjusts volume except in navigation mode In mp3 WMA USB navigation mode rotate clockwise to navigate downwards and rotate counter clockwise to navigate up...

Page 7: ...n tuner mode selects the previous preset number LEFT BACK In navigation mode navigates backwards RIGHT ENTER In navigation mode navigates forward Installing Batteries The remote control must be insert...

Page 8: ...ct the time interval in minutes before the unit turns off automatically Press SLEEP to select among OFF 120 90 60 45 30 15 and 5 minutes The SLEEP icon lights on the display when sleep timer is activa...

Page 9: ...unctioning To avoid damages to the CD R RW disc do not open the disc compartment door while the disc is being read Do not load an unrecorded CD R RW disc into the unit This may take a longer time to r...

Page 10: ...uecies Using Presets The tuner can be in either TUNE or PRESET mode Press to toggle TUNE and PRESET mode Press or to access the previous or next preset station Auto Preset Programming FM only Press an...

Page 11: ...NTRO CT key to replace the displayed time with RDS station time Searching by Program Type PTY Remote Only 1 Press PTY to enter PTY selection 2 Press PTY repeatedly to select a PTY mode 3 Within 5 seco...

Page 12: ...files and set up a Program List In USB mode allow you to rename tracks Sampling Tracks Press INTRO on the remote control to play the first 10 seconds of each track on the current disc all discs in the...

Page 13: ...lphabet PROG 30 Advanced Navigation Controls File Navigation Main Unit SELECT enters navigation mode from mp3 WMA USB stop mode Enters selected folder in navigation mode Begins playback of the selecte...

Page 14: ...u have selected the appropriate function CD Tuner Make sure mute is off Make sure headphones are not plugged in Check antenna connection Move antenna Turn off nearby electrical appliances such as hair...

Page 15: ...ft cloth in water wring it out well wipe the dirt away gently and then remove any water drops with a dry cloth Do not use record cleaning sprays or antistatic agents on CDs Also never clean CDs with b...

Reviews: