background image

OPERATION 

Final Check List before Operation 

1. Have all packing materials and tape been removed from the interior and

exterior of the ice maker?

2. Did you clean the ice storage bin?
3. Have the installation instructions been followed, including connecting the

machine to water and electricity?

4. Has the machine been leveled?
5. Is the ice maker in a site where the ambient temperature is between 45°F

(7°C) and 110°F (43°C) and the water temperature between 41°F (5°C) and
90°F 

(

32°C) all year- round?

6. Has the water supply pressure been checked to ensure a minimum of 15

psig with a static pressure not to exceed 80 psig?

7. Is there a clearance of at least 4” (102mm) at the rear, and 1” (25 mm) at top

and sides for proper air circulation?

8. Has  the  power  supply  voltage  been  checked  or  tested  against  the

nameplate  rating?And has proper grounding been installed in the ice maker?

9. Is the ice maker plugged in?
10.Have you turned on the main water supply and tap?

11.Have you checked for leaks at all water supply connections?

Operating method


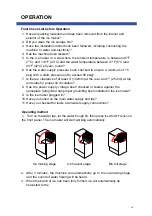
1. Turn on the water tap, let the water trough fill, then press

 the ON/OFF button 

on

the front


panel. The ice maker will start working automatically.

2. After 3 minutes, the machine will automatically go to the ice-making stage,

and the sound of water flowing will be heard.

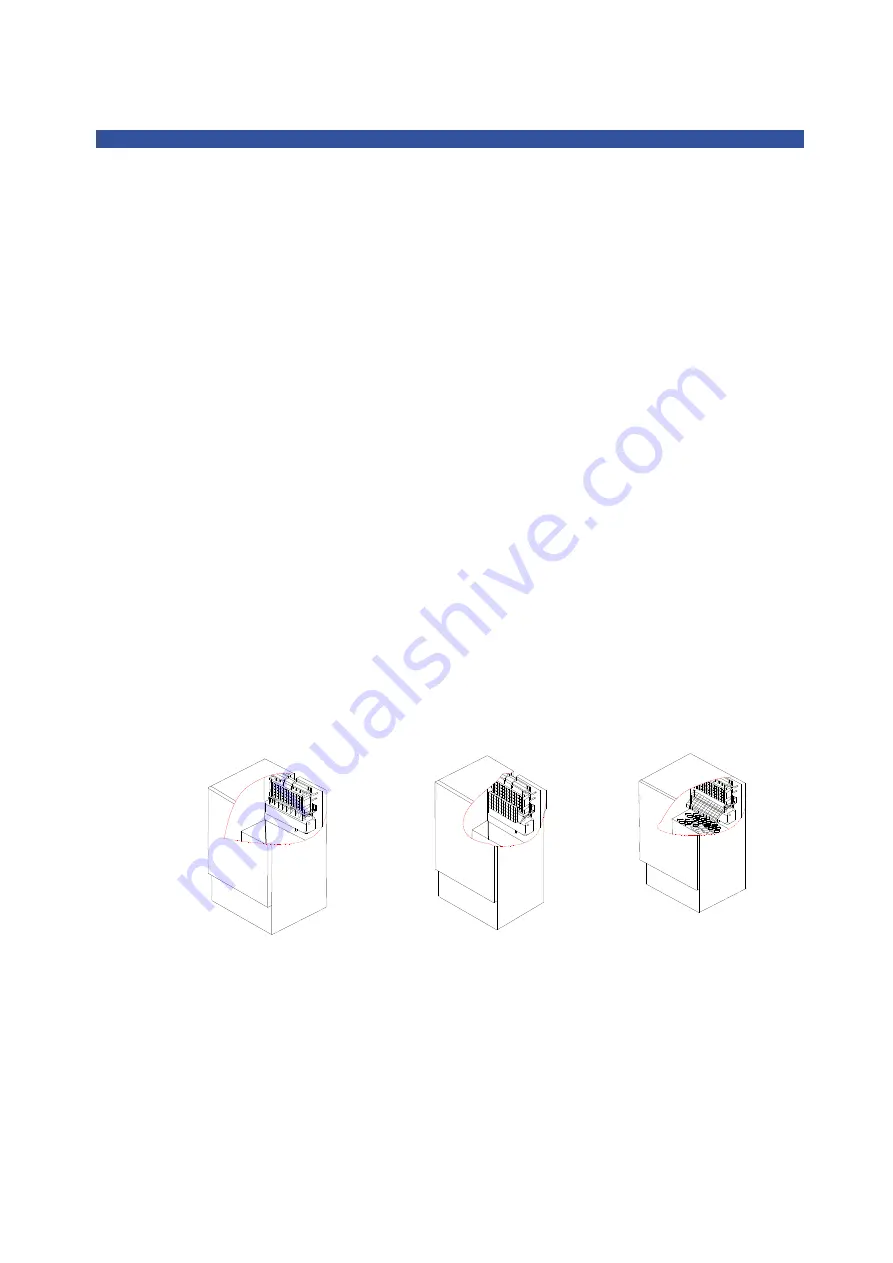
3. When the batch of ice has been fully formed

ice will automatically be

harvested to the

Bin full stage 

Ice making stage 

Ice harvest stage 

16

Summary of Contents for TIM1501

Page 1: ...Production Makes up to 50 lb of ice cubes every 24 hours for a steady supply of ice Ample Storage Large capacity bin stores up to 25 lbs of cube shaped ice LED Lighting Striking blue LED interior lig...

Page 2: ...oduct Width 14 9 16 Product Depth 23 5 16 Product Depth with Handles 25 Product Height 32 11 16 Cut Out Left to Right Width min 15 1 8 Cut Out Front to Back Depth min 25 Cut Out Height min 33 PRODUCT...

Page 3: ...USE AND CARE MANUAL COOK LIKE A GOD 15 INCH BUILT IN ICE MAKER TIM1501...

Page 4: ...15 INCH BUILT IN ICE MAKER USE AND CARE MANUAL TIM1501...

Page 5: ...ly 12 13 Drain 13 14 Installation types 15 OPERATION 16 20 Final check list before operation 16 Operating method 16 17 How the machine makes ice 17 How the machine uses the water 18 How the pump out w...

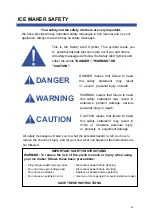
Page 6: ...serious personal injury or death CAUTION means that failure to heed this safety statement may result in minor or moderate personal injury or property or equipment damage All safety messages will alert...

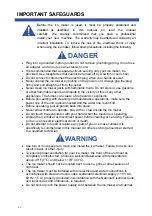
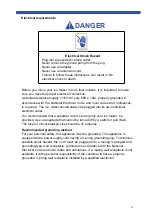
Page 7: ...operations make sure the power line of the unit is disconnected and the water line is shut off Before operating pull all panels back into place Never allow children to operate play with or crawl insi...

Page 8: ...ber gloves to protect hands Carefully read the safety instructions on the container of the ice machine cleaner Do not use the apparatus other than for its intended purpose 04 SAVE THESE INSTRUCTIONS E...

Page 9: ...e 350 psig 130 psig Width x depth x height 14 6 x23 6 x 32 6 Unit weight 84 lbs Maximum ice storage 25 lbs Ice making capacity 50 lbs day Ice shape Cube Ice cube dimensions 7 8 x 7 8 x 7 8 The technic...

Page 10: ...bution tube Evaporator ice mold Water trough Float Ice storage bin Control panel Front louver panel Flat feet Door COMPONENT LOCATIONS Ice scoop Water supply hose Power cord Water inlet Drain outlet D...

Page 11: ...d dish soap over the adhesive with your fingers Wipe with warm water and dry Do not use sharp instruments rubbing alcohol flammable fluids or abrasive cleaners to remove tape or glue These products ca...

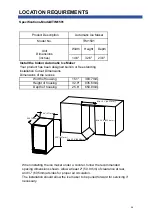
Page 12: ...using 25 6 650 8mm Unit Dimensions inches Automatic Ice Maker TIM1501 Min 25 6 650 8mm Min 15 1 383 7mm Min 32 9 835 6mm 23 6 600mm 14 6 371mm 32 6 827mm Specifications Model TIM1501 When installing t...

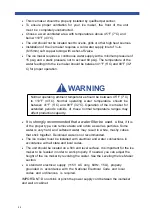
Page 13: ...les Some water is very hard and softened water may result in white mushy cubes that stick together Deionized water is not recommended The ice maker must be installed with electrical and water connecti...

Page 14: ...mmended grounding method For your personal safety this appliance must be grounded This appliance is equipped with a power supply cord having a 3 prong grounding plug To minimize possible shock hazard...

Page 15: ...s make it easy for one person to move the machine This is useful for cleaning and sanitizing the surface on which the ice maker is installed because it allows you to move the unit and have easy access...

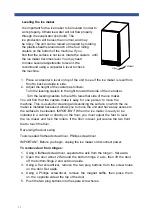
Page 16: ...d replace axis on the hinge 2 Tighten it firmly 5 Push the plug buttons into the original screw holes See Figure below Water Supply The water supply should be ready at the point of installation The wa...

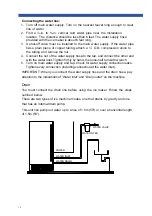
Page 17: ...connect the other end with the water inlet Tighten firmly by hand then one half turn with wrench 5 Turn on main water supply and tap Check for water supply connection leaks Tighten every connection in...

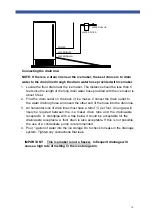
Page 18: ...the hose into the drain line 3 All horizontal runs of drain lines must have a fall of per foot An air gap will likely be required between the ice maker drain tube and the drain waste receptacle A sta...

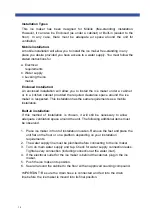
Page 19: ...same requirements as a mobile installation Built in installation If this method of installation is chosen it will still be necessary to allow adequate ventilation space around the unit The following a...

Page 20: ...ere a clearance of at least 4 102mm at the rear and 1 25 mm at top and sides for proper air circulation 8 Has the power supply voltage been checked or tested against the nameplate rating And has prope...

Page 21: ...upply tap off when the ice maker is working Never touch evaporator when unit is running Except to take ice from the unit keep the door closed to reduce melting and insure proper ice formation How the...

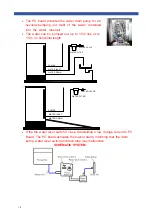
Page 22: ...uously as the water in the trough freezes continuously in the evaporator How the pump out water drain system operates The components of the Pump Out Water Drain System are Water reservoir PC Board Wat...

Page 23: ...e or to 1 5m on horizontal length If the the water lever switch 2 close transmitting a low voltage current to PC Board The PC board activates the buzzer alarm informing that the drain pump water lever...

Page 24: ...sound of ice cubes falling into the ice storage bin Preparing the ice maker for long storage If the ice maker will not be used for a long time or is to be moved to another place it will be necessary...

Page 25: ...d with 2 gallons of warm water Do not use solvent based or abrasive cleaners Use a soft sponge and rinse with clean water Wipe with a soft clean towel to prevent water spotting Stainless steel can dis...

Page 26: ...ater trough into the original location 6 Put the ice storage bin inside the unit 7 Reconnect power to the unit Condenser cleaning A dirty or clogged condenser prevents proper airflow reduces ice makin...

Page 27: ...he system regularly helps remove the mineral scale buildup How often to clean the system depends upon how hard your water is or how effective your filtration may be With hard water of 15 to 20 grains...

Page 28: ...solution to be in contact for at least 3 minutes then dry 9 Repeat step 5 to rinse the ice making system one more time 10 Press the ON OFF button again The machine will return to the regular ice maki...

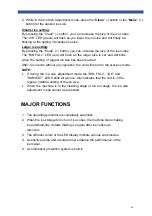
Page 29: ...de controlled by a fixed timer 3 Ice Harvest Yellow LED Ice harvest indicator light When this is lit the unit is working in the ice harvest mode controlled by the ice full probe 4 Mode button Mainly f...

Page 30: ...ithout any operation the unit will return to the previous mode NOTE If during the ice size adjustment mode the BIN FULL ICE and HARVEST LEDS blink all at once this indicates that the unit is in the re...

Page 31: ...ome ice cubes Be sure the ice full probe is free of ice The water supply tap is turned off Turn on the water supply tap The water supply pipe is not properly connected Reconnect the water supply pipe...

Page 32: ...grounding requirements machine The hardness level of the water is too high Install a water softening device in front of the water inlet Remove the ice storage bin and clean the drainhole Water leaks...

Page 33: ...e California 91761 For Customer Service please call 877 288 8099 For the most up to date warranty and service policy please refer to our website WWW THORKITCHEN COM WARRANTY REGISTRATION For in warran...

Page 34: ...hen to enhance your culinary journey and we re stoked to have you in the club Think of it as a secret society of really savvy people such as yourself choosing professional power and performance at an...

Reviews: