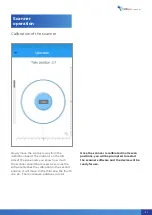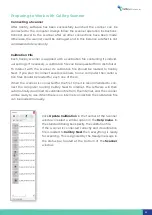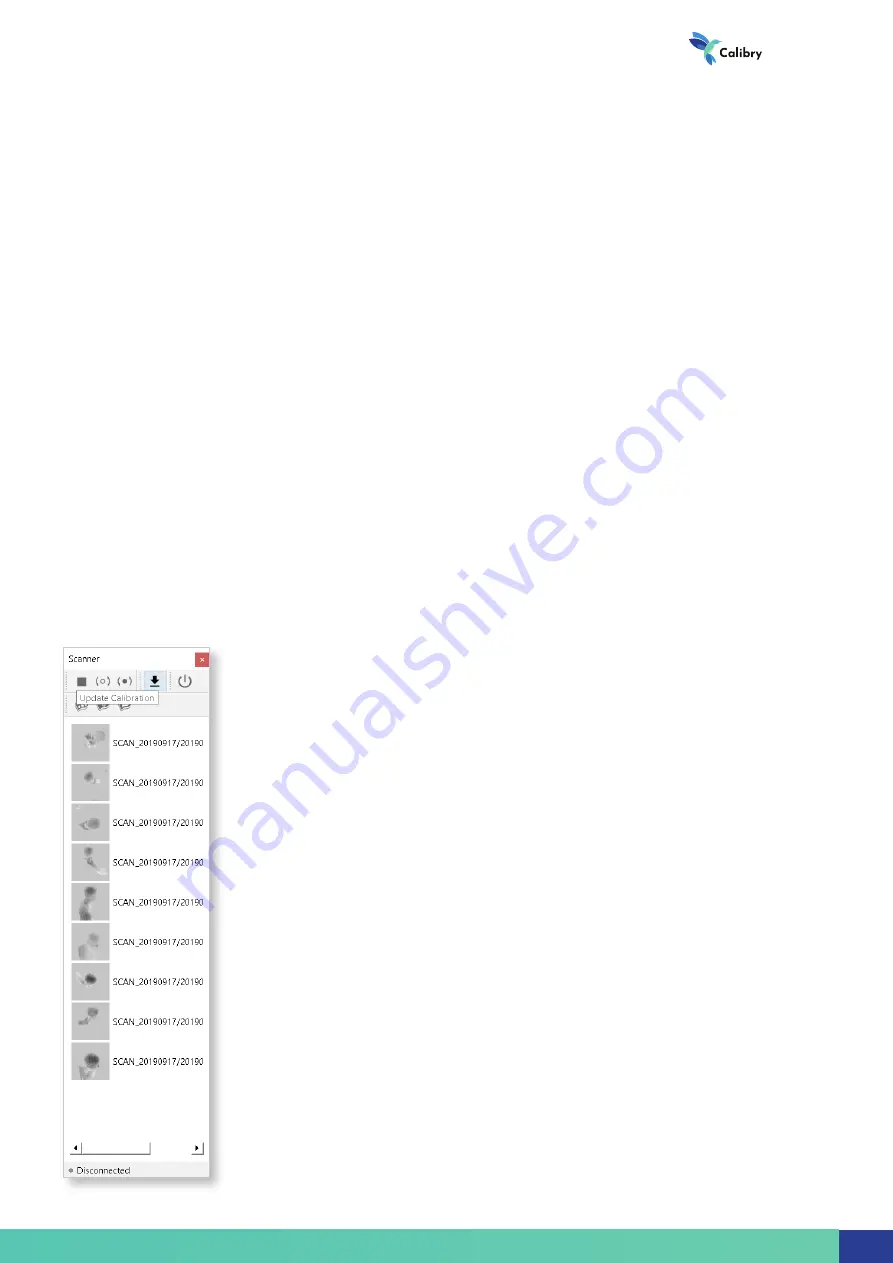
Click
Update Calibration in the toolbar of the Scanner
window or select a similar option in the
Help menu. In
the standard dialog box specify the calibration file.
If the scanner is connected correctly and its calibration
file is loaded to
Calibry Nest then everything is ready
for scanning. This is signaled by the Ready message in
the status bar located at the bottom of the
Scanner
window.
Preparing to Work with Calibry Scanner
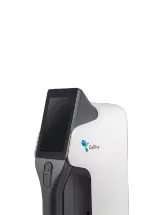
Connecting a Scanner
After Calibry software has been successfully launched, the scanner can be
connected to the computer. Always follow the scanner operation instructions.
Connect power to the scanner after all other connections have been made.
Otherwise, the scanner could be damaged, and in this instance a defect is not
considered under warranty.
Calibration File
Each Calibry scanner is supplied with a calibration file containing its individ-
ual settings. If necessary, a calibration file can be requested from distributor.
To interact with the scanner its calibration file should be loaded to Calibry
Nest. If you plan to connect several scanners to one computer then calibra-
tion files should be loaded for each one of them.
When the scanner is connected for the first time it is recommended to con-
nect the computer running Calibry Nest to Internet. The software will then
automatically download its calibration file from the Internet, and the scanner
will be ready to use. When there is no Internet connection the calibration file
can be loaded manually.
3D scanner
27
Summary of Contents for Calibry
Page 1: ...3D scanner User manual...
Page 2: ......
Page 24: ......
Page 25: ...3D scanner Software manual...
Page 55: ...3D scanner 53...
Page 58: ......
Page 59: ...User manual DRAKE...
Page 74: ...72 Drake User manual 72...


