14
LEDD3 - FLIM LED Driver User Manual
© 2009 Thorlabs
3
Operating the LEDD3
The LEDD3 can either be controlled via the front panel of the main unit (see chapter
) or by a remote application (see chapter
).
3.1
Operation and Settings
The following sub chapters contain the description about the operation of the
LEDD3.
3.1.1
Navigating the Menus
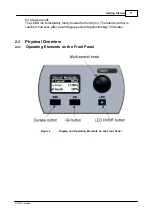
The LEDD3 is controlled by three buttons and the multi-control knob on the front
panel. The two buttons below the graphics display have an Enter and Escape
functionality. The button with LED indicator is used to switch the LED on or off. The
multi-control is used to select the desired menu or to change the settings.
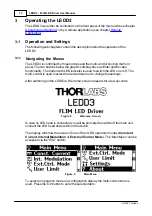
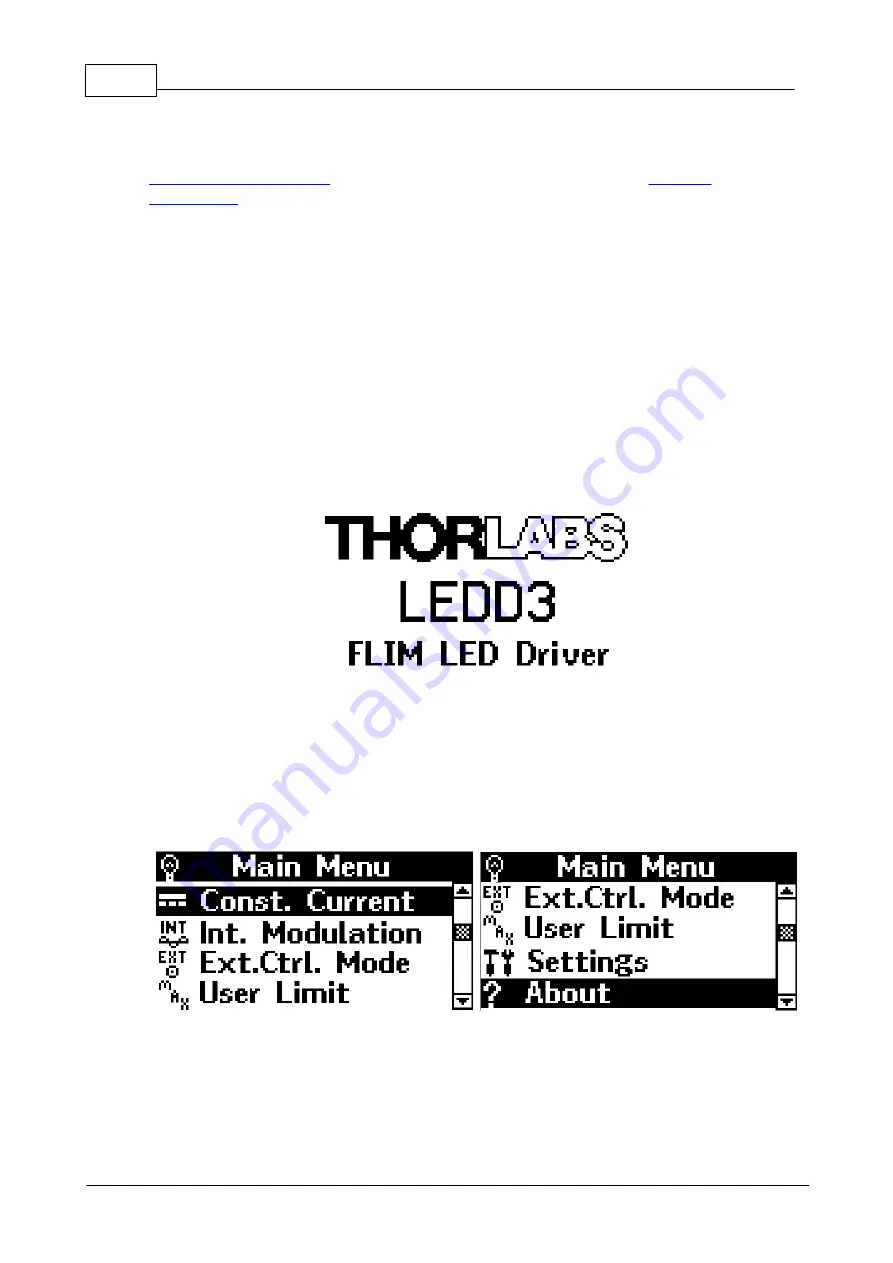
After switching on the LEDD3 a 'Welcome' screen appears for a few seconds.
Figure 4
Welcome Screen
In case no LED head is connected you will be prompted to switch off the main unit,
connect the LED head and switch on the device.
The display will show the screen of one of the 3 LED operation modes (Constant
Current, Internal Modulation or External Control Mode). The 'Main Menu' can be
accessed via the 'ESC' button.
Figure 5
Main Menu
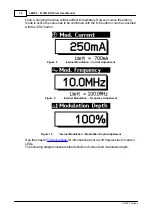
To select an operation mode or a configuration display the multi-control knob is
used. Press the 'Ok' button to enter the selected item.
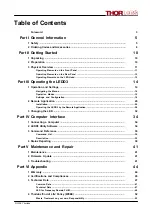
Summary of Contents for LEDD3 Series
Page 2: ...Version Date 1 2 03 03 2009 2009 Thorlabs 2009 Thorlabs ...
Page 6: ...General Information LEDD3 FLIM LED Driver User Manual Part I ...
Page 11: ...Getting Started LEDD3 FLIM LED Driver User Manual Part II ...
Page 15: ...Operating the LEDD3 LEDD3 FLIM LED Driver User Manual Part III ...
Page 35: ...Computer Interface LEDD3 FLIM LED Driver User Manual Part IV ...
Page 42: ...Maintenance and Repair LEDD3 FLIM LED Driver User Manual Part V ...
Page 45: ...Appendix LEDD3 FLIM LED Driver User Manual Part VI ...
Page 53: ...51 Appendix 2009 Thorlabs Figure 47 Phase Difference of LEDD3 630 ...
Page 55: ...Listings LEDD3 FLIM LED Driver User Manual Part VII ...
Page 59: ...Application Note LEDD3 FLIM LED Driver User Manual Part VIII ...
Page 62: ......


