background image

5

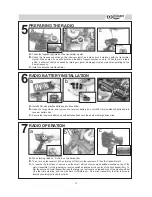
a.

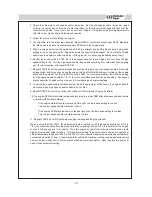
Check the frequency printed on the transmitter crystal.

b.

Check the frequency printed on the receiver crystal, and make sure it matches with the transmitter

crystal. Make sure no one will operate on the same frequency when you are. When there is a radio

glitch, it will most likely be caused by improper crystal, damaged crystal, or people operating on the

same frequency.

c.

Install the antenna into transmitter.

PREPARING THE RADIO

6

a.

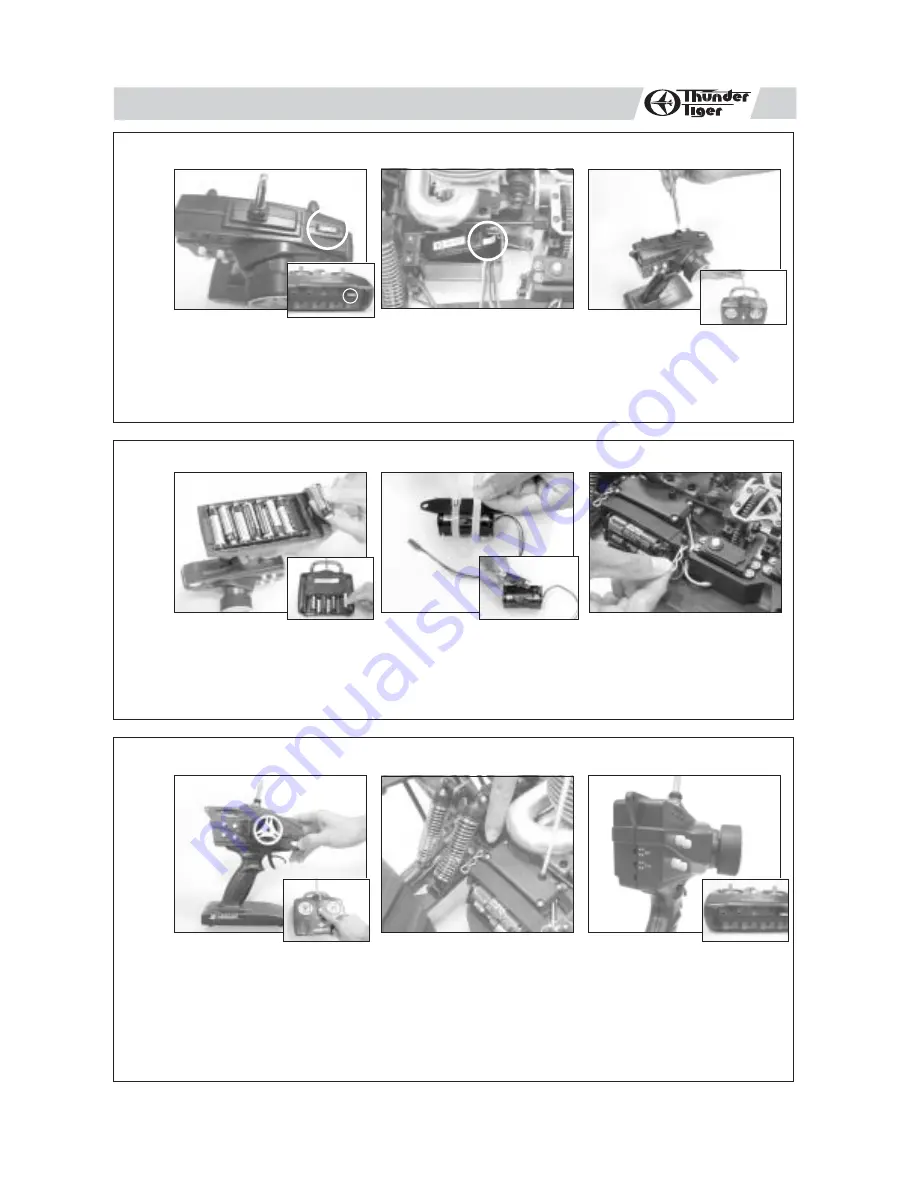
Install 8 AA-size alkaline batteries into transmitter.

b.

Undo the large zip-tie, and remove the receiver battery box. Install 4 AA-size alkaline batteries into

receiver battery box.

c.

Secure the receiver battery box with batteries back onto the posts with large body clips.

RADIO BATTERY INSTALLATION

a

b

c

4

a.

When turning radio on, first turn on the transmitter.

b.

Then, turn on the receiver. When turning off, first turn the receiver off, then the transmitter off.

c.

To reverse the functions of servos, use the small, white servo reverse switches located on top of the

pistol transmitter (or the inset servo reverse switches located at the center of the stick transmitter). To

trim the servos on pistol transmitter, use the large, red trim levers on top and side of the steering wheel

(the top trims steering, and the side trims throttle/brake). On a stick transmitter, the trim levers are

located accordingly around the sticks.

RADIO OPERATION

a

b

c

7

b

a

c

Summary of Contents for EK4-S2

Page 1: ...this kit must be reported within 60 days of purchase No part or parts will be sent under warranty without proof of purchase To receive part or parts under warranty the service center must receive a p...

Page 2: ......

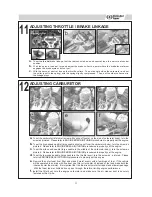
Page 3: ...er antenna wire through the box top hole and reinstall the box top f Thread the receiver antenna wire through the antenna tube then install the antenna tube onto the box top hole g Install 4 AA size a...

Page 4: ...ug the glow plug igniter from charger after charging is complete Pull on the glow plug igniter lever f Pull the charging adapter out of the glow plug igniter Charge the new glow plug igniter for 16 to...

Page 5: ...into receiver battery box c Secure the receiver battery box with batteries back onto the posts with large body clips RADIO BATTERY INSTALLATION a b c 4 a When turning radio on first turn on the transm...

Page 6: ...nsmitter and receiver on pull the trigger push the stick forward The carburetor should be fully opened and the brake disengaged To reverse this function flip the throttle brake servo reverse switch b...

Page 7: ...BREAK IN TUNING procedures to properly set the engine c To set the mid speed needle large needle in the middle of the carburetor body turn the screw as pictured Please refer to ENGINE BREAK IN TUNING...

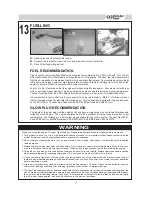
Page 8: ...McCoy 9 59 Novarossi C4S C5S C6S OS A3 A5 8 and Picco P6S P7S FUELLING 7 WARNING Thank you for purchasing a Thunder Tiger Product Please read all instructions thoroughly before operation 1 This produ...

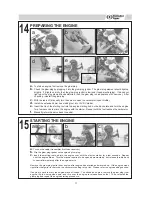
Page 9: ...se excess fuel Then reinstall the glow plug and repeat the engine starting procedure PREPARING THE ENGINE a To start an engine first remove the glow plug b Check the glow plug by plugging it into the...

Page 10: ...engine should be set as rich as possible before it stalls at full throttle no more than 1 second To do this turn the high speed needle out counterclockwise 1 8 turn at a time until the engine stalls T...

Page 11: ...needle should be 1 2 to 1 4 turn counterclockwise from the peak setting Continuous engine operation at peak setting may result in overheating and engine damage 8 To set the low speed needle small hex...

Page 12: ...te FR trans ERGAL FR plate RR trans ERGAL RR plate FR trans ERGAL rear toe in block 2 degree ERGAL front knuckle ERGAL engine mount ERGAL heat sink head Carbon battery plate Carbon servo tray Aluminum...

Reviews: