7
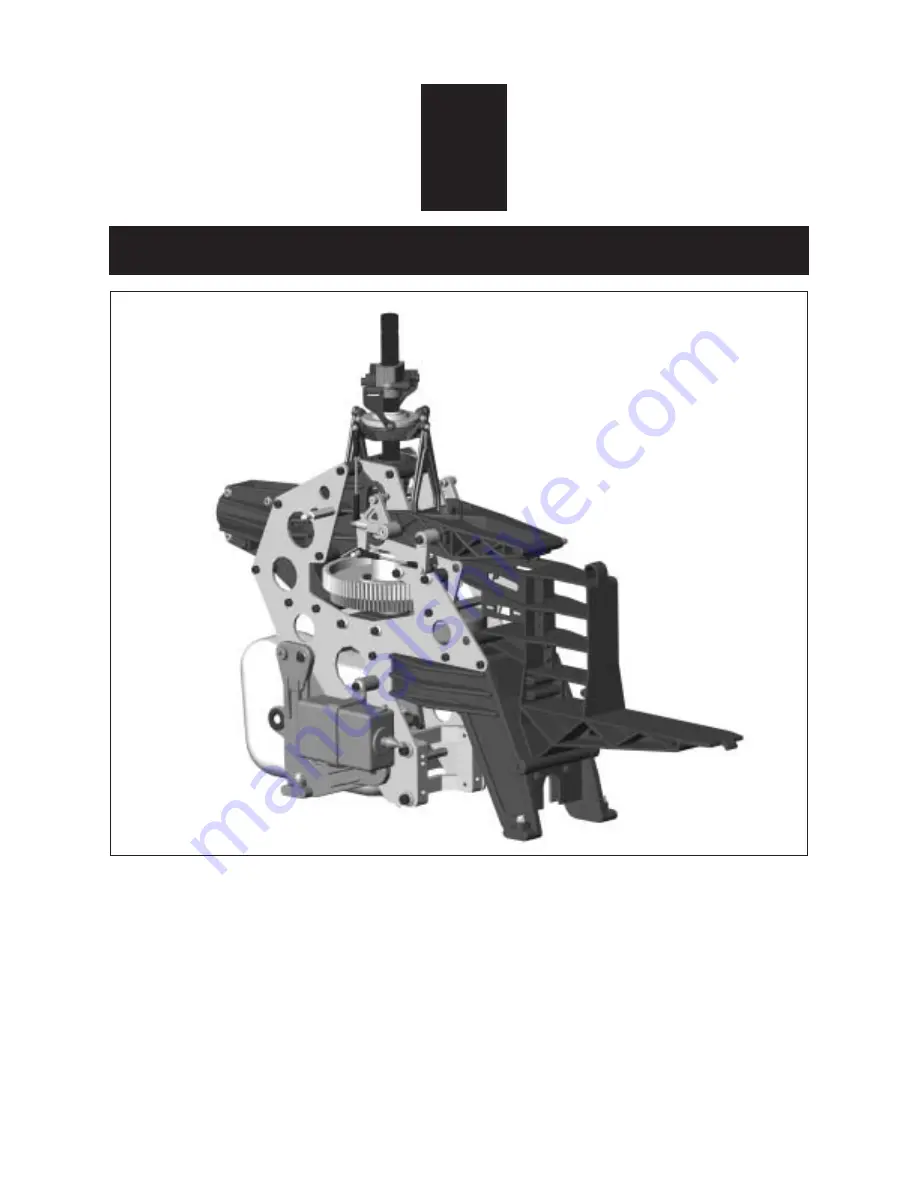
MAIN FRAME ASSEMBLY
1
For the kit, parts are bagged according to each major assembly and are labeled "Bag A, Bag
B, etc." The heading for each assembly indicates which bag to open. As a good practice,
only open up the bag that you need for the particular assembly. Check the parts in that bag
against the parts list shown for each assembly as well as each sub-assembly to make sure
there are no missing parts. To prevent losing small hardware, please empty the small nuts
and bolts and parts into small plastic trays on your work table. At the end of each major
assembly, there should be no left over parts.
Summary of Contents for RAPTOR 90 CLASS RC HELI
Page 1: ......
Page 2: ......
Page 3: ......
Page 4: ......
Page 5: ......
Page 6: ......
Page 7: ...6 WARNING WARNING WARNING WARNING BUILDING HINT ...
Page 9: ......
Page 10: ......
Page 11: ......
Page 12: ......
Page 13: ......
Page 15: ......
Page 17: ......
Page 18: ......
Page 19: ......
Page 20: ...19 ROTOR HEAD ASSEMBLY 2 ...
Page 22: ......
Page 23: ......
Page 24: ...23 TAIL ASSEMBLY 3 ...
Page 25: ......
Page 26: ......
Page 27: ......
Page 28: ......
Page 29: ......
Page 30: ......
Page 31: ......
Page 33: ......
Page 35: ......
Page 36: ......
Page 37: ......
Page 38: ......
Page 39: ...38 SETTINGS 6 ...
Page 40: ......
Page 41: ......
Page 42: ......
Page 43: ......
Page 53: ......
Page 54: ......
Page 55: ......
Page 56: ......
Page 57: ......
Page 58: ......
Page 63: ......
Page 64: ......
Page 65: ......
Page 66: ......


