INSTALLATION
31
ThunderBox 400 user manual for information on customizing
your RAID volumes using McRAID storage manager. Other-
wise, to begin using the ThunderBox 400 right away, go on
the next “Format the Volume” section to begin the formatting
procedure.
• Method 2: McRAID Storage Manager Through LAN port
User can remote manage the RAID storage directly connected
to the 10/100Mbits RJ45 LAN port via standard web browsers.
To configure ThunderBox 400 RAID storage using a LAN port,
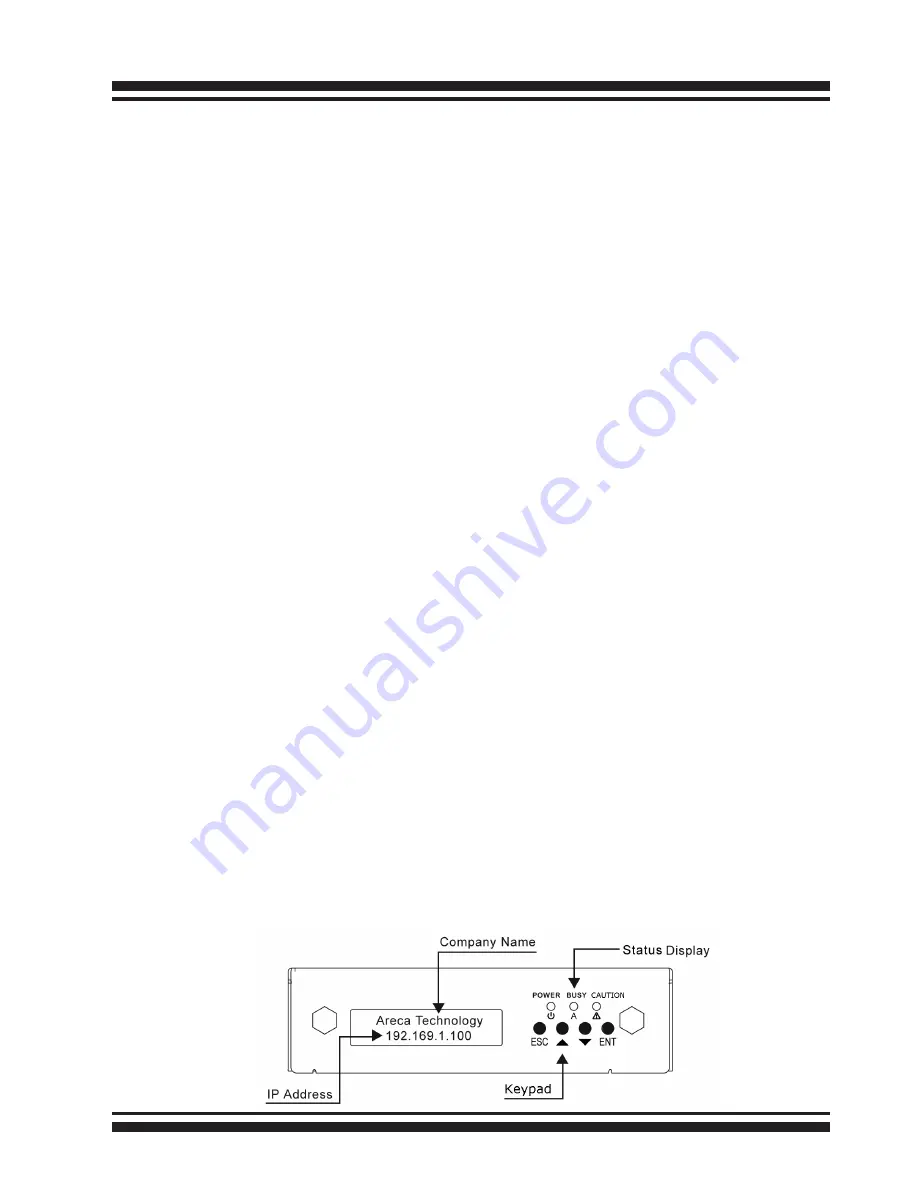
you need to know its IP address. The default IP address will
be shown on the LCD initial screen. Launch your web browser-
based McRAID storage manager by entering http://[IP Ad-
dress] in the web browser. Enter RAID storage default User
Name “admin” and the Password “0000” when the login page
prompted for it. After logging in, the McRAID storage man-
ager process starts. Follow the on-screen steps, responding
as needed, to configure RAID volume. See the Chapter 4 of
ThunderBox 400 user manual for information on customizing
your RAID volumes using McRAID storage manager.
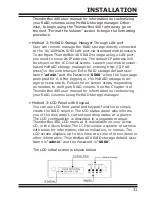
• Method 3: LCD Panel with Keypad
You can use LCD front panel and keypad function to simply
create the RAID volume. The LCD status panel also informs
you of the disk array’s current operating status at a glance.
The LCD configuration is described in a separate manual:
ThunderBox 400_LCD manual. It is available on your Areca
CD, in the /docs folder. The LCD provides a system of screens
with areas for information, status indication, or menus. The
LCD screen displays up to two lines at a time of menu items or
other information. ThunderBox 400 RAID storage default User
Name is “admin” and the Password is “0000”.
The LCD initial screen is shown below:


