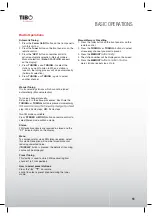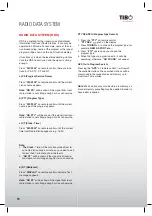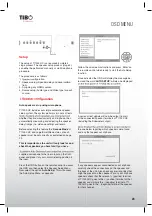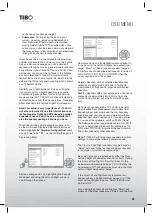
21
Turn it back on
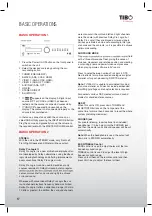
OSD MENU
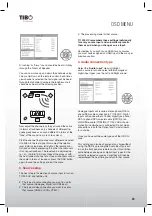
If necessary press the OSD button to perform a retest
or press Enter to start the second part of the auto-
setup procedure as below.
Again a series of test signals will now be output from
all of the connected speaker terminals and Subwoofer.
TI 1000 HC uses these to measure the levels and
distances (and hence introduce the correct delays) ap-
propriate to your speakers and room characteristics.
When the auto setup of TI 1000 HC is completed
successfully, TI 1000 HC will return to the Speaker
Setup Menu.
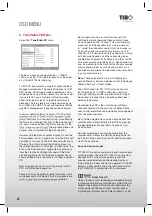
The Speaker Distance and Level Calibration settings
for each speaker will have been updated.
It is of course now possible to go into the Speaker De-
lay and Level Calibration menus if you want to manu-
ally check/adjust the settings made by the system. It is
always advisable to check them as no system can be
totally foolproof.
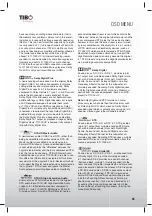
To exit the auto setup menu of TI 1000 HC continue
to press the OSD button on the remote control to exit
all menus or until “OSD” is no longer displayed on the
front panel. You can now unplug the microphone and
put it away for future use.
Note:
If the auto setup of TI 1000 HC is unsuccessful
for some reason a ‘Fail’ message will appear on the
OSD. Included in this message will be details of the
speaker channel or channels which have not been
successfully adjusted. If this is the case, please again
check that the speaker or speakers detailed in the
OSD as ‘failed’ are connected correctly and have not
been wired out of phase. Also check the microphone
connection and any other external issues that could
have affected the tests such as noise in the room etc.
Note:
Like all such systems this has some limitations.
Speakers that exhibit very strong phase angles or
deliberately wire some drive units out of phase can
of course appear to the system as an out of phase
speaker when correctly connected. If a speaker is
reported as out of phase but is correctly wired please
consult the speakers manufacturer in case this is the
case.
Similarly bi-polar speakers which radiate in more
than one direction can make it difficult to measure the
distance and sometimes level accurately as you might
expect.
In all cases it is always advisable to manually check
the settings system has made for a “reality check” to
ensure there are no obvious errors.
Manual speaker set up
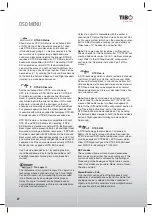
First tell the unit what kind of speaker package you
have. The options are 5.1 as shown below. TI 1000
HC can support up to a 5.1 speaker setup which
means 5 speakers (Front Left, Front Right, Centre,
Surround Left, Surround Right) plus a mains powered
Subwoofer .
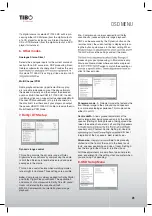
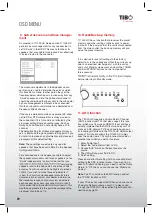
Refer to the diagrams on
the right for typical exam-
ples of 5.1, loudspeaker
setups. Always adjust the
speaker and listening posi-
tions until you are happy
with the sound. Please
refer to your loudspeaker
and subwoofer manuals for
more detailed positioning
information.
1.
Front Left and Right speakers
- For stereo and
multi-channel sound.
2.
Centre speaker
- For dialogue and centre sounds.
Ideally position at a similar height to the front
left and right speakers (above or below the TV/
monitor). Using a centre speaker from the same
manufacturer/range as used for the front left and
right speakers is advisable. This “timbre matching”
ow more naturally from
left to right without obvious transitions between the
speakers.
3.
Surround Left and Right speakers
- For ambient
and multi-channel sound. Floorstanding speakers
should be angled towards the listening position.
Bookshelf/standmount speakers should be wall
mounted or used with dedicated speaker stands,
1
1
2
3
3
4
5.1


