8
Turn it back on
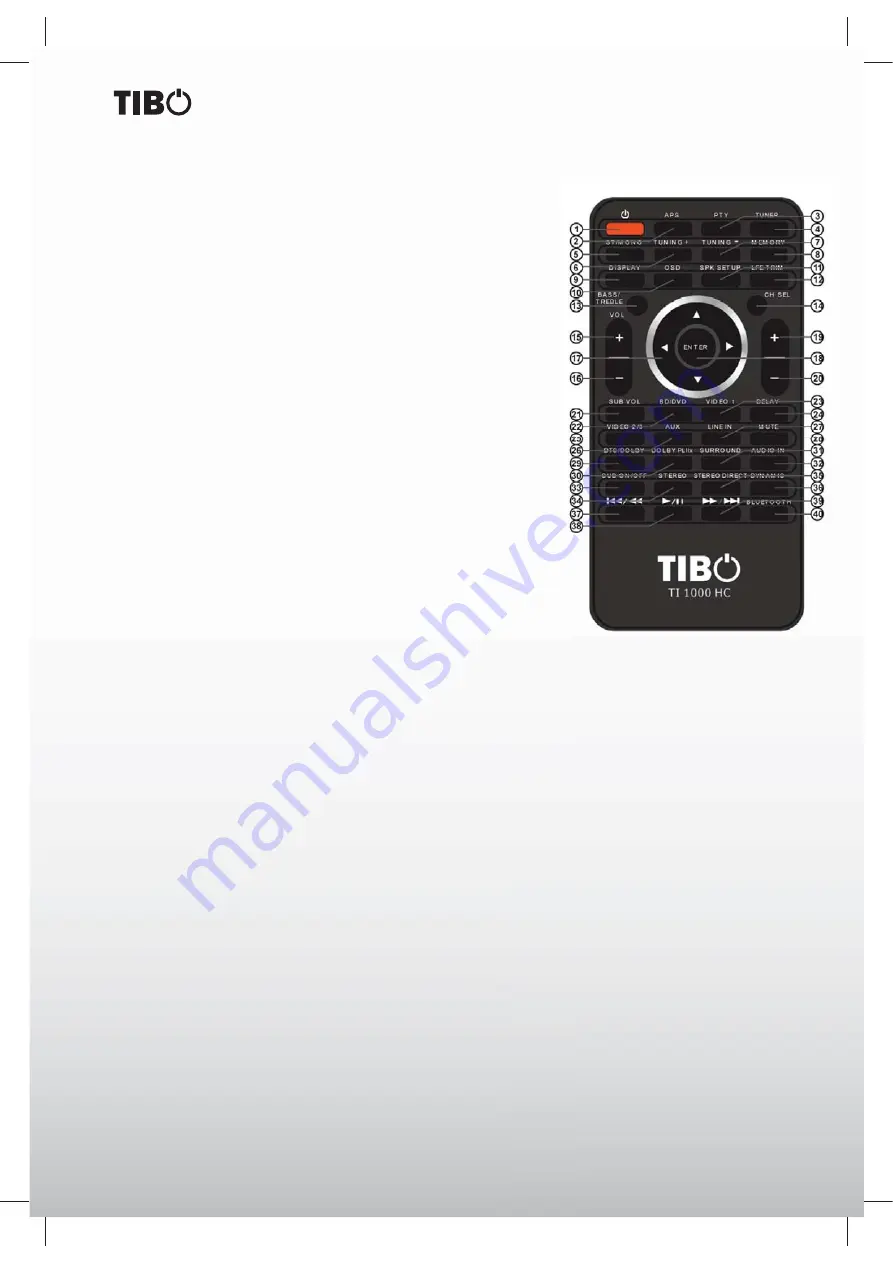
REMOTE CONTROL
1.
Power
- Push this button to turn the unit into standby
mode, push it again to turn off the unit.
2.
APS
- In tuner mode, press this button to allocate and
memorize radio station automatically.
3.
PTY search (this button is no function in this mod-
el)
- Press to search by program type when in Tuner
mode. Refer to the “Operating instructions” section of
this manual for more information.
4.
Tuner
- Press to select the TUNER
5.
ST/Mono
- Press this button to alternate between
Stereo and Mono mode when listen to FM broadcast.
6. 7.
Tuning (+/-)
- Tunes frequency up/down.
8.
Memory
- Press it to store the broadcast station as
a preset.
9.
Display
- Press this button to display the state of input
source. When listening to the FM broadcasting with
RDS, press this button to show PS, PTY, RT and RT.
10.
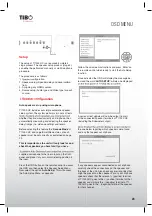
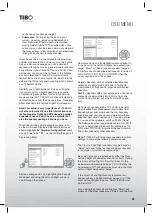
On-Screen Display (OSD)
- Press to turn on and off
the on-screen setup menus for display on your moni-
tor/screen/TV.
11.
SPK setup
- Press this button to select the desired
setting speaker, then press the “up/down“ buttons to
setup the speaker confi guration.
12.
LFE Trim
- The LFE level can be adjusted within the
range of -10 to 0dB. In general, we recommend LFE
level to be adjusted to 0dB. (However, the recommend
LFE level for some early DTS software is -10dB.) If
the recommended levels seem too high, lower setting
as necessary.
13.
Bass/Treble
- Press this button for Bass/Treble adjust-
ment and then press the +/- key to adjust the level.
14.
CH SEL(this button is no function in this model)
- Select channels by pushing this button, then use
volume key to balance speakers
15. 16.
Volume (+/-)
- Press these buttons to decrease or
increase the volume.
17.
Cursor Buttons
- You can use these buttons to select
the option when in the OSD setup menu. You can use
the up and down buttons to select the stations when
in TUNER mode.
18.
Enter
- Used in OSD setup menu.
19. 20.
CH SEL
- When the button 14 is pressed, you can
press this two buttons to adjust the level.
21.
Sub Vol
22.
BD/DVD
- Press to select the BD/DVD source equip-
ment for output through this unit.
23.
Video 1
- Press to select the source connected to
Video 1 for output.
24.
Delay
- Press this button to select the desired setting
speaker, then press the “up/down“ buttons to setup
the speaker delay time.
25.
Video 2/3
- Press to select the source connected to
Video 2/3 for output.
26.
Aux
- Press to select the source equipment con-
nected to AUX for output through this unit.
27.
Line-In
- Press to select the source connected to
Line-In for output.
28.
Mute
- Mutes the audio on the AV Receiver. Press
again to cancel mute.
29.
DTS/Dolby
-
When playing
5.1CH source,
and while you
are enjoying
Stereo, push
this button
to playback
source in DTS/
Dolby Digital.
30.
Dolby PLIIx
31.
Surround
-
Press to select
between vari-
ous Pro Logic
II, DTS Neo:6
effects for
matrix encoded
analogue or
digital mate-
rial or for post-
processing DD/
DTS material
(Note: TI 1000
HC is unable
to auto-detect
this kind of
source material
as it does not
include embedded encoding type fl ags (so manual
selection is required). Also selects various DSP
created surround sound modes for uncoded stereo
sources.
32.
Audio In
- Press to select analog inputs, digital inputs
and HDMI decoding for the currently selected source.
33.
Sub On/Off
- Push this button to turn on or off the
subwoofer output.
34.
Stereo
- When in the Stereo mode, only front left and
front right speakers are working. When in the Stereo
and Sub mode, only front left and front right speakers
and woofer are working.
35.
Stereo Direct
- Press to listen directly to the analogue
inputs for the current source with no analogue to
digital or DSP processing for highest possible stereo
sound quality.
36.
Dynamic
- Press this button repeatedly to reach the
desired dynamic compression range (Dolby Digital or
DTS modes only).
37.
|
ŻŻ
/
ŻŻ
- Press this button to skip back a track./
Fast motion reverse playback.
38.
Ź
/||
- Press this button to play or pause playback.
39.
ŹŹ
/
ŹŹ
| - Press this button to skip forward a track./
Fast motion forward playback.
40.
Bluetooth
- Press this button to activate Bluetooth
connection.
Note: You can use the 19, 20 buttons to select the
options when any of the “SPK SETUP” or“LEF
TRIM”or“CH SEL”or“DELAY” is pressed.


