Section 15: Operation of your Codec
T
ieline
Page
107
T E C H N O L O G Y
15.13.
Manual ISDN Connections
If you are confident that the ISDN
profile with all the connection settings
you want is loaded in your codec, then
once you power-up the codec simply
follow the next steps to connect.
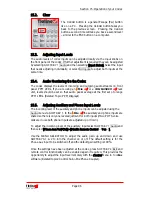
1.
Use the
MS
to scroll to the
ISDN
connection you want on the codec
startup
LCD (ISDN1
or
ISDN2
in the example above)
.
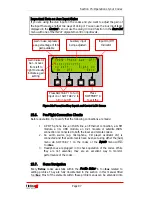
To select the
number you wish to dial either:
a.
Press the
MEMORY
key to get a number from the phone book, or
b.
Press the
ENTER/DIAL
key to display the last dialed number for
that connection, or
c.
Simply dial the number
for the destination
codec using the
keypad.
2.
Press the
ENTER/DIAL
button on the keypad to make the call.
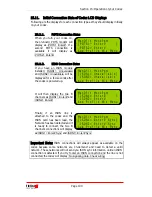
3.
The connection you are using
should then display
Dialling…
on the
LCD
.
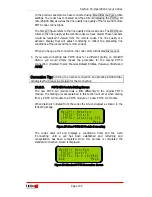
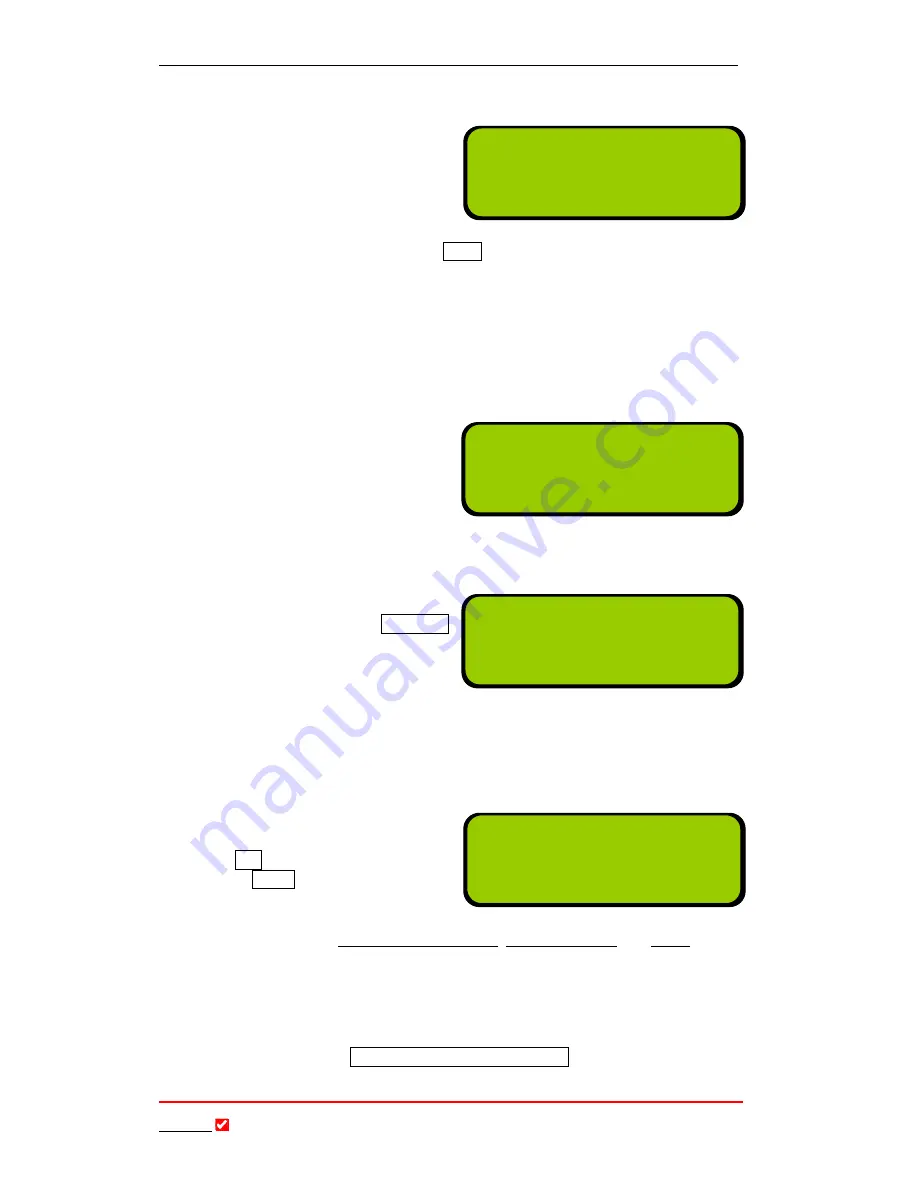
While the codec is
dialing it will display as shown
in the right-hand image.
By default, a
T
ieline
codec receiving a call will auto answer, or if this is not
programmed, the operator will need to press
ANSWER
to connect the
two codecs.
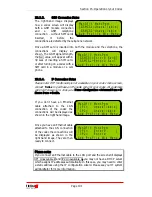
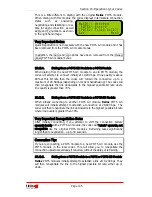
Once a call is answered the connection screen will display as shown in the
right-hand image. In this
example the connection is at
64k
and the algorithm selected
is
Music
. Only one channel of
ISDN is connected.
(Related topic: Manual Default Profiles,
Powerup Profile
and
ISDN
)
15.13.1.
Unsuccessful ISDN Connections
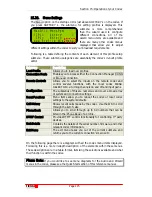
If you attempt to connect and your RJ45 ISDN line connection is not
attached correctly to the codec, the following error message will be displayed
on the codec
LCD – No signaling data. Check wiring
ManDflt MonoPgm
[ISDN1> Enter# ]
ISDN2> Enter#
Aud Profile Wiz Menu
ManDflt MonoPgm
[ISDN1> 55555555 ]
ISDN2> Enter# Sync
Aud Profile Wiz Menu
ManDflt MonoPgm
[ISDN1> Dialling...]
ISDN2> Enter# Sync
Aud Menu
ManDflt MonoPgm
[ISDN1> 64.0 Music]
ISDN2> Enter# Sync
Aud Menu


