Section 17: Relay and Control Port Operation
T
ieline
T E C H N O L O G Y
Page 153
17.3.
CAN Bus Cable Terminations
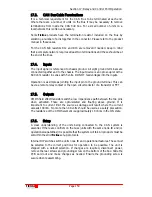
It is a technical requirement for the CAN Bus to be terminated at each end.
Where there are a number of units on the Bus it may be necessary to remove
terminations from inside the CAN 8+8 box. For a small number of units on a
local network this is often unnecessary.
Some
T
ieline
products have the termination resistor included on the Bus by
soldering a number of pins together in the connector. Please refer to the product
manual in these cases.
For the CAN 8+8 resistors R12 and R13 are removed if needed. Keep in mind
that a complete network requires at least two terminations and these should be at
the end of the lines.
17.4.
Inputs
The input signal is referenced to chassis ground. All eight ground terminals are
connected together and to the chassis. The input device is an opto-coupler with a
680 ohm resistor in series with 5 volts. DO NOT feed voltages into the inputs.
Operation is as simple as jointing the input pin to the ground terminal. This can
be via a remote relay contact or the open circuit collector of a transistor or FET.
17.5.
Outputs
CMOS field effect transistors switch a low impendence path between the two pins
when activated. These are opto-isolated and floating above ground. It is
important to current limit the source as damage will result where the current
exceeds 100mA. No more than 48 volts should be used as a safety precaution.
The resistance of the CMOS element is approximately 18 ohms in the ON state.
17.6.
Setup
A clear understanding of the units being connected to the CAN system is
essential. If there are conflicts on the buss (units with the same node ID and/or
operational capabilities) it is possible that the system will fail. All products must be
set within the strict
T
ieline
set-up protocols.
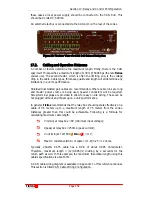
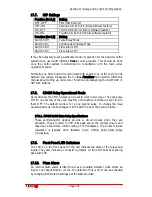
Internal DIP switches set the units node ID and operational features. These must
be selected to the correct positions for operation to be possible. The unit is
shipped with a default selection. If changes are required, disconnect power,
remove the rear screws and grounding screw on the bottom of the box. Slide the
PCB card out and make changes as needed. Ensure the grounding screw is
secure when reassembling.

