20
Using the Front Panel
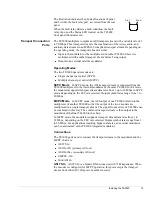
Parameter Options
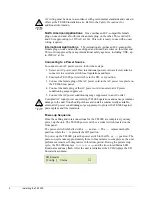
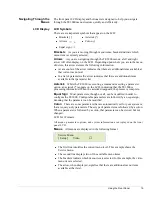
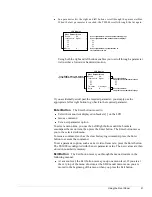
All parameter options are displayed in the following
format.
!
The first line identifies the current menu level, in this example, the Auxiliary
Data A menu.
!
The second line displays the parameter, Data Bits, and its current setting of 8.
!
The equal sign (=) denotes that this parameter can be modified. If this
parameter was followed by a colon (:) the parameter would be view-only.
!
The arrow indicates that there are additional Data A parameters.
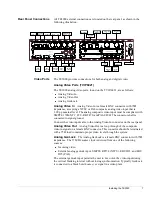
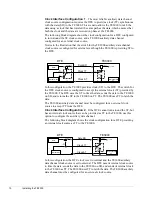
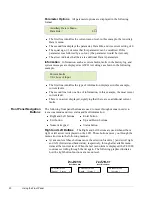
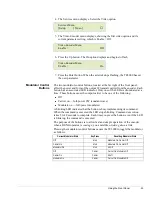
Information
Information, such as current faults, faults in the history log, and
system messages are displayed as ASCII text strings as shown in the following
example.
!
The first line identifies the type of information displayed, in this example,
current faults.
!
The second line lists one line of information, in this example, the most recent
current fault.
!
There is no arrow displayed, signifying that there are no additional current
faults.
Front Panel Navigation
Buttons
The following front panel buttons are used to move through menus in order to
issue commands and view status and fault information:
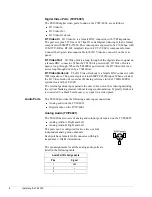
Right and Left Buttons
The Right and Left buttons are used when either a
right or left arrow is displayed on the LCD. These buttons move you through the
menu structure in the following manner:
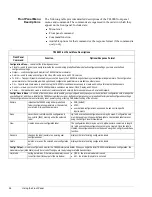
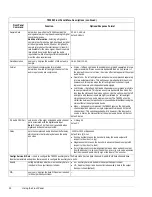
!
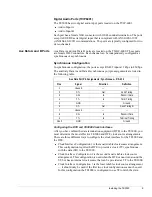
At a menu level these buttons move the selection brackets [ ] and scroll right
and left, (forward and backwards), respectively, through all available menu
items at that current level. When the last menu item is displayed, the TE3000
continues scrolling through the list again. The following graphic illustrates
how the right button functions at a menu level.
Auxillary Data A Menu
Data Bits =
8
→
Current Faults
VI.A Loss of Input
!
Right and Left buttons
!
Enter button
!
Exit button
!
Up and Down buttons
!
Numeric keypad
!
Status button
SD Encoder Menu
[ Config ] Status
Press Right Arrow
Brackets Move to
Next Menu Item
Press Right Arrow
Brackets Move to
Next Menu Item
SD Encoder Menu
[ Version ]
SD Encoder Menu
Config [ Status ]
Summary of Contents for TE3000
Page 10: ...viii Preface ...
Page 14: ...4 TE3000 Overview ...
Page 52: ...42 Using the Front Panel ...
Page 94: ...84 Maintenance and Software Upgrades ...
Page 96: ...86 Technical Specifications ...
Page 102: ...92 TE3000 PID Assignments ...
Page 112: ...102 Glossary ...

