Using a Remote Unit
43
4
Using a Remote Unit
In addition to the front panel, a remote unit can be used to configure and monitor
the TE3000. The chapter presents the following information for remote command
operation:
!
Configuring remote software parameters
!
An overview of remote communications
!
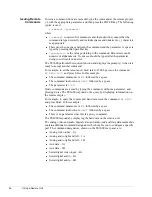
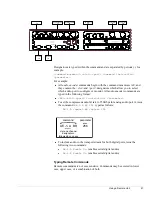
Instructions for issuing remote commands
!
Front panel lockout
!
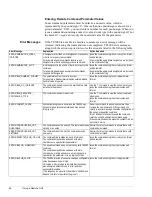
Error messages
!
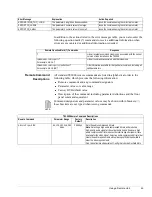
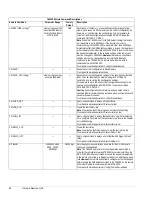
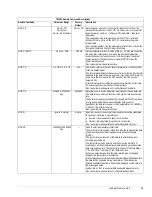
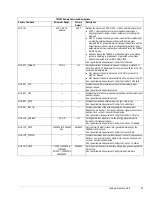
Remote command listing
For remote control cabling information, refer to Chapter 2.
Any parameter changes made using a remote unit are not automatically stored in
flash memory. When the TE3000 configuration is changed using a remote unit, an
operational test should be performed to verify that the system is operating
correctly. Then the new configuration should be saved by issuing the CM SAVE
command.
If the TE3000 is reset prior to issuing the CM SAVE command, any changes made
using the remote unit will not be restored. Instead, the TE3000 restores the last
changes saved to flash memory. Once the configuration is saved using the CM
SAVE command, the TE3000 automatically restores the saved settings when the
unit is reset or powered up.
Configuring the Remote
Control Software
Parameters
After you have cabled the remote unit to the TE3000, perform the following steps
to complete your installation:
1. Configure the communications software parameters of your remote unit to
match the following TE3000 remote control port DVB default settings:
"
RS-232 signal
"
Baud rate = 38400 bps
"
Character length = 8
"
Parity = none
"
Number of stop bits = 1
Unless you change the remote control settings and save the changes in
non-volatile (flash) memory, the TE3000 restores these default
communications settings whenever the TE3000 is reset or powered-up.
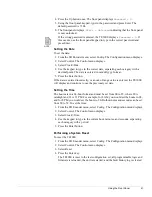
2. Press the Enter key on the remote keyboard several times to generate a prompt
(>) on the remote display. Once a prompt appears on the remote display,
successful communication has been established between the TE3000 and the
remote unit.
Once communications are established, the remote port parameters can be
changed to a faster operating speed.
NOTE...
Summary of Contents for TE3000
Page 10: ...viii Preface ...
Page 14: ...4 TE3000 Overview ...
Page 52: ...42 Using the Front Panel ...
Page 94: ...84 Maintenance and Software Upgrades ...
Page 96: ...86 Technical Specifications ...
Page 102: ...92 TE3000 PID Assignments ...
Page 112: ...102 Glossary ...


