11
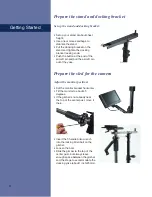
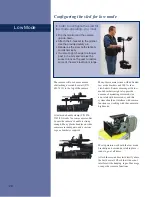
fore and aft
adjustment knob side to side
adjustment
knob
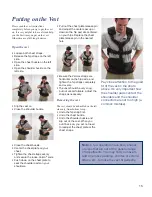
• Now move the dovetail as little as
possible until one or more screw
holes are accessible. Choose
holes as far apart as possible for
maximum stability.
• Insert the screws and tighten with
a screwdriver.
• Insert the dovetail into the back of
the stage.
• Slide it forward until it clicks. If you
encounter resistance, engage the
rack and pinion by gently pushing
the plate forward while turning
the fore-aft knob until the pinion
engages the rack. The fore-aft
knob will now move the dovetail.
• Set the dovetail in the center of
its range of movement. Ideally,
your camera’s c.g. mark should
be about 1/2” (12mm) behind the
centerline of the sled’s centerpost.
• Tighten the dovetail locking knob
securely.
• Connect the BNC to BNC video
cable (use the BNC to RCA
adapter if necessary) from the
camera to the video input on the
back of the stage. If necessary,
choose the camera’s video output
that allows you to watch playback
as well as “live” video.
• If necessary, connect the power
cable by plugging the three-pin
Lemo into the Power output on the
back of the stage and the other
end into the appropriate DC power
input on your camera. Several
power cables are available for
various cameras and voltages. See
the accessories page for the power
cable details.
• Secure the cables with cable ties,
Velcro
®
, or gaffer tape. Leave
enough slack for adjustment of the
stage.
• Power up the monitor and camera
to make sure you have a picture.
If you do not, try adjusting the
brightness and contrast controls;
check the cables, battery voltage,
etc.
• Turn off the camera and monitor.
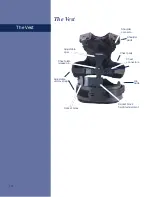
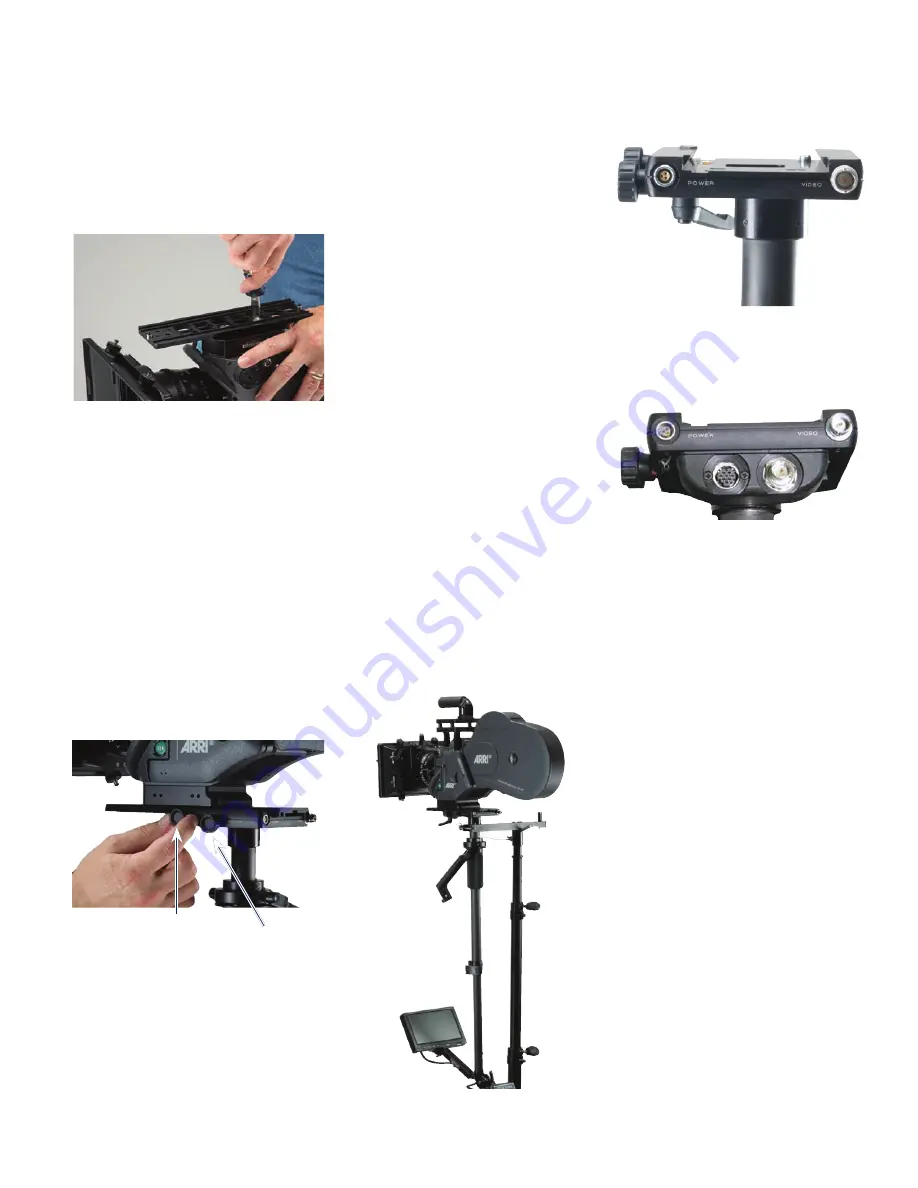
• Camera power connector. 3 pin
LEMO: EGG.0B.303.CLL
• Standard definition (PAL/NTSC)
composite video in. BNC
Connect the power and video cables and test
• Tally connector. 8 pin
• HDSDI video in. BNC (on all Flyer
SE, HD and RED versions)


