TDFM-136B Operating Instructions
08RE399
3.2.1
Create/Edit All Channel Information
Level 2
Key
Scope: Main and (Guard)
This command allows the user to create a new memory position (for Main channel only) or to edit
all the parameters of an existing memory position (Main or Guard channels).
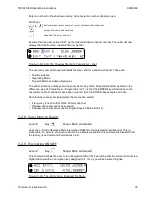
The editor steps through the channel parameters in sequence from left to right across the screen.
The edit functions here match those used to edit an individual parameter; however, in this case
selecting the ENTER key accepts the data and
proceeds to the next step
, rather than exiting. Only
after the last step does selecting ENTER save the data and exit. The ESC key will abandon the
entire edit session at any point without changing an existing channel or creating a new one.
accept the entry and continue – exit only after all edits completed.
abandon the entry and exit
If editing a Guard memory (G1 or G2) then proceed to L2-1.3 as the memory for the Guard channel
is determined by front panel switches only, and scan is not supported for Guard.
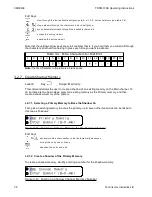
L2-1.1. Entering a Memory Number (refer to L1-1 for details)
When the Create/Edit All command is selected, the first step is to enter the number of the memory
position that you wish to Create or Edit, for Main Channel memories, the valid range is (001 to
230).
Once a number has been entered, the system checks to see if the memory location has already
been programmed, if so, then the existing data will be loaded; if the location has NOT been
previously programmed then the default template data will be loaded. In each case the user can
edit the channel parameters in the same way as shown in the following steps.
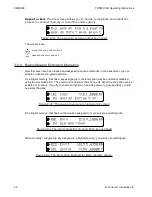
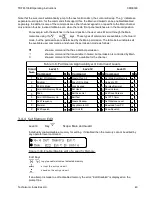
L2-1.2. Enter a Scan List & Enabling/Disabling Scan (refer to L2-5 for details)
After entering a MEMORY number the cursor will move to the fourth (4th) position on the top line,
the default scan list is shown in subscript. If there is a bar over top of the character, this indicates
that scan is disabled for this memory, if there is no bar, then scan has been enabled. The 'PROG'
key (key 0 ) toggles the scan enabled/disabled state.
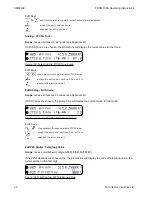
L2-1.3. Enter a Text Description (refer to L2-6 for details)
After SCAN, the cursor advances to the first position in the eight (8) character text description field,
the user may now edit the existing text as desired. The editor allows you to select all upper and
lower (A-Z, a-z) case alphabetic characters, the numbers from zero to nine (0-9), and a selection of
extra characters including the space.
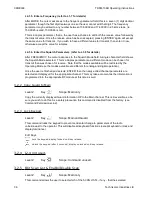
L2-1.4. Enter an Operating Mode (refer to L1-3 for details)
After TEXT, the cursor advances on the one (1) character Operating Mode (Mode) field, this single
character represents the operation of the radio: analog wide, analog narrow, or digital.
Technisonic Industries Ltd.
35


