8
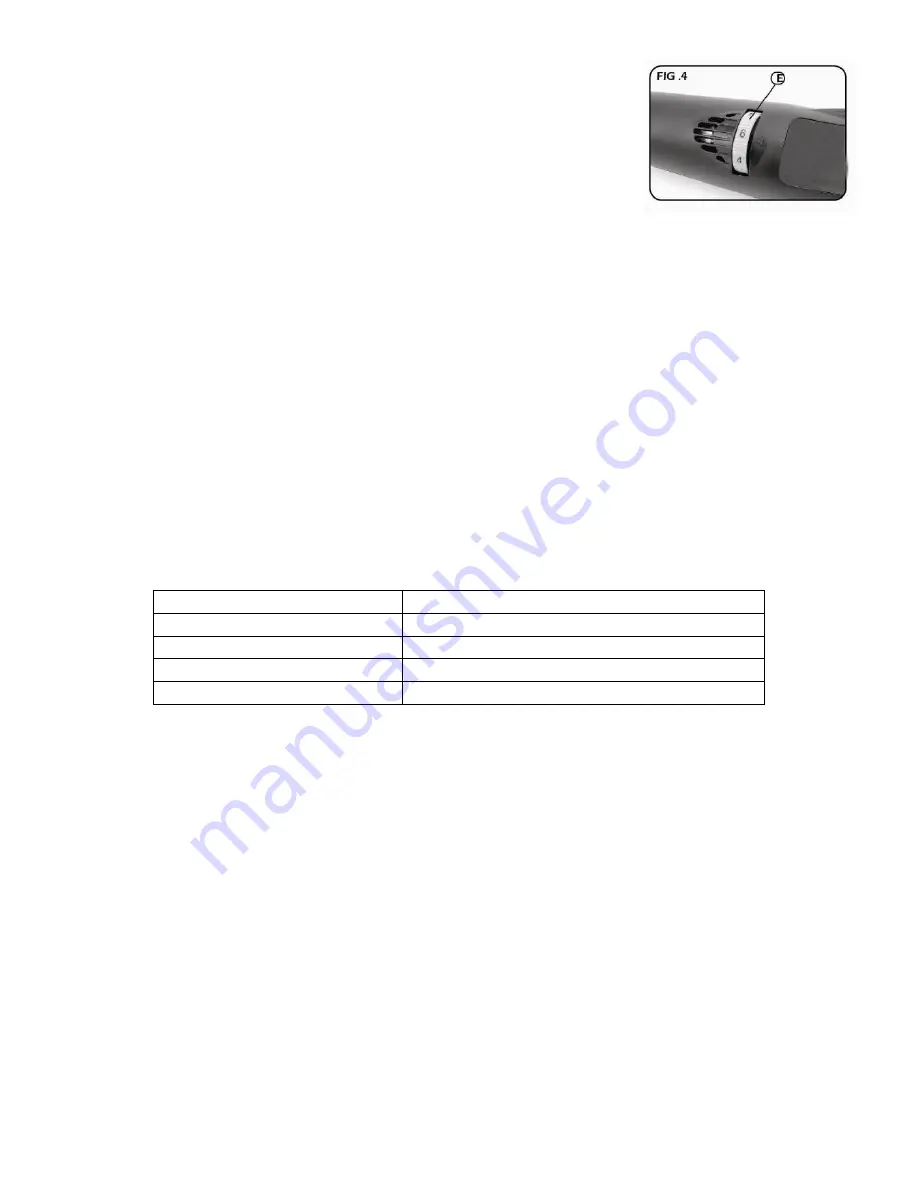
VARIABLE SPEED DIAL (FIG.4)
NOTE:
Be sure the switch is in the “off” position before
connecting the battery pack.
STARTING TOOL:
Rotate dial
E
round to one of the five speed
settings
STOPPING TOOL: Rotate dial
E
to the “O” position (off) to stop
Variable speed dial allows you to alter speed of rotation.
Position 2-SLOW
Position 4-SLOW/MEDIUM
Position 6-MEDIUM
Position 8-MEDIUM/FAST
Position 10-FAST
OPERATION-SHARPENING CHAINS
WARNING: ALWAYS Wear ANSI approved eye protection
when operating this product.
ADJUST SHARPENING ATTACHMENT (SEE
FIG.5,6,7)
Due to many different sizes and types of chain, adjustment to the sharpener attachment may
be needed.
Follow these below steps to determine adjustments:
1.
Determine the size and pitch of saw chain to sharpen.
Refer to your Chainsaw Owner’s manual, or contact the chain manufacturer to find your
chain size and pitch.
2.
Next, refer to below chart for grinding stone sizes.
3.
After
determining
correct
grinding
stone,
refer
to
below
figure
#5,
then
adjust
sharpening attachment accordingly.
Separate metal guide and plastic guide using a
phillips screwdriver by removing 2 screws in top of sharpener attachment.
Then use
appropriate number of spacers.
If grinding stone size:
7/32” grinding stone, use TWO spacers between metal guide and plastic guide
5/32” grinding stone, use ONE spacer between metal guide and plastic guide
3/16” grinding stone, use ZERO spacers between metal guide and plastic guide
After using correct number of spacers, re-assemble sharpener attachment.
Be sure to save unused spacers for future.
4.
Next, insert correct grinding stone into sharpener tool, leaving approx. 1/4" of shank
between the grinding stone and chuck cap.
SEE figure #6 below.
5.
Now remove housing cap, and replace with adjusted sharpener attachment.
SEE Figure #7.
CHAIN SIZE
GRINDING STONE SIZE
1/4” Pitch
5/32” (diameter) stone
3/8” Pitch
7/32” (diameter) stone
3/8” Pitch Low Profile (LP)
5/32” (diameter) stone
5/16” Pitch
3/16” (diameter) stone


