


- 22 -
XS-COMPACT-OP-EN
BATTERY MAINTENANCE GUIDE
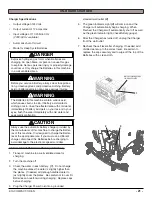
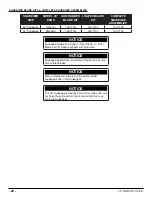
SAFETY:
DANGER
Explosive hydrogen gas forms when batteries are
charging. An open flame or spark can cause this gas
to explode. Serious personal injury or property damage
could occur. Only charge the Batteries in this machine
in a well ventilated area.
WARNING
The Batteries in this machine produce hazardous
voltage which can cause electrical shock, burns and/
or electrocution. Always disconnect Batteries before
servicing this machine.
WARNING
Before you service a Battery, always wear face protec-
tion, protective gloves and protective clothing. Battery
acid or battery explosion can cause serious injuries.
WARNING
The Batteries in this machine contain sulfuric acid,
which causes burns to skin. If battery acid contacts
clothing or skin, rinse the effected area with cold water
immediately. If battery acid gets on your face or in your
eyes, flush the area immediately with cold water and
seek medical attention.
WARNING
Dress safely. Do not wear rings or metal wrist watches
when servicing this machine, as they can cause an
electrical short circuit which can cause serious burns.
INSPECTION AND CLEANING:
•
Keep Batteries clean and dry from residue
•
Check that all vent caps are tight
•
Use a solution of baking soda and water to clean if
acid residue on Batteries or corrosion on the terminals
•
Protective spray of petroleum jelly should be applied to
terminals to reduce corrosion
STORAGE:
•
Batteries should be fully charged prior to and during
storage
•
Never store discharged Batteries
•
Store batteries in a cool, dry place but never below
freezing - Recharge in storage a minimum of every 30
days
•
Recharge Batteries before putting them back into
service
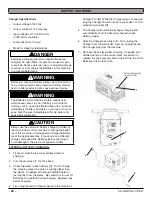
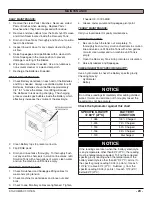
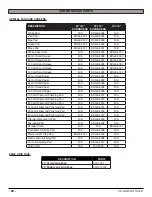
WATERING:
•
Add water, NEVER ACID, to cells
(distilled water
recommended)
•
Do not over water
•
Before charging the Batteries, only add water if the
plates are exposed. Add just enough water to cover
the plates, then charge the Batteries. Once fully
charged, add water to the proper level as indicated
below.
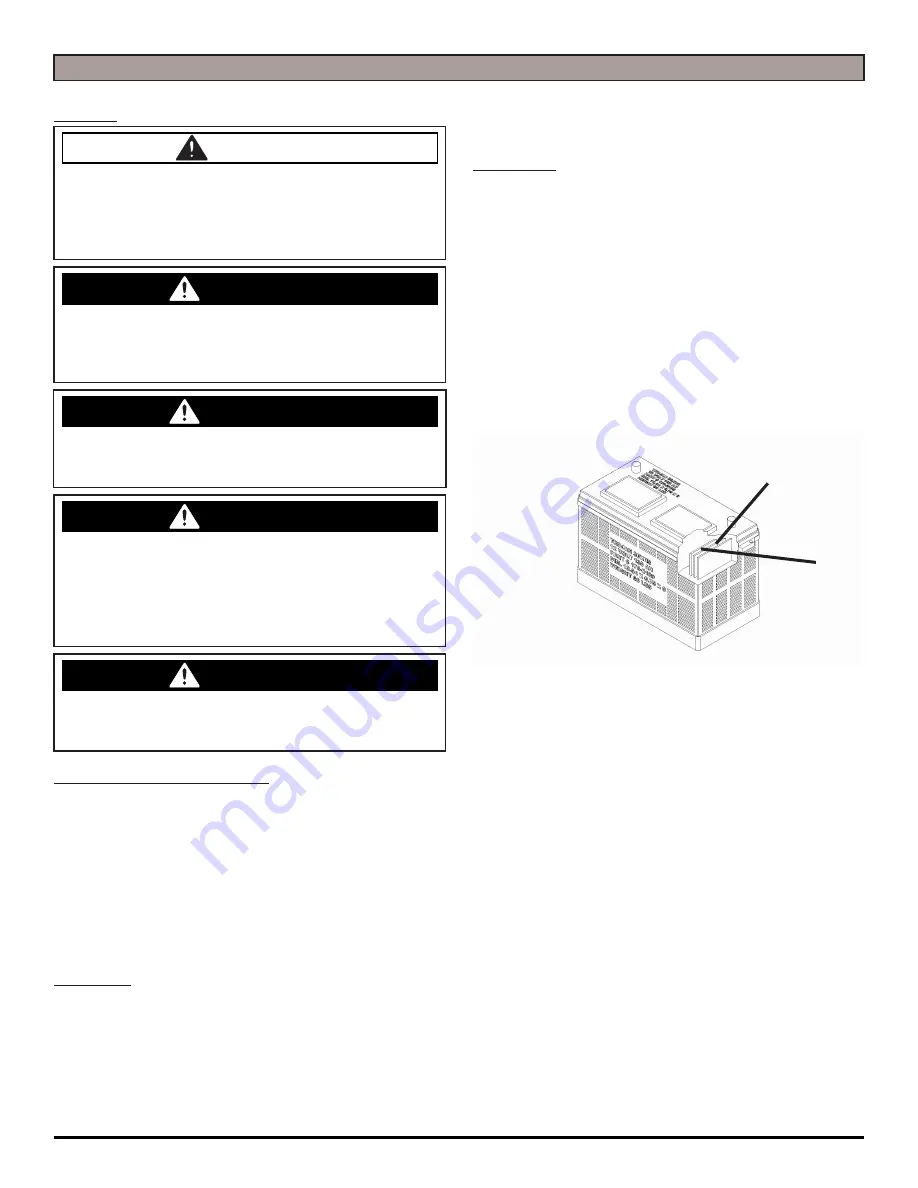
•
For full charge plus series Batteries add water to the
maximum water level indicator
(1)
•
Water watering, secure vent caps back on Batteries.
WATER LEVEL SHOULD BE
1/8'' ABOVE PLATES
1


