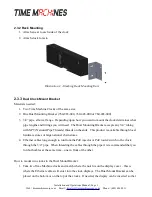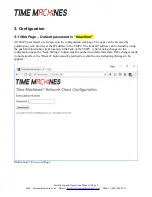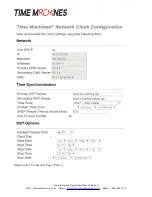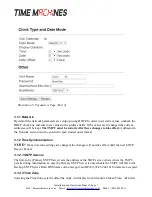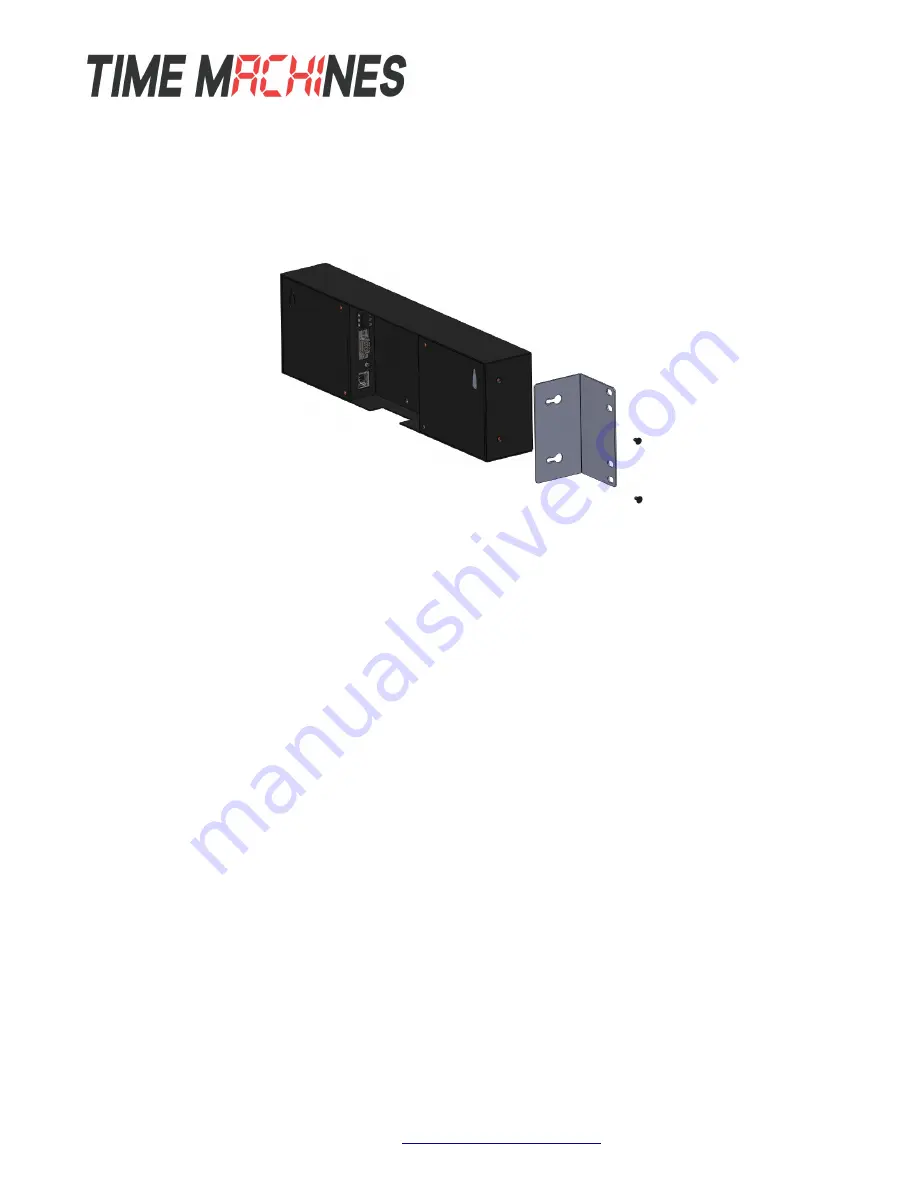
2.3.2 Rack Mounting
1. Attach an ear to each side of the clock.
2. Attach clock to rack.
2.3.3
Dual Clock Mount Bracket
Materials needed;
1. Two Time Machine Clocks of the same size
2. One Dual Mounting Bracket (760-265-000, 760-445-000 or 760-465-000)
3. 3/4” pipe, elbows, flange. Depending upon how you want to mount the clock determines what
pipe lengths and fittings you will need. The Dual Mounting Bracket accepts any 3/4” tubing
with NPT (National Pipe Threads) threads on the ends. This product is available through local
hardware stores or large national chain stores.
4. Ethernet cables long enough to run from the PoE injector or PoE router/switch to the clock
through the 3/4” pipe. When threading the cables through the pipe it is recommended that you
run both cables at the same time – one in front of the other.
How to mount two clocks in the Dual Mount Bracket:
1. Take two Time Machine clocks and match where the notch is on the display cover – this is
where the Ethernet cables will enter into the clock displays. The Dual Mount Bracket can be
placed on the bottom or on the top of the clocks. If needed, the display can be inverted so that
Installation and Operations Manual | Page 3
Web / timemachinescorp.com Email /
tmsales@timemachinescorp.com
Phone / (402) 486.0511
Illustration 1: Attaching Rack Mounting Ears


