Configure Badge Numbers
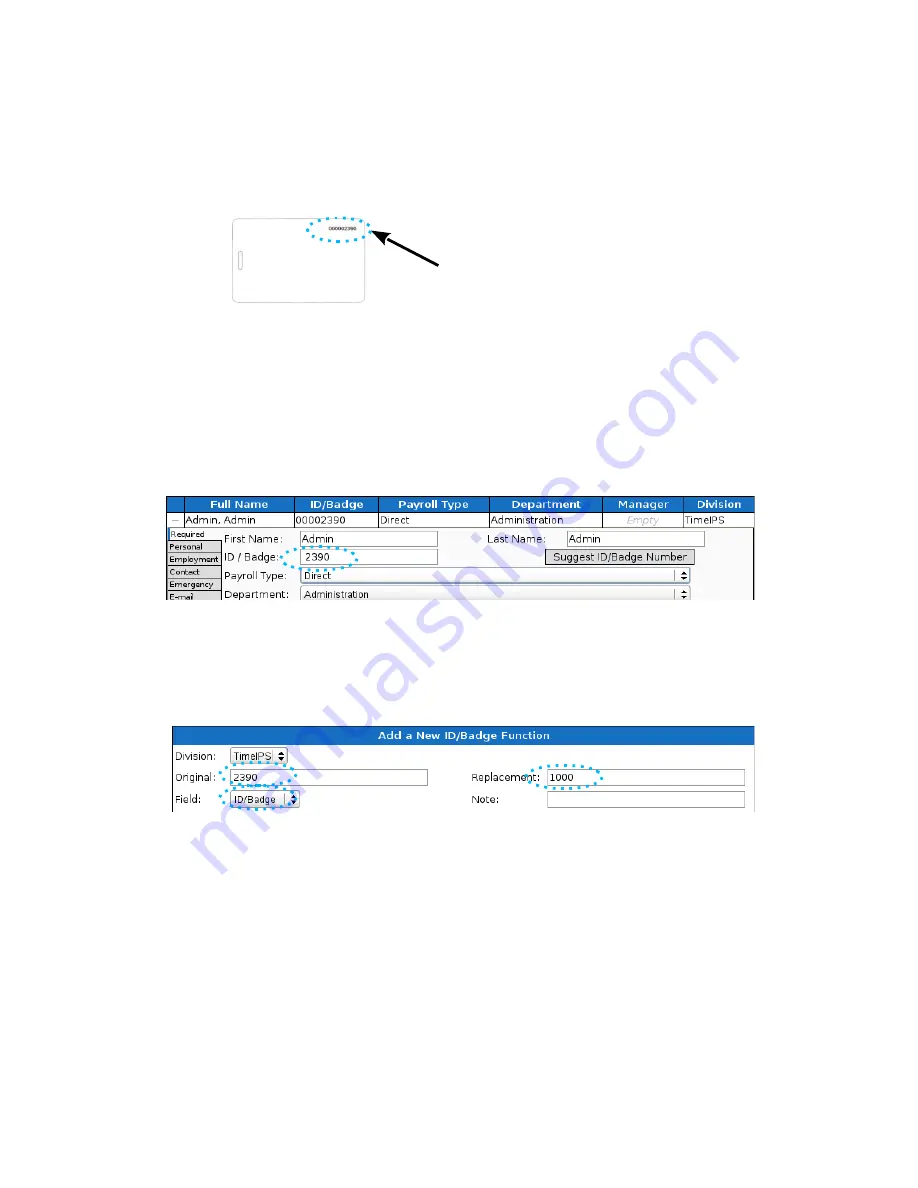
Each proximity badge (card or tag) has a unique internal number. Some
styles of badges may have a number printed on them that matches the
internal number. However, many are blank or have a number that is NOT
the same as the internal number.
There are two ways to connect a badge to an employee. Open TimeIPS and
click on Administration. Then:
1)
Open Employee Management → Employees. Select the employee
on the list by clicking the “+” next to their name and then enter the
badge number in the ID / Badge field. Do NOT enter any leading
zero(s).
2) Open Clocking → ID/Badge Functions, add a function where the
Original is the internal number of the card or tag and the
Replacement is the employee's ID/Badge number.
If your badges have the internal number printed, option 1 is generally the
easiest.
If your badges do not have a number printed on them, or if the number does
not match the internal number, there are two options:
1) Determine the number of the badge as follows: Connect the PROX-
USB device to a personal computer. Open a word processor or
spreadsheet and present the badge to the reader. The internal number
of the badge will appear as if you typed it. If you see an asterisk (*)
at the beginning of the resulting number, it is NOT part of the badge
number.
Page 6
http://support.timeips.com 316.264.1600
TimeIPS
A Badge Number may be printed on some
badges. This may or may not match the
internal number.


