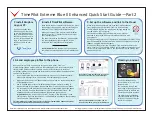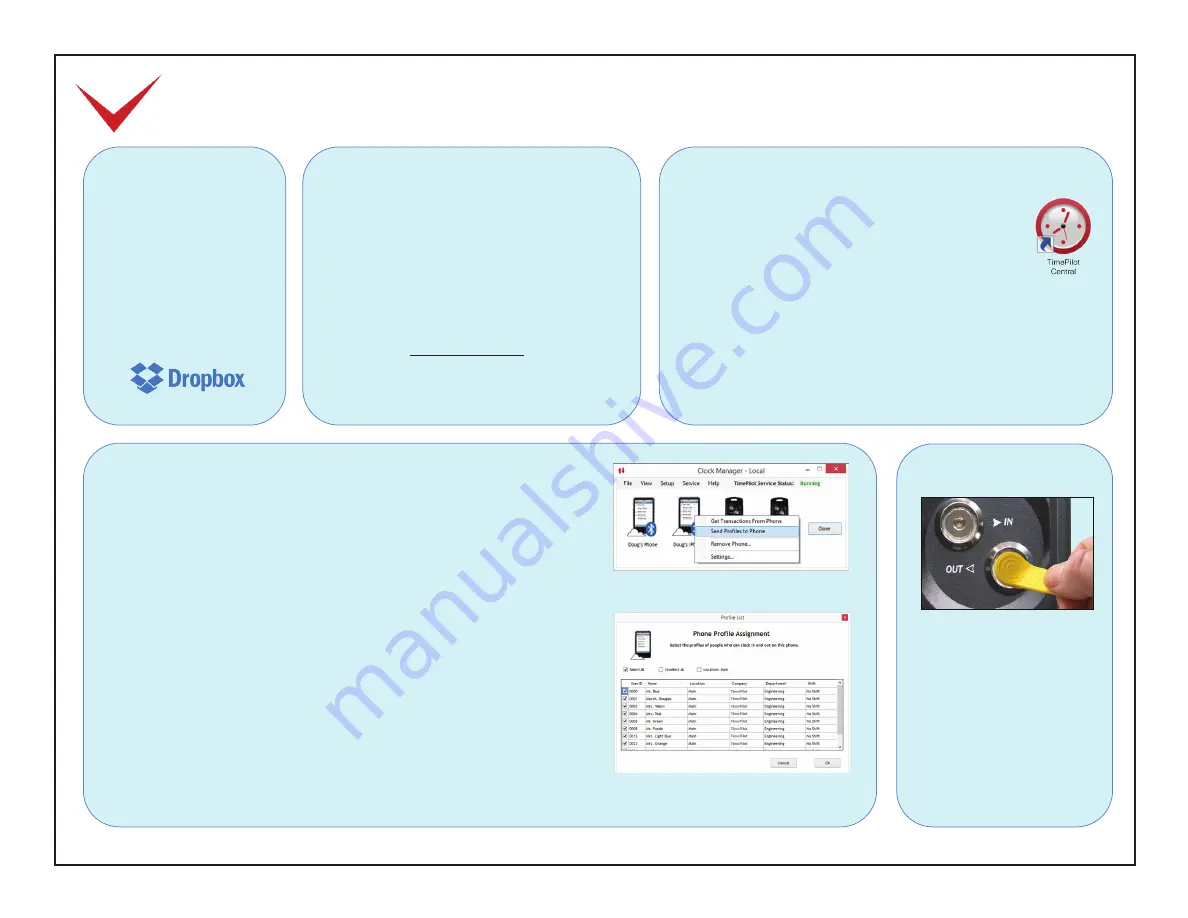
TimePilot Extreme Blue II Enhanced Quick Start Guide—Part 2
9. Set up the software and link to the Cloud.
When installation is complete, you’ll see the TimePilot Central
icon (right) on your PC’s desktop. Click it to start the Setup
Wizard, which will guide you step-by-step through setting up
the software on your computer.
You’ll need your software’s serial number; it’s on a sticker
attached to the printed warranty information that came with
your product.
During the setup process, you’ll be asked to “Add Employee Profiles.” This is
where Extreme Blue II Enhanced users will add their employees and assign
iButtons, using the Blue Dot Receptor.
At the end of the process, you’ll be asked if you want to connect to the
Cloud. Click “Yes.” The software will find your Dropbox account and ask you
to create a TimePilot Cloud folder in the account that will be used by your
phone and your PC.
8. Install TimePilot software.
Place the CD in your computer’s CD/DVD drive. When
the opening screen appears, click “Install TimePilot
Software,” then “TimePilot Installation Wizard.”
When you’re asked if you want to install TimePilot
Central, click “Yes.” TimePilot Central is the core of
the TimePilot system.
The driver for the Blue Dot Receptor, which enables
you to assign iButtons right at your PC, will be
included in the TimePilot Central installation.
10. Send employee profiles to the phone.
Next, the wizard will ask if you want to set up your time clocks. Click “Yes.”
Clock Manager (shown at right) will start. Clock Manager’s job is to connect your time
clock(s) to the TimePilot Central software. You’ll use Clock Manager to send your
employees’ profiles to your phone and later retrieve the transactions downloaded from
the clocks to the phone.
1. If you’re prompted, log in with the same password you use for TimePilot Central.
When Clock Manager starts, you’ll see the icon representing your phone.
2. Right-click the icon and click “Send Profiles to Phone.” You can send all the profiles
or just individual ones.
3. You’ve finished the process at TimePilot Central, and the profiles are sitting in
Dropbox waiting for your phone to download them. Start the app on your phone.
4. Tap the Settings menu (the three horizontal lines) at the top left side of the phone
screen, then tap “Extreme Blue Enhanced” and “Get Profiles from Cloud.” The
employees’ names and iButton numbers will download to your phone.
Important note:
You’ll also see “Pay Period,” “Overtime” and “Rounding” in the
Settings menu. Don’t use these menus—in Extreme Blue II Enhanced, those settings
are controlled in TimePilot Central.
This completes your setup. You can start using your Extreme Blue Enhanced system.
See Page 3 for instructions on how to use the app.
When you send profiles to a phone, you can
send all your profiles, groups or just individuals.
Clocking in and out.
Touch your iButton to the
center of the “In” or the “Out”
iButton probe.
You’ll hear two “beeps” and
the orange or green light in the
probe will flash to indicate the
transaction has been recorded.
The metal part of the iButton
must touch both the inner flat
surface of the probe as well as
the rim of the probe.
Detailed instructions are available online: www.TimePilot.com/SupportCenter.htm Having problems? Contact TimePilot tech support at 630-879-6400 or Support@TimePilot.com
7. Install Dropbox
on your PC.
If you don’t already have
Dropbox on your computer,
go to www.Dropbox.com/
basic, download and install
the free version (not a paid
version) of the software and
log in to the same account
as the one that’s on your
phone.
No CD/DVD drive?
No problem. You can download
the software at our Support Center at TimePilot.com.
Each phone or clock that has been set up in the
system appears as an icon in Clock Manager.

