10
E
N
G
L
I
S
H
Velocity Adjustment
Each time you play paintball, check the velocity of your
paintball marker with a chronograph (an instrument
for measuring velocity) prior to playing paintball. Verify
that the marker’s velocity is set below 300 feet per
second (or less if required by the playing field).
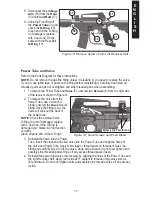
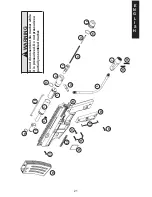
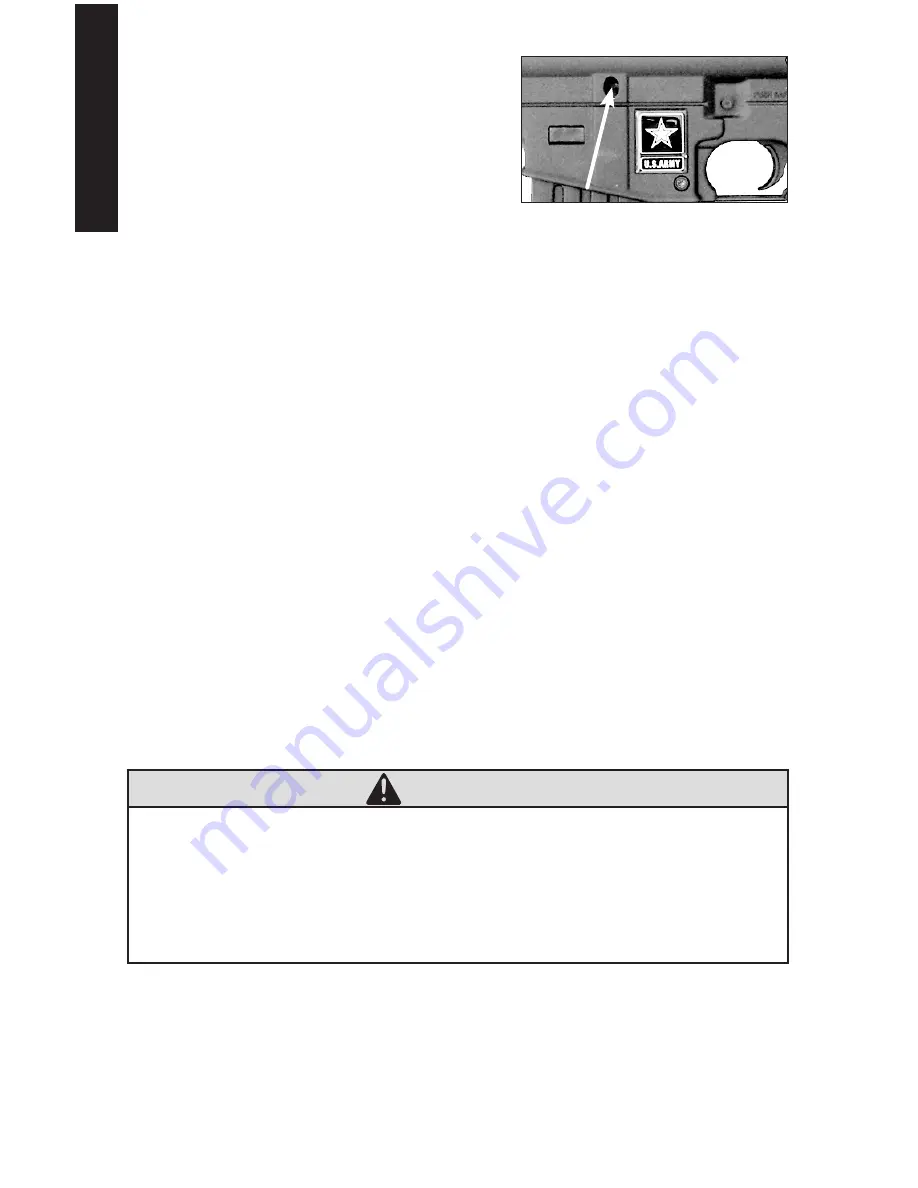
To adjust the marker’s velocity, use the included
3/16” Allen wrench in the center of the Velocity Screw
(Figure 4).
Reduce the velocity by turning the Velocity Screw clockwise. To increase the velocity, turn the
Velocity Screw counterclockwise. Never remove the Velocity Screw.
Unloading Your Marker
1. Eye protection designed for paintball use must be worn by the user and any person
within range.
2. Empty all paintballs from the hopper or remove the entire hopper.
3. Go to a designated firing area, remove the barrel blocking device, and move the Trigger
Safety to Fire mode.
4. Point your marker in a safe direction and fire several times to be sure there are no
remaining paintballs lodged in the chamber, feed neck, or barrel.
5. Push the Trigger Safety to Safe mode (see page 6).
6. Reinstall the barrel blocking device (see page 4).
7. Read the
Air/CO2 Cylinder Warnings
and
Safety Tips
on pages 13-14 before
removing the air cylinder from your marker (see removal instructions on page 14).
E-Trigger Operating Instructions
Read and follow the E-Trigger Operating Instructions completely before installing the air
supply cylinder as directed in step 3 on page 9.
READ EACH STEP COMPLETELY BEFORE PERFORMING THE STEP.
WARNING
Install the air supply and load the hopper with paintballs only after
you have:
• Put the Trigger Safety in Safe mode ( see page 6)
• Install the barrel blocking device (see page 4)
• Have successfully installed the battery (step 2 on page 11) and
you are familiar with the E-Trigger operation (step 3 on page 11).
Eye protection designed for paintball use must be worn by the user and any person within
range.
1. Make the Marker Safe
Follow
Unloading Your Marker
(page 10) and
Air Supply Cylinder Removal
instructions
on page 14. Never disassemble this marker while it is pressurized with air. Do not pressurize a
partially assembled marker.
Figure 4: Velocity Adjustment
Summary of Contents for Alpha black ELITE
Page 28: ...28 E N G L I S H NOTES ...
Page 54: ...26 E S P A Ñ O L NOTAS ...
Page 57: ...NOTES NOTAS ...
Page 58: ...NOTES NOTAS ...
Page 59: ...NOTES NOTAS ...
Page 60: ...NOTES NOTAS ...
Page 61: ...NOTES NOTAS ...
Page 62: ...NOTES NOTAS ...
Page 63: ...NOTES NOTAS ...
Page 64: ......


