Performance Series 750e
33
GB
Repairs at the unit
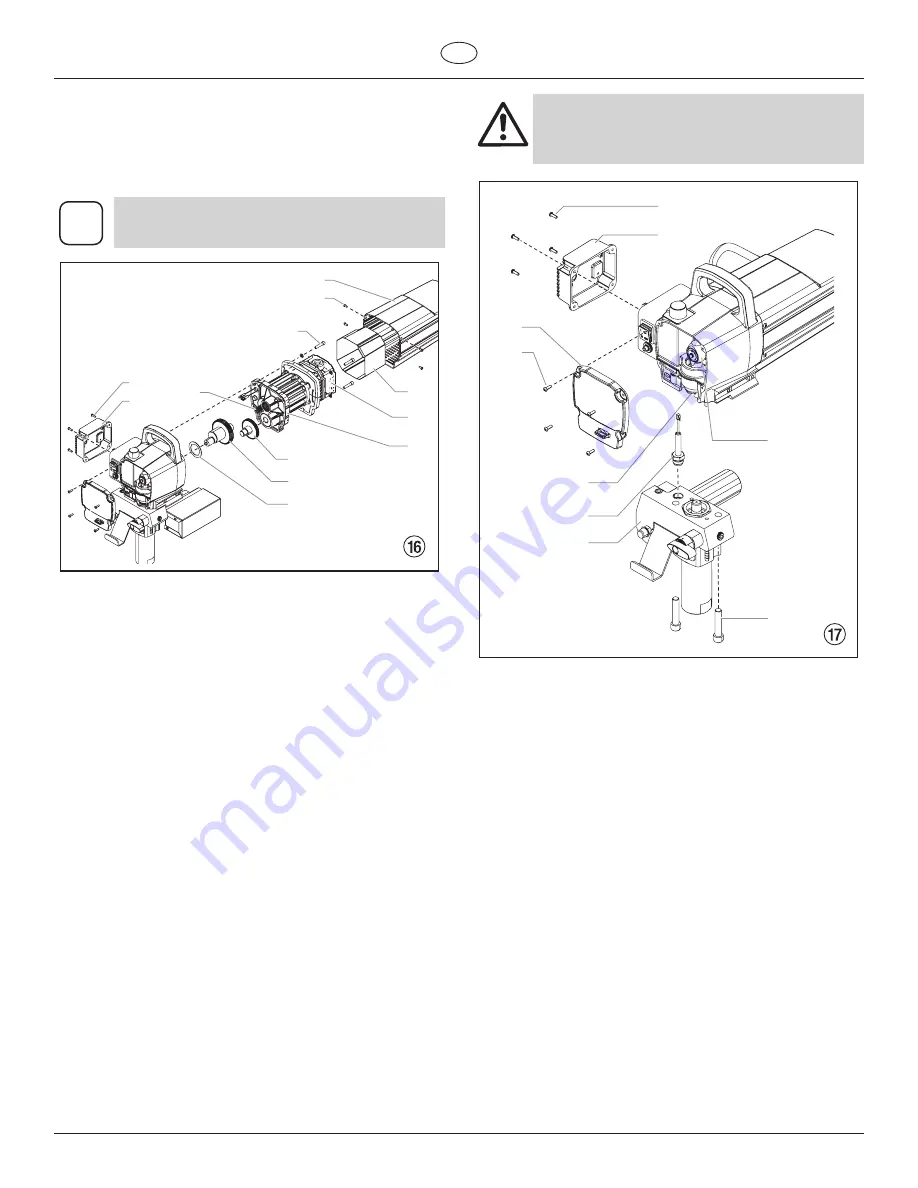
10. Remove and inspect the crankshaft/gear assembly (11) for
damage or excessive wear. If damaged or worn, replace
the crankshaft/gear assembly.
11. Reassemble the pump by reversing the above steps.
During reassembly, make sure the thrust washer (12) is in
place.
i
Refill the gear box in the pump housing with five
ounces of Lubriplate GR132 (P/N 0293396).
5
6
3
4
10
11
12
8
1
7
9
2
11.6 Replacing the Transducer
1. Open the relief valve, valve position PRIME (
k
circulation), switch the unit OFF, and unplug the power
cord.
2. Loosen and remove the four front cover screws (Fig. 17,
Item 1). Remove the front cover (2).
3. Stop the sprayer at the bottom of its stroke so that the
piston is in its lowest position.
4. Tilt the sprayer back for easy access to the fluid section.
5. Using 3/8” a hex wrench, loosen and remove the two
pump manifold mounting screws (6).
6. Pull the pump manifold (7) down approximately 4 cm from
the pump housing to clear the transducer.
7. Slide the pump block and piston rod forward until the
piston rod is out of the T-slot (4) on the slider assembly
(3).
8. Remove the four heat sink assembly mounting screws
(8). Pull back the heat sink assembly (9) for access to the
transducer wire.
9. Follow the transducer wire from the transducer (10) to the
motor electronic control assembly and unplug the wire
from the electronic control assembly.
10. Using a wrench, remove the transducer assembly (10)
from the pump manifold.
11. Thread the new transducer assembly into the pump
manifold. Tighten securely with a wrench.
12. Plug the transducer wire into the motor electronic control
assembly where the old transducer wire was located.
13. Reassemble the pump by reversing steps 2–8.
Make sure the transducer is aligned properly
with the hole in the pump manifold during
reassembly. Improper alignment may cause
damage to the transducer o-ring.
2
1
4
7
10
6
3
8
9


