27
spraying
ProMark
6
SprAyINg
i
Follow the steps in this section in order to prime
the system and begin spraying.
6.1
prIme The SySTem
i
Prior to spraying, it must be verified that the BPO
and spray material are flowing freely through
their respective hoses. Follow the steps in this
section.
1.
Place a 5-gallon container of spray material onto the
hopper plate.
2.
Remove the 5-gallon container lid and replace it with the
lid that comes with the system.
3.
Insert the siphon hose through the hole in the lid and into
the spray material. Do the same with the bleed hose.
4.
Make sure all valves are in the appropriate position for
priming (refer to section 3.4 for valve locations) :
opeN
cloSeD
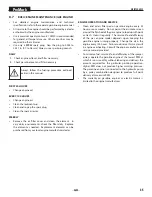
Hydraulic motor shutoff
Solvent flush
BPO tank / BPO shutoff
Solvent flush relief
Spray material shutoff valve
Relief valve
6.
Turn the pressure control knob on the dashboard fully
counterclockwise to its lowest pressure setting.
7.
Open the two brass clasps on either side of the BPO tank
lid and remove the lid. The tank lid can hang from its
safety cord.
8.
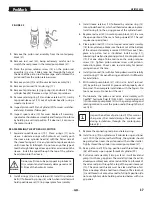
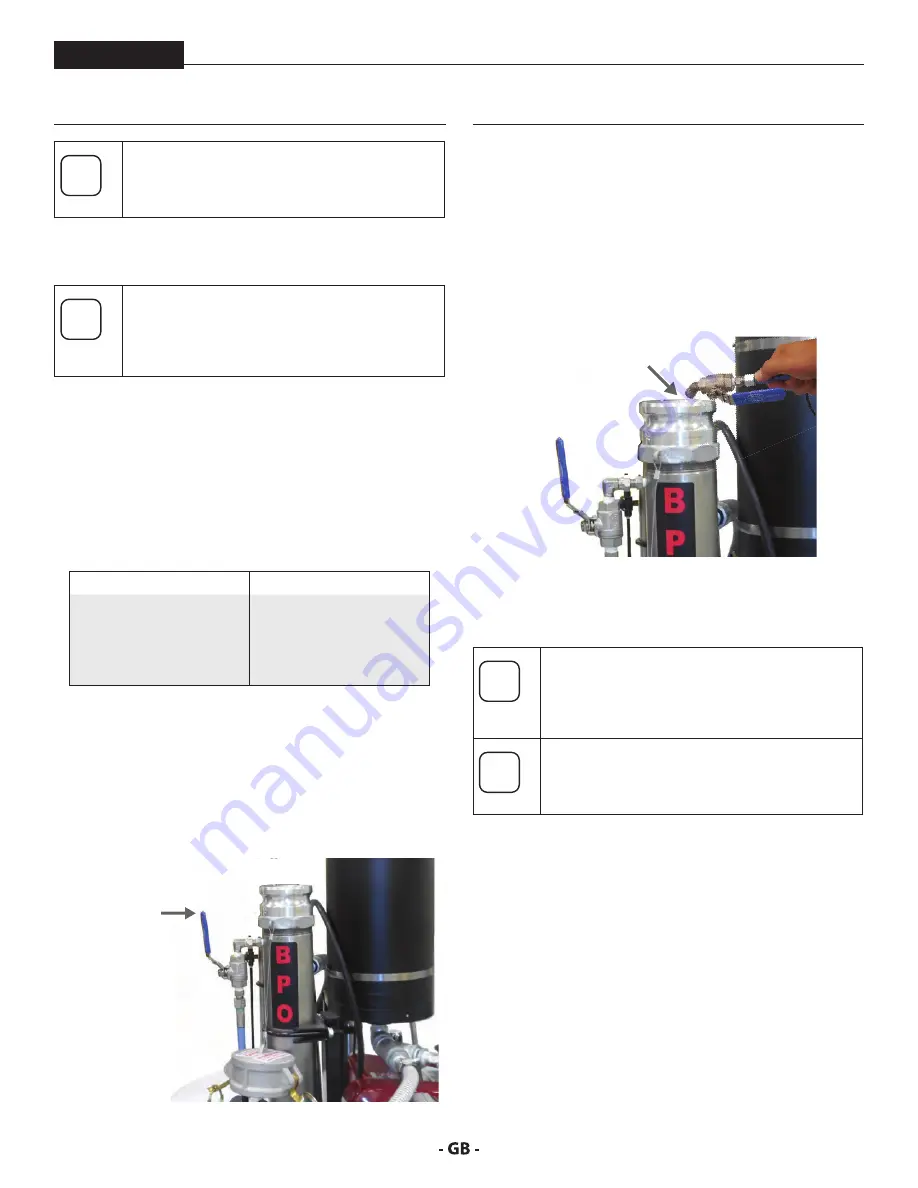
Make sure the BPO tank valve is in the open position. The
valve handle should be in the vertical position.
fIgure 14
Bpo TANk
VAlVe
9.
Make sure the BPO shutoff valve located near the mixing
block is in the open position. The valve handle should be
in the horizontal position.
10.
Start the engine (refer to section 5.1).
11.
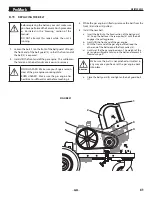
While the engine is running, remove the angled fitting
that attaches the BPO hose to the mixing block with an
adjustable wrench. This is the hose marked in blue at the
top part of the mixing block.
12.
Hold the angled fitting over the BPO tank.
fIgure 15
13.
While holding the fitting over the BPO tank, close the BPO
tank valve. The valve handle should be in the horizontal
position.
i
Once the BPO tank valve is closed, BPO should
begin to flow from the end of the angled fitting.
This verifies that the BPO hose is free from
obstruction.
i
While the BPO is flowing from the angled fitting,
spray material should also be circulating from
the bleed hose back into the container.
14.
Allow the BPO to flow for 10-15 seconds back into the BPO
tank.
15.
After 10-15 seconds, open the BPO tank valve (handle in
vertical position). This should stop the flow of BPO from
the angled fitting. Allow any remaining BPO to drip out.
16.
Reconnect the angled fitting onto its place on the mixing
block. Tighten with a wrench.
Priming is now complete. The engine can keep running
and the system is ready for spraying.
Summary of Contents for 200
Page 12: ...12 description of unit ProMark 3 3 System controls FIGURE 3 1 5 4 8 2 3 6 7 9 10 11 12 ...
Page 45: ...45 troubleshooting ProMark ...
Page 56: ...56 Gerätebeschreibung ProMark 3 3 GERÄTESTEUERUNG abb 3 1 5 4 8 2 3 6 7 9 10 11 12 ...
Page 89: ...89 ProMark ...
Page 100: ...100 Description du matériel ProMark 3 3 COMMANDES DU SYSTÈME fig 3 1 5 4 8 2 3 6 7 9 10 11 12 ...
Page 133: ...133 ProMark ...


