23
operation
HELIX
6
operATIoN
Attention
Prior to startup, make sure the generator has
fuel. Running out of fuel will cause electrical
fluctuations in the system that could result in
damage to the electrical components of the
system.
6.1
STArTup
1. If using a generator, make sure the main breaker on the
generator is in the OFF position.
2. If using a generator, start the generator. Allow it to run to
full power.
3. If using an air compressor to power the transfer pumps,
start the compressor, making sure the bleed valve is in the
closed position on the compressor.
4. Turn the breaker on the generator to ON. Switch both of
the Component Pump ON/OFF switches to ON. (these are
the outermost ON/OFF switches located on the control
panel).
Attention
Do not turn on the block heater or hose heater
ON/OFF switches ON yet. Turning the hose
heaters on when there is no fluid in the hoses can
cause damage to the hoses.
5. Turn the PRIME/SPRAY valves on both of the Component
Pumps to SPRAY.
6. Open the fluid inlet valves. Check for leaks.
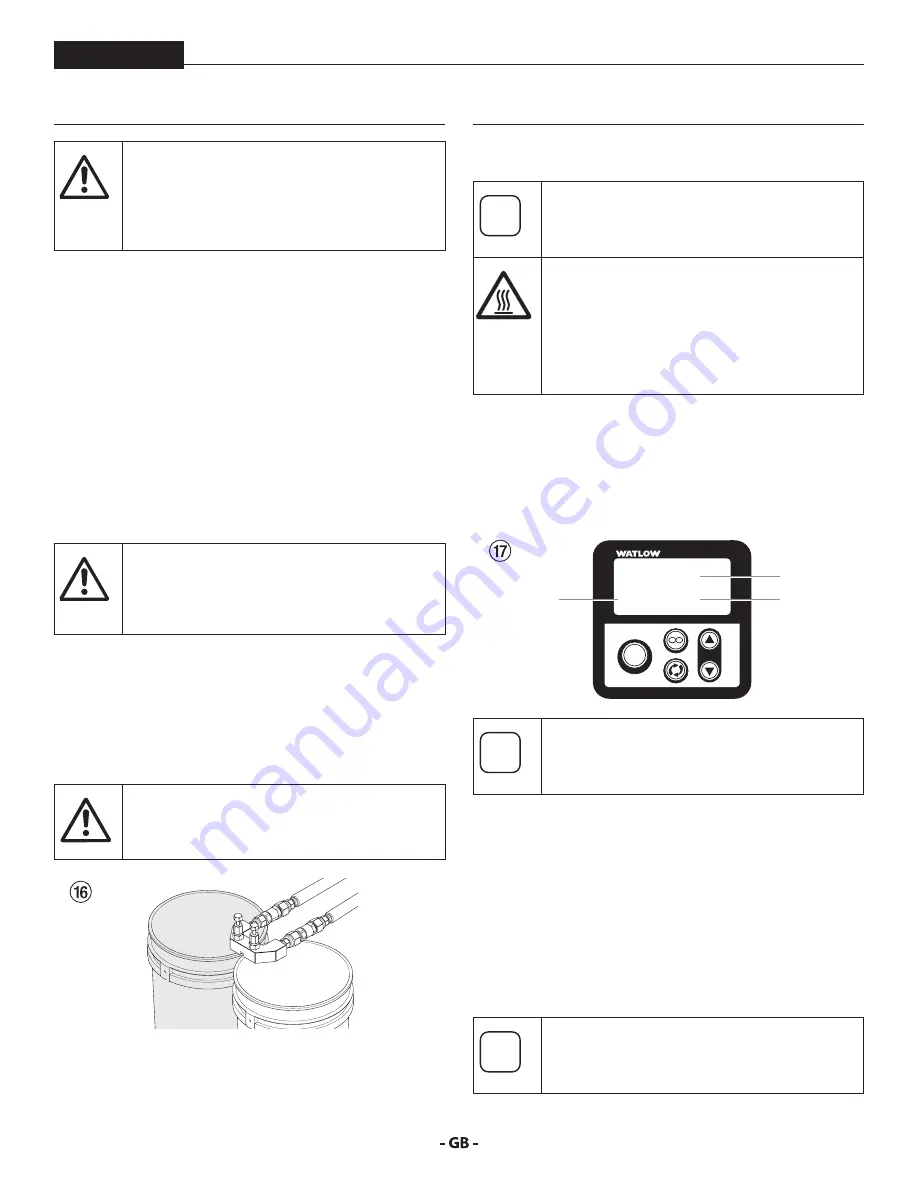
7. Place the coupling block (with hoses attached) over two
separate, grounded waste containers. Make sure the ports
on the manifold each aim into a different container.
NEVER mix components A and B during startup.
Use two separate grounded waste containers to
keep Component A and Component B separate.
8. While holding the coupling block over the waste
containers, slowly open fluid valves A then B. Allow them
to remain open until clean, air-free fluid comes from the
valves.
9. Close fluid valves A then B.
6.2
SeT TemperATure
i
Refer to section 4 to review temperature controls.
Equipment surfaces can become hot. To avoid
severe burn injury:
1) Do not touch hot fluid or equipment.
2) Allow equipment to cool completely
before coming into contact with it.
3) Wear gloves when dealing with
temperatures in excess of 110ºF (43ºC)
1. Set the temperature of the heater block:
a. Switch the heater block ON/OFF switch to ON (this is the
ON/OFF switch in the middle of the control panel).
b. Using the heater block controls, set the heater block
to the desired temperature. Press the (
p
) button
until the bottom set of numbers (1) shows the desired
temperature.
1
EZ-ZONE
ºF
ºC
Z
O
N
E
65
8
1 1 0
EZ
1
3
2
i
The top number (2) on the heater block displays
the actual temperature. When the light (3) goes
out, the block heater is sufficiently heated.
2. Set the temperature of the heated hoses (repeat each of
the following steps for both A and B hoses):
a. Switch the heated hose ON/OFF switches to ON (these
are the switches immediately on either side of the heater
block switch in the middle of the control panel).
b. Using the heated hose controls, set the heated hoses
to the desired temperature. Press the (
p
) button
until the bottom set of numbers (1) shows the desired
temperature.
c. The temperature settings of the heated hoses can also
be adjusted to balance spraying pressures as well as the
desired ratio.
i
Adjusting the hose heat should ONLY be a
secondary method of achieving the correct ratio.
Use the Ratio Screen on the Control Display first.


