


280W DETAIL SANDER
SF280E
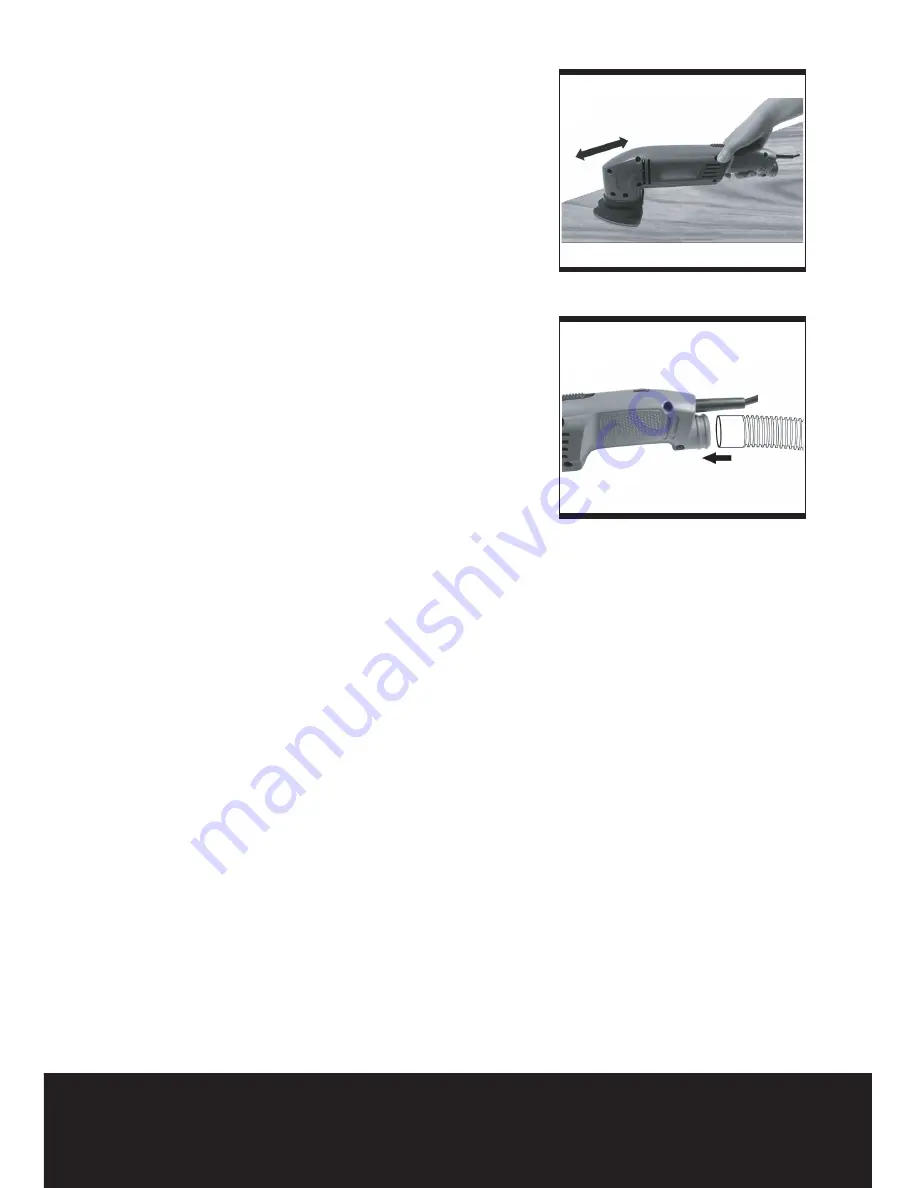
Fig 5
Upon completion of sanding operation, turn
sander off and wait until it comes to a complete
stop before removing from workpiece.
Flush sanding can be performed with your
sander. The front edge of your sander allows
flush sanding.
The sander should run smoothly. Strange or
unnatural noise should be investigated and
corrected before operating the sander further.
Regularly check the condition of the abrasive
paper and replace when worn for best results.
Always keep the machine moving so the finish
of your work stays consistent. If you stay in one
place too long, then the sander may produce a
depression in the wood that will compromise
your finish.
5. ATTACHING SANDER TO VACUUM
(See
Fig6)
Your sander is equipped with a dust extraction
adapter, which is designed for collect dust task.
Insert the dust adapter into the rear dust outlet of
sander. Then pull the dust adapter and make sure
it is tightened securely on the dust outlet. Then
connect the hose of a vacuum cleaner.
First please turn on the vacuum cleaner, then turn
on the sander. If you stop sanding, first turn off
the sander, then turn off your vacuum cleaner.
MAINTENANCE
1. Always clean dust and debris on the plate with
dry a cloth before replacing new sandpaper.
2. Do not use caustic cleaning agents to clean
plastic housing.
3. Always use only a soft, dry cloth to clean your
sander.
4. Always keep the dust extraction holes in the
vibrating plate free of dirt or other obstructions.
5. Water must never come into contact with the
sander.
Fig 6
Summary of Contents for SF280E
Page 1: ...280W DETAIL SANDER SF280E SAFETY AND OPERATING MANUAL...
Page 13: ......


