TJM Vehicle Mount Compressor Installation and User Manual
For product warranty please refer to our website www.tjm.com.au
File: F-17800.docx
Page 5 of 12
29/05/2019
o
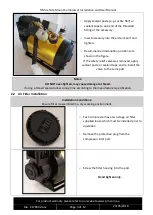
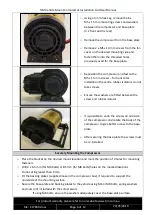
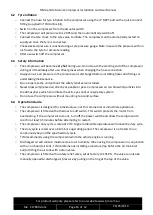
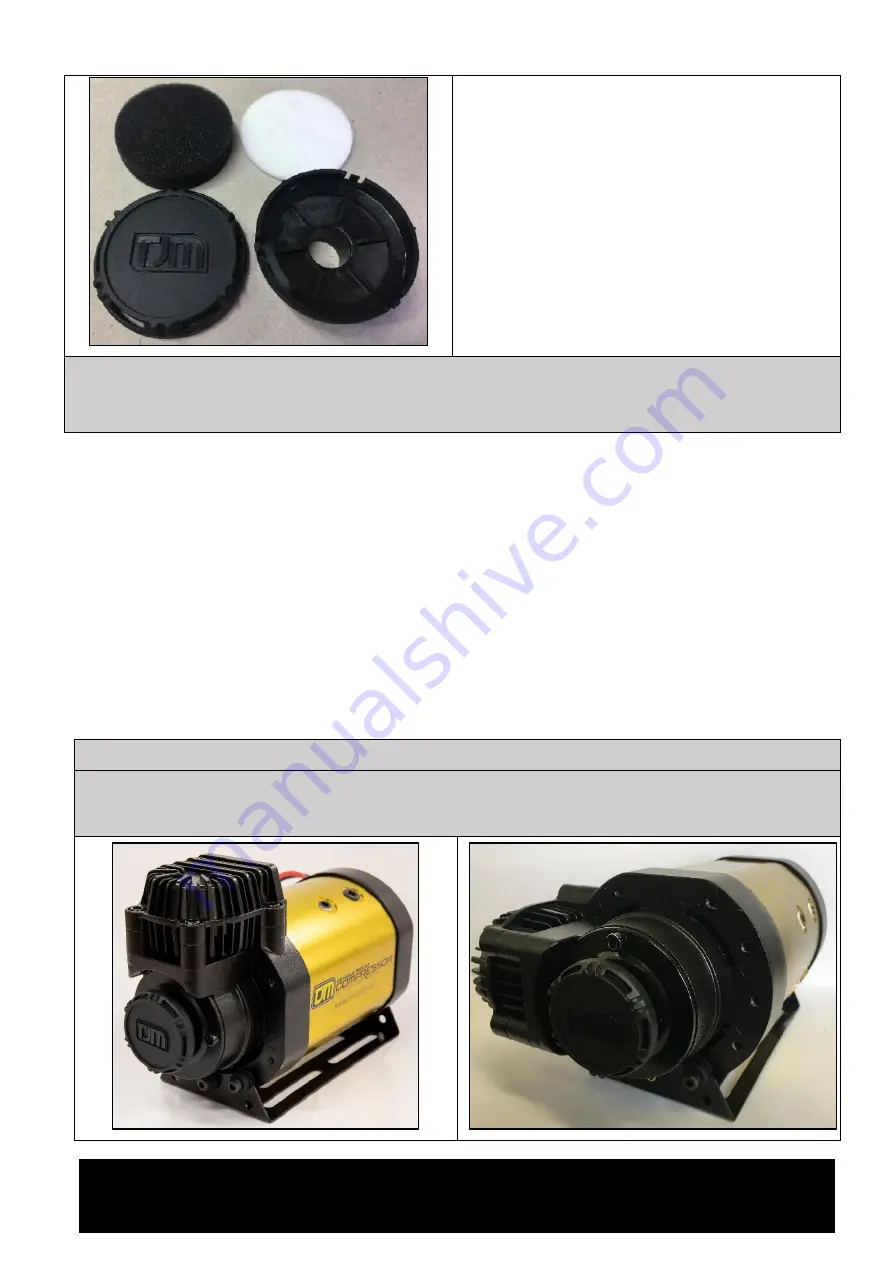
To replace the filter elements, pull the outer
cover from the air filter assembly.
o
Remove the foam and felt elements and
replace.
o
Press the outer cover back into place, ensure
that the clips on the housing are aligned to
make a secure fit.
Notes:
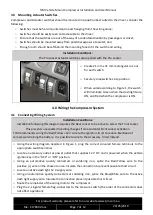
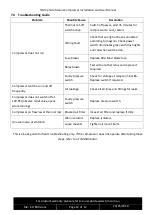
Check the Air Filter elements at frequent intervals. If Air Filters become damaged, wet, or dirty,
DO NOT use the compressor until air filters are replaced. Contact a TJM Distributor for service.
3.0
Vehicle Mounting
3.1
Mounting Location
When deciding an appropriate place to mount the compressor within the vehicle, consider the following:
o
Avoid proximity to heat sources;
o
Avoid exposure to direct sunlight;
o
Avoid mounting in areas which are submerged during a water crossing;
o
Ensure that the air filter inlet has access to cool, dry air;
o
Compressor will become hot when used, ensure it is out of reach of children or pets, and away from
flammable materials.
3.2
Compressor Mounting
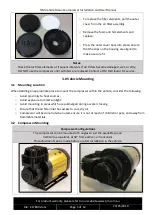
Compressor Configurations
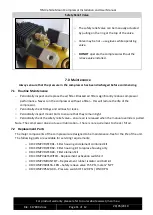
The compressor can be mounted at 5 angles to suit the available space:
Vertical (as-supplied), at 30° from vertical, or horizontal.
This adjustment can be made before or after installation in the vehicle.


