background image


10 


www.tkequip.com


(956) 796 - 9411


9. SERVICE INSTRUCTIONS 

1.


Never service or lubricate the unit engine while running. 

2.


After servicing the unit, restore and fasten all guards, shields, and covers to their original 
positions. 

3.


Never drain oil into the ground, into open streams, or down sewage drains. 

4.


To make sure your equipment is always in good working condition before using, carry 
out the maintenance inspection in accordance with the Maintenance Schedule. 

ENGINE 

See engine owner´s manual maintenance schedule.   

If lost please visit 

https://engines.honda.com/parts-and-support/owners-manuals

 for more 

information. 

AIR FILTER - SPARK PLUG &  

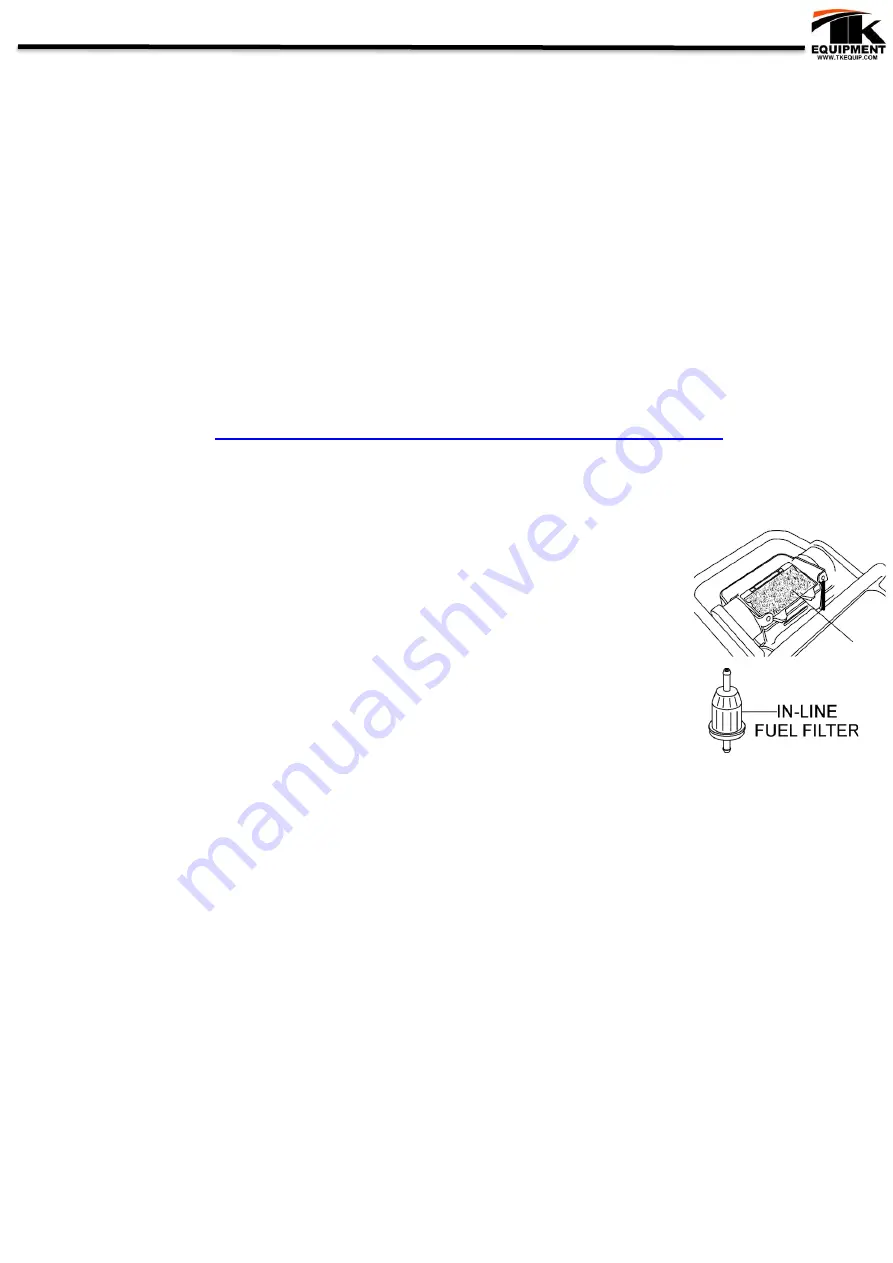
1. The air filter element should be cleaned because a clogged air cleaner can 
cause poor engine starting, lack of power and shorten engine life substantially. 
Remove the air cleaner cover. Loosen and remove the 2 screws that hold the 
cover to the air cleaner assembly. If the primary element (Figure 13) is dirty, 
wash it with gasoline or kerosene. Then dip it in engine oil (SAE10W-30) and 
wring the element so that 25 to 30 cc of engine oil remains on the element. 

2. Inspect in-line fuel filter and replace if necessary.


3. Remove & clean the spark plug, then adjust the spark gap to 0.024~0.028 inch 
(0.6~0.7 mm). 

4. Remove the oil drain plug on foot housing and drain the oil. Refill with approximately 0.8 qt. 
(0.75  liter)  of  10W-30  SE,  SF  or  higher-grade  motor  oil.  Oil  should  be  midway  insight  glass. 
Break-in oil should be changed after first 50 hours. 

10.


MAINTENANCE SCHEDULE 

THESE INSPECTION INTERVALS ARE FOR OPERATION UNDER NORMAL CONDITIONS. 
ADJUST YOUR INSPECTION INTERVALS BASED ON THE NUMBER HOURS THIS 
MACHINE HAS BEEN IN USE AND ITS PARTICULAR WORKING CONDITIONS. 

1.


Check all hardware after the first 5 hours of use.  
Check for loose screws including tightness. 

2.


Check oil daily. Look after leakage of fuel or oil. 

3.


Change  oil  after  5  (five)  hours  of  use  and  every  25  hours  after  first  change.  
Refer to engine manual for oil grades. 

Summary of Contents for RAM70H

Page 1: ...ww tkequip com 956 796 9411 Operator s Safety and Service RAM70H Rammer It is the OWNER S RESPONSABILITY to communicate information on the SAFE USE and OPERATION of this machine to the operators 01012...

Page 2: ...Safety Precaution 5 5 Safety Notice Decals 6 6 Before Operating 6 7 Operation Instruction 7 8 Adding Fluids Towing 8 9 Service Instructions 10 10 Maintenance Schedule 11 11 Replacements 12 12 Equipme...

Page 3: ...dealer or other if different than HONDA Refer to the engine owner s manual lo learn about specifications and part identification 2 PARTS ORDERING PROCEDURE Parts must be ordered through your local di...

Page 4: ...equipment could cause equipment to fall and cause serious injury 2 If Rammer is shipped regular using appropriated equipment bring the unit to the ground from its shipping pallet Rammers can be lifte...

Page 5: ...SHOCKS avoid contact with these components or their wiring SAFE DRESS DO NOT WEAR loose clothing rings wristwatches etc near machinery NOISE PROTECTION Wear O S H A specified hearing protection devic...

Page 6: ...ng with this equipment These symbols can be found throughout the manual and on the unit itself Please read these warnings and cautions carefully READ SAFETY DECALS CAREFULLY Carefully read and follow...

Page 7: ...the RESPONSABILITY OF THE OPERATOR to see that they are properly secured OIL LEVEL Check the engine crankcase oil level OIL Type is SAE 10W 30 or later for general use for engine crankcase and spring...

Page 8: ...ll briskly and smoothly 7 Fill the fuel tank with unleaded gasoline At the same time check the engine oil and replenish it often OPERATING 1 To start the rammer tamping action move the throttle lever...

Page 9: ...n the jobsite by hand pushing unit using the optional wheel kit Trolley Wheel kit is used for short distance transportation 2 If not using a wheel kit use lifting point when lifting machine Make sure...

Page 10: ...air cleaner assembly If the primary element Figure 13 is dirty wash it with gasoline or kerosene Then dip it in engine oil SAE10W 30 and wring the element so that 25 to 30 cc of engine oil remains on...

Page 11: ...X X X in line fuel filter Inspect in line fuel filter and replace if necessary X Crank oil Remove the oil drain plug on foot housing and drain the oil Refill with approx 0 8 qt 0 75 liter of 10W 30 S...

Page 12: ...d weight Central lifting point for transportation Two stage air filtration system Improve vibration reduction handle and quick access throttle control Reinforced centrifugal clutch for better durabili...

Page 13: ...e and spark is present at the spark plug ON OFF switch is shorted Check switch wiring replace switch Ignition coil defective Replace ignition coil Improper spark gap points dirty Set correct spark gap...

Page 14: ...eaks or clogs Recoil starter malfunctions if applicable Recoil mechanism clogged with dust and dirt Clean recoil assembly with soap and water Spiral spring loose Replace spiral spring Starter malfunct...

Page 15: ...ted are not covered by this warranty 5 Written authorization for the return of merchandise under warranty must be obtain from TK Equip customer service contact All equipment parts returned may be sent...

Page 16: ...___________ Customer Name ____________________________________________Phone _______ __________ Street Address ______________________________________________________________________ City ______________...

Page 17: ...for professional consultation If you cannot locate your nearest distributor contact our sales branch listed below so we can point you in the right direction UNITED STATES TK EQUIPMENT OFFICE 14419 AT...

Page 18: ..._________________________ _________________________________________________ _________________________________________________ _________________________________________________ ________________________...

Reviews: