11
13. If both base frames are completely level - - the bottom edges are less than 1½ inches
from the floor - - and are located exactly on the chalk lines you have drawn - - drill and
install all anchor bolts, washers and nuts. DO NOT TIGHTEN
(anchor bolt tightening is
step #18)
. Grout must be installed and allowed to completely cure before tightening
anchor bolts. Wear safety goggles and practice caution when drilling anchor bolt holes.
14. A sufficient quantity of grout must be purchased locally. Refer to grouting instructions on
the container
(use last page of this manual as a reference)
. Evenly distribute grout under the
total base frame area and finish edges with a 45 degree chamfer. Leave a small opening
at the lowest point on the floor under both base frames for adequate drainage of any
liquid. Refer to recommended cure times on the grout package.
Do not operate lift or
disturb grout during curing process.
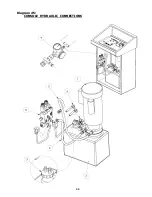
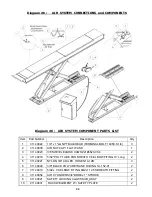
15. While waiting for the grout to cure, fine tune the routing of hydraulic, return oil, air and
electric lines from the lift to the console carefully placing them under line covers provided.
Insure a kink free routing. Reconfirm that the operator console is exactly where you
want it and that all lines are safely enclosed by the line covers. Drill and install anchor
bolts, washers and nuts for line covers and operator console. Coil excess hydraulic, air
and electrical lines and secure with cable ties in lower area of the operator console.
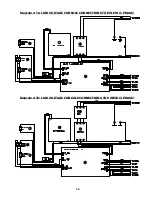
16. Connect Low Voltage Linear Transducer Cables
(reference diagram #6 & #7)
-
one cable
from runway #1 and one cable from runway #2
Connect the three wires in each cable as follows: both Red wires to Pin #19 - the White
Wire from runway #1 to Pin #22 – the White wire from runway #2 to Pin #21 - both
Black wires to Pin #20.
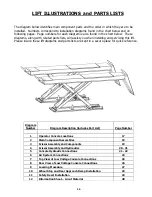
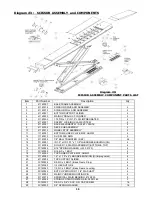
17. Install both front wheel stops and rear approach ramp brackets
(reference diagram #10)
.
(approach ramp installation is step #21).
18. Refer to manufacturer's recommended cure times and confirm that all grout has
completely cured. Back off all leveling adjustment bolts two turns. Torque all anchor
bolts to 75 ft.-lbs. (102Nm).
Anchor bolt security is a monthly maintenance check.
19. Runways should be level
(front to back and side to side)
in the down position. Using the
leveling support bolts located in each corner of both base frames, level both runways
(reference diagram #9)
. This may involve raising and lowering the lift several times.
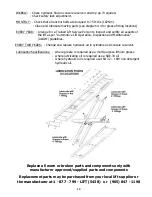
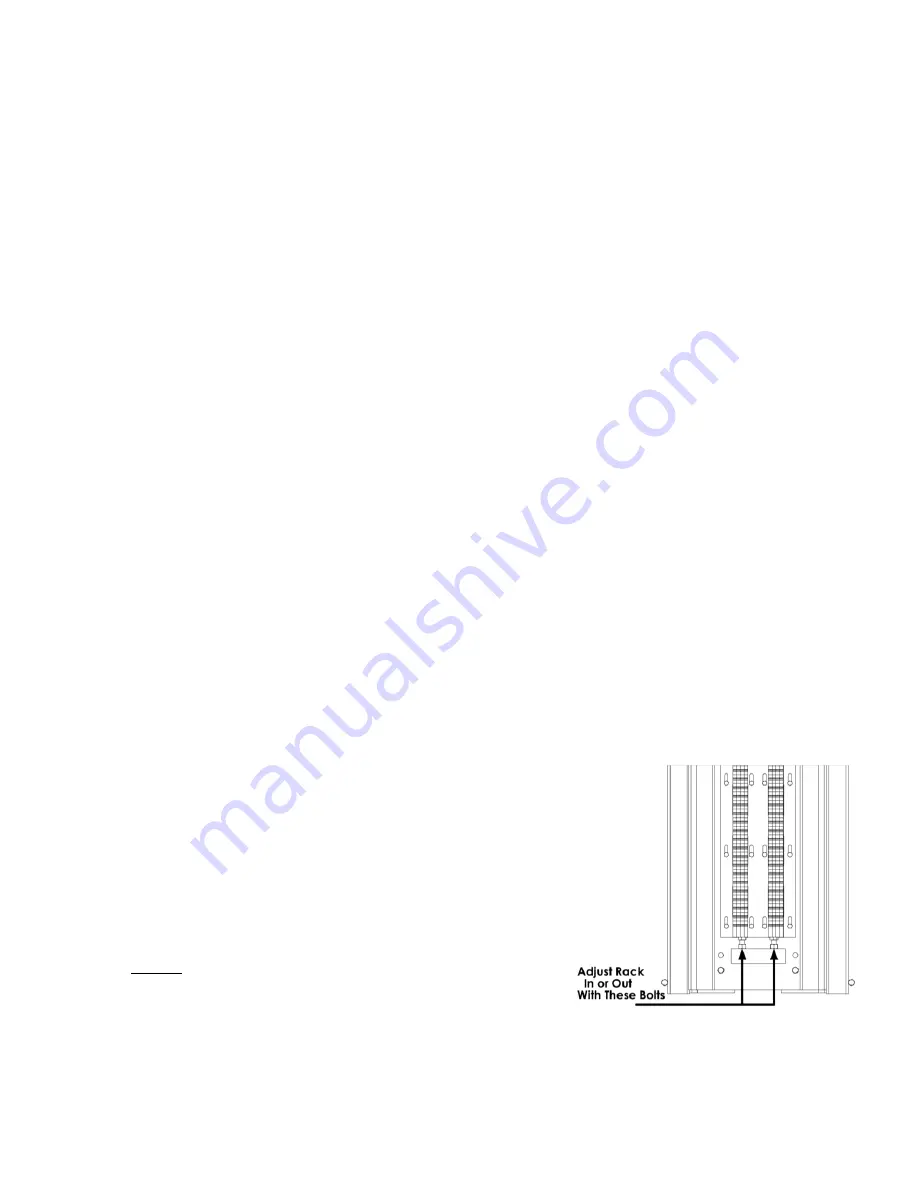
20. Adjust both safety locks to insure simultaneous and uniform engagement when lift is being
raised
(reference diagram to the right)
. This will ensure that both
runways are level with one another while "on the locks" which is
important for correct alignment readings. Insure these safety
locks maintain their adjustment.
21. Install rear approach ramps using pins, washers and cotter pins.
22. Install rolling air/hydraulic jacks
(if applicable)
and connect air lines.
23. To avoid damage, safety instruction and information decals
are not applied at the factory but shipped with the lift.
The ALI - WL200 Series Label Kit or WL2200 hang card
must be applied to lift console or control pendant
before the lift is used (
reference diagram #11).
Insure that all lift operators are trained in all
points covered by this and other safety information.
Insure this manual along with all operation, inspection and
maintenance instructions are delivered to the owner/user/employer


