EF200R-C
5
Temperature measurement
The measuring device can also measure the temperature of the medium.
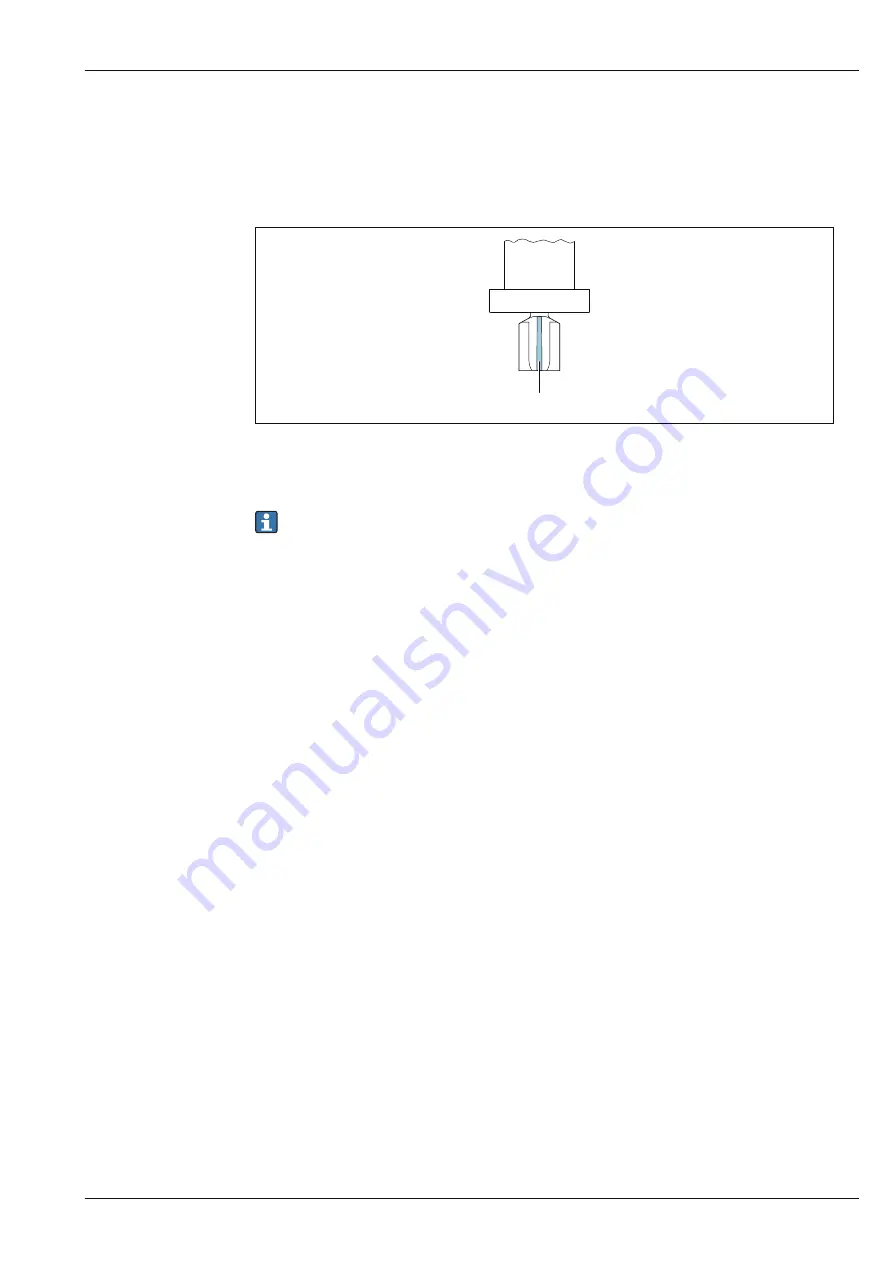
The temperature is measured via Pt 1000 temperature sensors. These are located in the paddle of
the DSC sensor and are therefore in the direct vicinity of the fluid.
1
A0034068
1
DSC sensor
Pressure and temperature measurement
The measuring device can also measure the pressure and temperature of the fluid.
The temperature is measured via Pt 1000 temperature sensors. These are located in the paddle of
the DSC sensor and are therefore in the direct vicinity of the fluid. Pressure measurement is located
directly on the meter body at the level of the bluff body. The position of the pressure tapping was
chosen so that pressure and temperature could be measured at the same point. This enables accurate
density and/or energy compensation of the fluid using pressure and temperature. The measured
pressure tends to be somewhat lower than the line pressure. For this reason, TLV offers
a correction to the line pressure (integrated in the device).
Order code for "Sensor version; DSC sensor; measuring tube":
• Option "Mass steam; 316L; 316L (integrated pressure/temperature measurement)"
Lifelong calibration
Experience has shown that recalibrated measuring devices demonstrate a very high degree of
stability compared to their original calibration: The recalibration values were all within the original
measuring accuracy specifications of the devices. This applies to the measured volume flow, the
device's primary measured variable.
Various tests and simulation have shown that once the radii of the edges on the bluff body are less
than 1 mm (0.04 in), the resulting effect does not have a negative impact on accuracy.
If the radii of the edges on the bluff body do not exceed 1 mm (0.04 in), the following general
statements apply (in the case of non-abrasive and non-corrosive media, such as in most water and
steam applications):
• The measuring device does not display an offset in the calibration and the accuracy is still
guaranteed.
• All the edges on the bluff body have a radius that is typically smaller in size. As the measuring
devices are naturally also calibrated with these radii, the measuring device remains within the
specified accuracy rating provided that the additional radius that is produced as a result of wear
and tear does not exceed 1 mm (0.04 in).
Consequently, it can be said that the product line offers lifelong calibration if the measuring device is
used in non-abrasive and non-corrosive media.


