W W W . T M G I N D U S T R I A L . C O M
P 1 7 / 4 1
T o l l F r e e : 1 - 8 7 7 - 7 6 1 - 2 8 1 9
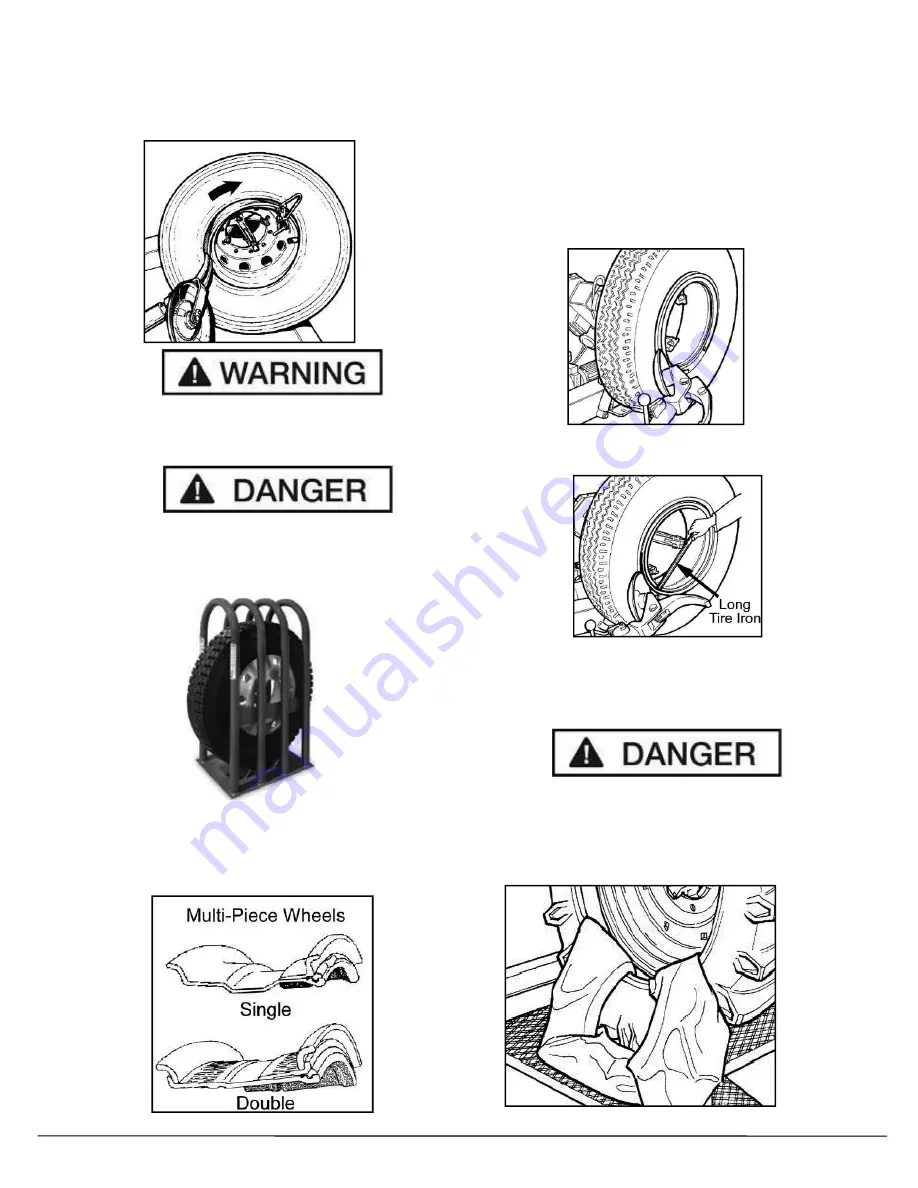
4. Re-attach the mounting clamp to the outer rim flange with
the valve forward of the mounting clamp.
5. Rotate the chuck clockwise until the tire iscompletely
mounted.
Always stop the chuck before one complete turn is made
to avoid personal injury or serious damage to themounting
clamp and/or rim.
Do not inflate the tire on the machine. This machine is
not an inflation device. For inflation place the wheel in
an approved inflation restraint device. Refer to OSHA
standard number 1910.177.
Demounting Tires From Multi-Piece
Rim/Wheel Assemblies (Tube Type Tires)
The multi-piece split-rim/wheel assembly can be in single or
multi-piece configurations.
NOTE:
Always consult the tire /wheel manufacturer for information
if you are uncertain of Rim/wheel configuration.
1. Remove all wheel-weights from the rim. Remove the
valve stem or core and deflate the tire completely.
2. Position the tool close to the rim edge.
3. Turn the chuck counterclockwise and loosen the bead as
described previously. Do not lubricate.
4. To remove the lock ring, squeeze one edge with the tire
iron bar and place the bead loosener disc as shown.
5. Turn the chuck clockwis (or counterclockwise) until the
lock ring is completely removed.
No one should stand in front of the wheel
when removing the lock ring.
6. Continue to demount all components of the rim manually
or with the disc tool. When loosening the inner bead besure
not to damage the valve stem.


